
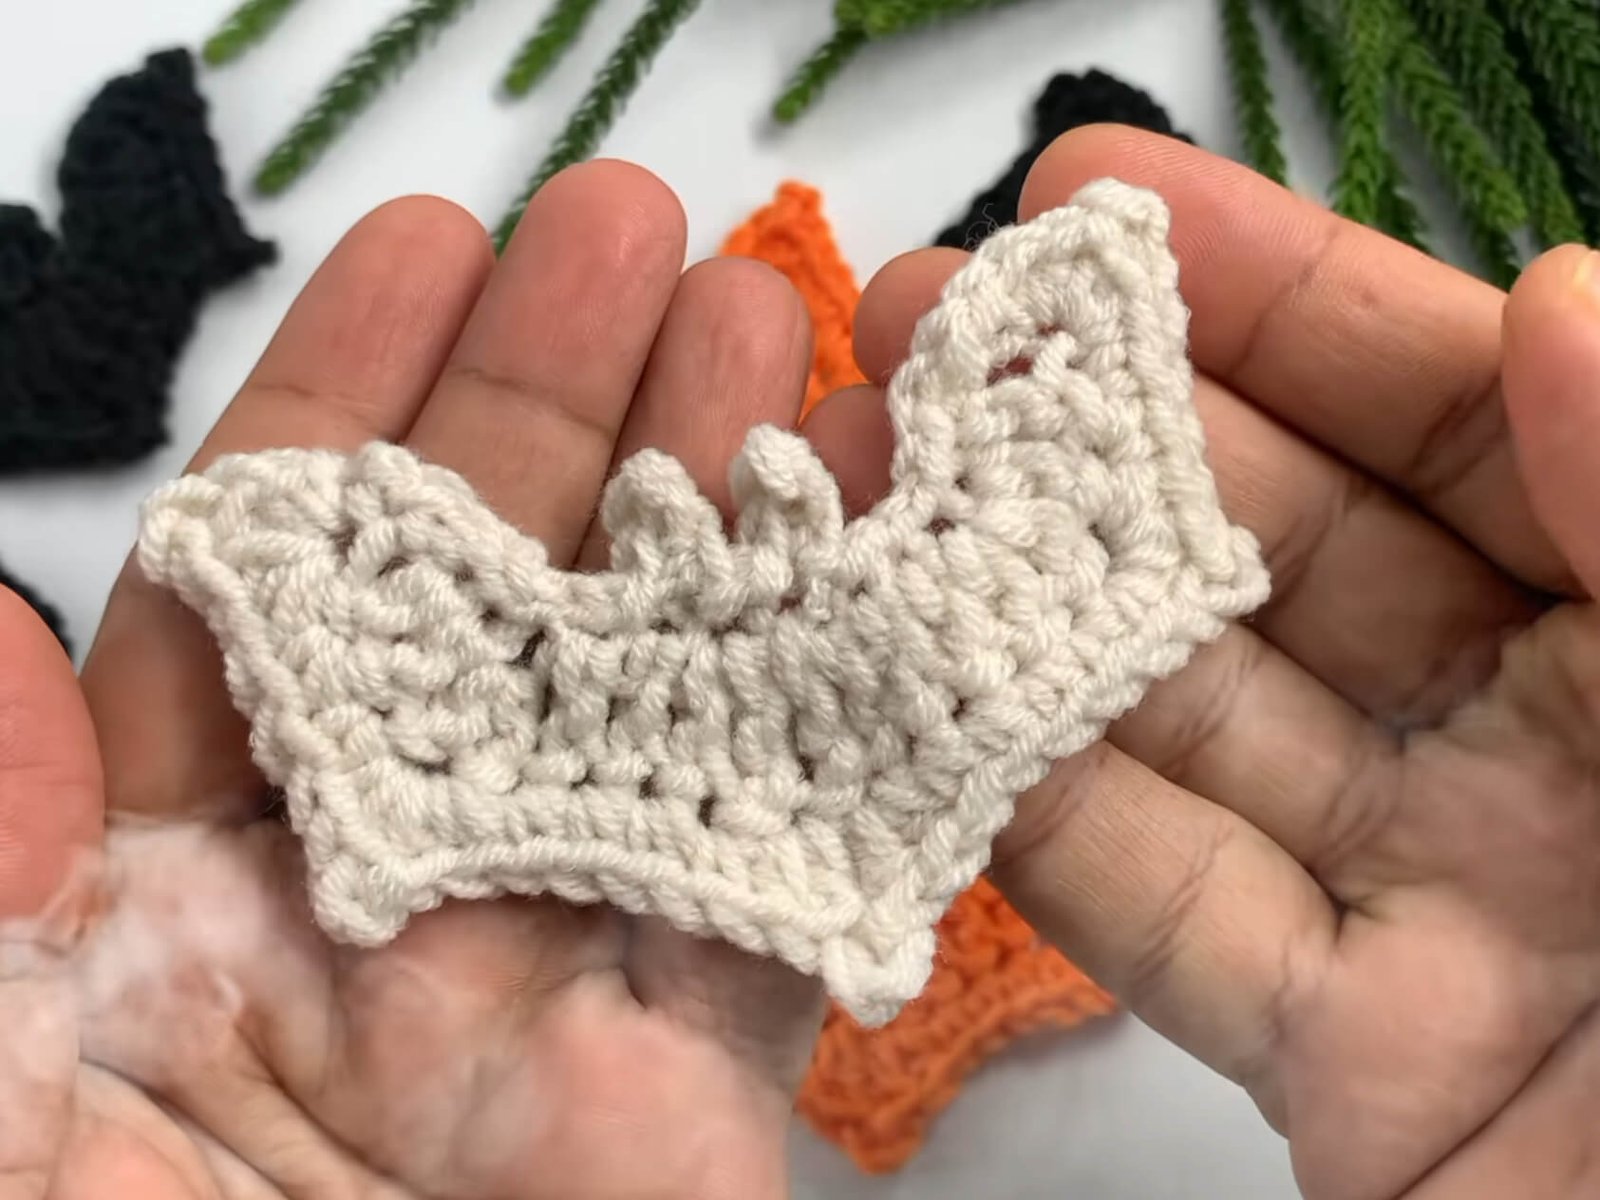
Ready to add a spooky yet undeniably charming touch to your seasonal decor? This cute Crochet Halloween Bat is the perfect weekend stash-buster!
Whether you are stringing up a festive garland, crafting a cute keychain, or looking for a quick Halloween applique to pin onto a cozy sweater, this beginner-friendly design comes together in just a few quick rounds.
Materials and Preparation
Materials:
- Yarn: Medium weight yarn (Category 4 / Worsted or DK) in Black, Off-White, Orange, or any festive Halloween shade of your choice.
- Stuffing (Optional): Not required as this is a flat appliqué design, but blocking spray or stiffening spray can be used if you want extra structure.
Tools:
- Crochet Hook: 3.0 mm – 3.5 mm hook (or a size suitable for your chosen yarn weight to achieve clean, crisp stitch definition).
- Yarn Needle: Tapestry needle for weaving in loose ends cleanly.
- Stitch Marker: Optional, useful for keeping track of chain spaces.
- Scissors: Scissors for trimming yarn.
Preparation Notes:
- Master basic stitches such as chain (
ch), single crochet (sc), half double crochet (hdc), double crochet (dc), and treble crochet (tc). - Pay close attention to stitch placement when making Picot points, as inserting your hook into the correct loops at the base of the stitch ensures razor-sharp wing tips.
Abbreviations and Notes
Abbreviations:
- ch: Chain
- sc: Single Crochet
- hdc: Half Double Crochet
- dc: Double Crochet
- tc: Treble Crochet
- dc inc: Double Crochet Increase (2 dc worked into the same stitch)
- sl st: Slip Stitch
- sk: Skip
Pattern Notes:
- The bat’s body is worked flat in rows starting from a foundation chain.
- Picot points create the signature pointy edges for the bat wings and ears.
- When working slip stitches into the base of stitches (for Picots), make sure your tension is comfortable so your hook slides through smoothly.
Gauge, Approximate Size, and Pattern Notes
Gauge:
Gauge is not critical for this decorative applique project. Keep your stitches firm and tidy so the wings hold their defined shape.
Finished Size:
Approximately 4 inches (10.16 cm) wide from wingtip to wingtip when using standard worsted weight yarn and a 3.5 mm hook.
Special Techniques:
- Treble Crochet (
tr): Yarn over twice, insert hook, yarn over, pull through 2 loops three times. - Wing Picot Stitch: Combining
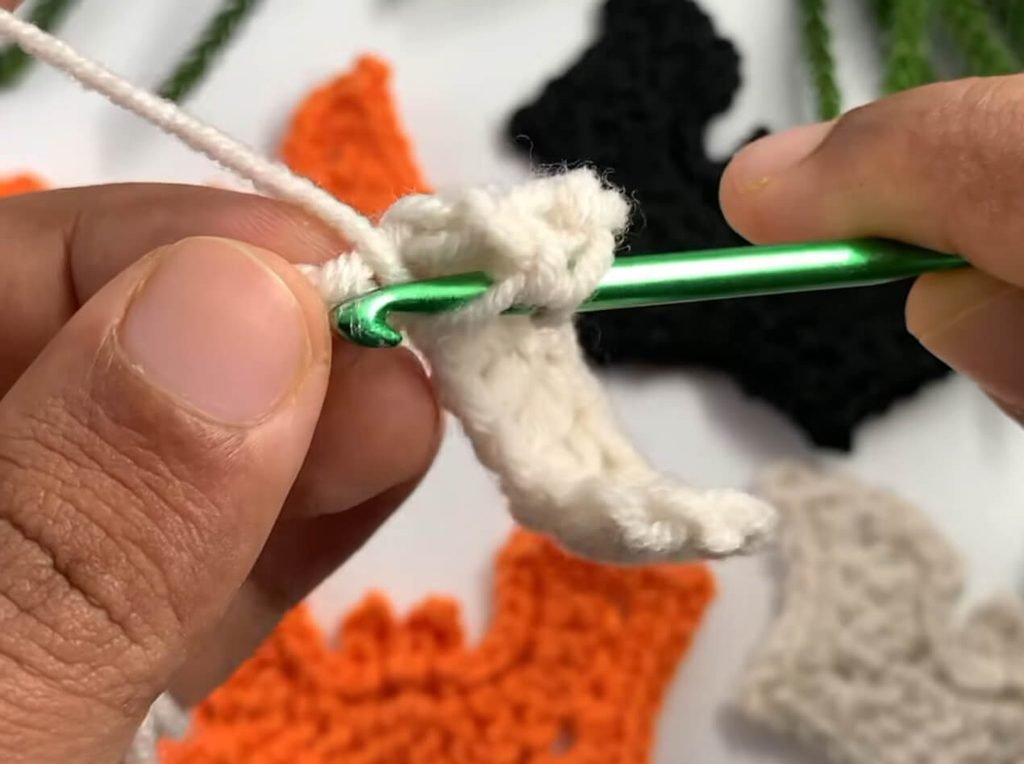
hdc,ch 2,sl stinto the base, followed byhdcin the same stitch creates the textured scalloped points. - Ear Chains: Short chain-3 loops attached with slip stitches to form pointy ears along the top outline.
Pattern
Step 1: Foundation Chain
- Start with a slip knot on your hook.
- Foundation: Ch 15.
Step 2: Row 1 – Body & Base Wings
- Row 1: Skip first 3 ch (counts as 1 dc), dc in 4th ch from hook, dc in next ch, dc inc in next ch, dc in next 2 ch, (dc, tr) in next ch, (tr, dc) in next ch, dc in next 2 ch, dc inc in next ch, dc in next ch, dc inc in last ch. Turn work.
Step 3: Row 2 – Shaping Wings & Points
- Row 2: Ch 1 to turn.
- In 1st st: sc, hdc, ch 2, sl st into base of hdc, hdc, sc (1st wing point created).
- sc in next 2 sts.
- In next st: sc, hdc, ch 2, sl st into base of hdc, hdc, sc (2nd wing point created).
- sc in next 4 sts.
- In next st: hdc, dc, ch 3, sl st into base of dc (Center highest wing point created).
- In next st: dc, hdc.
- sc in next 4 sts.
- In next st: sc, hdc, ch 2, sl st into base of hdc, hdc, sc (4th wing point created).
- sc in next 2 sts.
- In top of turning chain (last st): sc, hdc, ch 2, sl st into base of hdc, hdc, sc (5th wing point created).
Step 4: Finishing Edge Work & Ears
- Sl st across wing edge: Sl st in next 2 ch, ch 1.
- Sl st along upper edge: Sl st in next 6 sts.
- Right Ear: Ch 3, skip 1st ch, sc in 2nd ch from hook, sc in next ch, sl st back into starting base st.
- Bridge between ears: Sl st in next st.
- Left Ear: Ch 3, skip 1st ch, sc in 2nd ch from hook, sc in next ch, sl st back into starting base st.
- Finish upper wing edge: Sl st in next 5 sts, ch 1, sl st in next 2 ch.
- Finishing: Ch 1, cut yarn leaving a short tail. Fasten off.
Step 5: Fasten Off and Finish
- Weaving Ends: Thread the yarn tail into your yarn needle and carefully weave it along the back loops of Row 1 and Row 2.
- Blocking (Optional): Gently steam block or finger-shape the points of the picots and bat ears so they stay crisp and pointed.
Step by Step Guide
Detailed Pattern Breakdown
1. Foundation & Row 1 (Body Architecture)
- Wing Center & Arching: The pattern begins with a foundation chain of 15, creating a sturdy backbone. Skipping 3 chains acts as the turning double crochet.
- Graduated Stitch Heights: Using treble crochets (
tc) right at the center allows the top rim of the bat wings to flare upward naturally, while double crochets (dc) build up the surrounding wing span. - Symmetrical Incremements: Working double crochet increases (
dc inc) on both outward halves mirrors the wing arches identically.
2. Row 2 (Scalloped Wings & Picot Peaks)
- Outer Points (Ch-2 Picots): The outer points of the bat wings combine
sc,hdc, andch 2picots. Inserting the hook back into the 3 loops at the base of the half double crochet locks the point into place without flopping over. - Central Wing Peak (Ch-3 Picot): The middle of each wing uses taller
dcstitches paired with a slightly larger 3-chain picot, giving the center wing tip extra prominence and gothic flair.
3. Edging & Ear Construction
- Ear Sculpting: Instead of making separate ear pieces to sew on, the bat ears are seamlessly added using tiny chain-3 spires worked directly into the top row edge.
- Slip Stitch Border: Working smooth slip stitches around the remaining raw perimeter creates a crisp, professional finish that prevents the edges from curling.
Pattern Question:
Q: My wing tips are curling or looking floppy instead of sharp. How can I fix this?
A: Wing curling usually happens if your hook size is too large for your yarn or if your picot chains are loose. Drop down a hook size (e.g., from 3.5 mm to 2.5 mm or 3.0 mm) to stiffen the stitches. When creating the picot (ch 2 or ch 3), pull your slip stitch firmly at the base of the hdc or dc to lock the point in place.
Q: Can I turn this flat bat pattern into a 3D plush or garland?
A: Absolutely! To make a 3D stuffed bat, simply crochet two identical bat pieces. Place them wrong-sides together, single crochet or slip stitch around the edges while inserting a small amount of polyfill into the center body before closing. For a festive garland, crochet 5 to 10 bats in alternating Halloween colors (black, orange, white, purple) and string them together along a long chain.
Q: What yarn weight works best for this pattern?
A: Worsted weight yarn (Category 4) with a 3.0 mm hook gives a great balance of size and structural stiffness. If you want tiny bat pins or earrings, use cotton embroidery floss or fingering weight yarn with a 1.5 mm – 2.0 mm steel hook!