
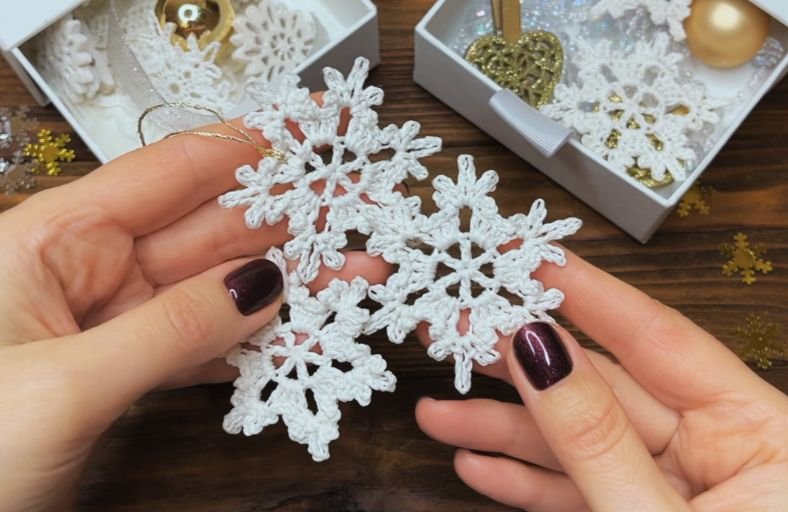
Ever dreamed of a winter wonderland where snow never melts and cleanup involves zero shoveling?
Whether you are looking to jazz up your Christmas tree, add a delicate handmade accent to holiday gifts, or simply whip up a quick festive project in under fifteen minutes, this quick and easy mini snowflake is your ultimate craft remedy!
Featuring a lightweight 3-round construction, this project transforms leftover cotton thread into pure holiday magic.
Materials and Preparation
Materials:
- Yarn: Crochet thread or fine yarn (Recommended: 50 g / 169 m cotton yarn in White).
- Starch Solution: Potato starch solution (or PVA glue mix) for blocking and stiffening the finished snowflakes.
Tools:
- Crochet Hook: 2.1 mm size hook (or appropriate size matching your chosen yarn weight).
- Yarn Needle & Scissors: For weaving in ends and trimming thread.
- Rust-proof Pins & Blocking Board: Essential for shaping and setting the snowflake points.
Preparation Notes:
- Brush up on basic stitches including chain (
ch), double crochet (dc), and slip stitch (sl st). - Maintain a neat, even tension so that all six delicate points remain symmetrical prior to blocking.
Abbreviations and Notes
Abbreviations:
- MR: Magic Ring
- ch: Chain
- dc: Double Crochet
- sl st: Slip Stitch
- ch-sp: Chain Space
Pattern Notes:
- The pattern is worked in 3 quick rounds in the round.
- The size of your snowflake will vary based on yarn thickness and hook selection.
- Picot loops are created using varying chain lengths to build the iconic starburst points.
Gauge, Approximate Size, and Pattern Notes
Gauge:
Gauge is not critical for this project. Keep stitches uniform to ensure crisp, clean points when pinned out.
Finished Size:
Approximately 2.5–3.5 inches (6.35–8.89 cm) in diameter, depending on yarn weight and blocking tightness.
Special Techniques:
- Multi-Loop Picot Point: Combining a cluster of
ch 3,ch 5,ch 7,ch 5, andch 3loops joined by slip stitches to form a ornate snowflake tip. - Starch Blocking: Soaking the finished motifs in potato starch solution and pinning out the main
ch 7loops to harden the shape into a rigid ornament.
Step-by-Step Pattern
Part 1: Ring Base & Inner Spokes
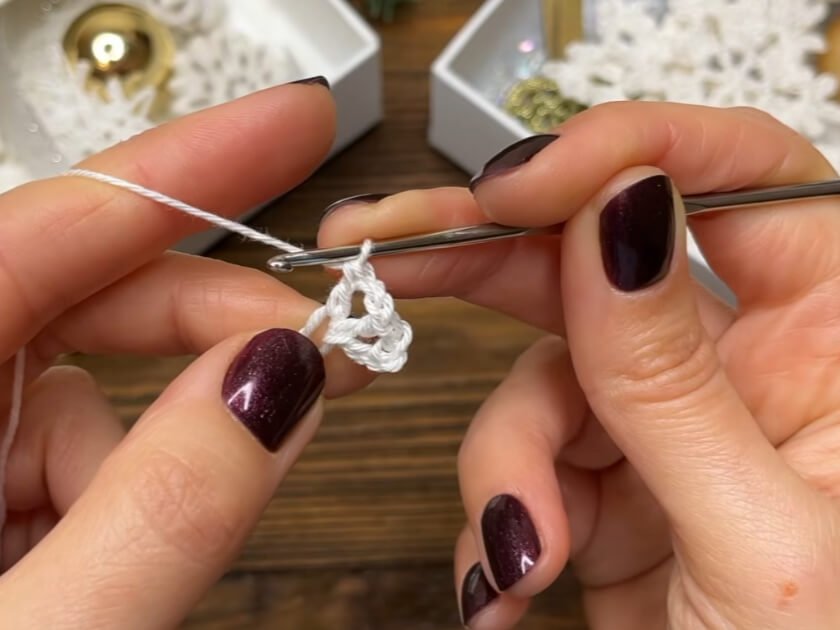
- Foundation: Start with a Magic Ring (MR).
- Round 1: ch 3 (counts as 1st dc), ch 2, [1 dc into MR, ch 2] 5 times. Join with sl st into the 3rd ch of the starting ch-3. (Total: 6 dc and 6 ch-2 spaces).
Part 2: Outer Frame & Lacy Loops
- Round 2: sl st under the first ch-2 space. ch 3 (counts as 1st dc), 3 dc into the same ch-2 space (4 dc total in this space), ch 2. [4 dc into the next ch-2 space, ch 2] 5 times. Join with sl st into the 3rd ch of the starting ch-3.
Part 3: Snowflake Points & Edging
- Round 3:
- First Point: sl st across the next 3 dc to reach the top corner.
- Work the loop cluster: ch 3, sl st into same space; ch 5, sl st into same space; ch 7, sl st into same space; ch 5, sl st into same space; ch 3, sl st into top of the first dc.
- Repeat: [sl st across to the next point, work the loop cluster (ch 3 / sl st, ch 5 / sl st, ch 7 / sl st, ch 5 / sl st, ch 3 / sl st)] 5 times.
- sl st to finish, ch 1, fasten off yarn.
Part 4: Assembly, Blocking & Finishing
- Weave in Ends: Use a yarn needle to secure all loose ends neatly at the back.
- Stiffening Solution: Dip the snowflake into a prepared potato starch solution (or fabric stiffener) until thoroughly saturated. Squeeze out excess liquid gently.
- Pinning: Place the motif onto a blocking board. Insert rust-proof pins into each of the 6 outer
ch 7loops, stretching them evenly to form a crisp 6-pointed star. - Drying: Allow to air dry completely until stiff and rigid before attaching a hanging ribbon or thread.
Detailed Pattern Breakdown
1. Foundation and Inner Star Breakdown:
- The project opens with a standard Magic Ring anchor, transitioning into 6 double crochet spokes separated by 2 chains. This creates a symmetrical hexagonal foundation that serves as the anchor frame for all 6 snowflake rays.
2. Shell Base Building Breakdown:
- Round 2 expands the center framework by placing 4-dc shell clusters inside each ch-2 window. The ch-2 gaps between these shells create breathing space, maintaining a lightweight lace texture without collapsing into a solid disk.
3. Decorative Point Cluster Breakdown:
- The iconic snowflake flare in Round 3 uses a progressive chain height system (
ch 3rightarrowch 5rightarrowch 7rightarrowch 5rightarrowch 3). Anchoring each loop with a slip stitch into the exact same base stitch creates a crowned burst effect. The longestch 7center loop acts as the primary tension anchor during the stiffening and blocking phase.
Pattern Question:
Question: Why does my crocheted snowflake look limp or curled up, and how do I get it to lie perfectly flat like the ones in photos?
Answer: Unblocked lace work naturally curls and lacks structure due to yarn softness. To achieve crisp, picture-perfect snowflakes, stiffening is essential.
Submerge your completed piece in a cooked potato starch mix, sugar-water solution, or fabric stiffener. Pin out only the main outer ch 7 loops onto a blocking mat using rust-proof pins, pulling them taut into a balanced 6-point star shape, and leave it to dry completely overnight.