
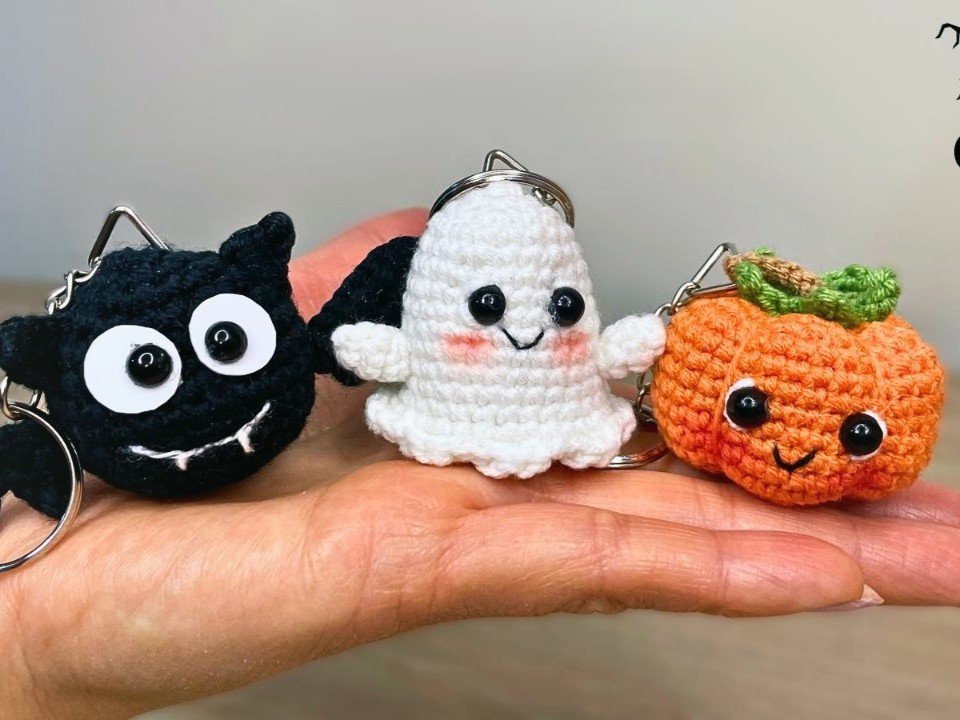
Ready to add a dash of spooky sweetness to your keyring without spending weeks stuck on a massive project?
Whether you need last-minute Halloween gifts, festive party favors, or just a quick stash-busting project to keep your hands busy while binge-watching scary movies, this trio of keychains is here to save the day!
Meet our terrifyingly tender team: a cheerful pumpkin with ridged details, a friendly little ghost sporting playful ruffled edges, and a cozy bat who would much rather steal a hug than your blood.
Grab your hook, fire up your hot glue gun, and let us whip up these three spooktacular companions together!
Materials and Preparation
Materials:
- Yarn (Sport / Fine Weight):
- White yarn (Ghost body and arms)
- Orange yarn (Pumpkin body)
- Black yarn (Bat body, wings, and ears)
- Green yarn (Pumpkin leaves)
- Brown yarn (Pumpkin stem)
- Stuffing: High-quality polyester polyfill stuffing.
- Safety Eyes / Craft Eyes:
- 3 pairs of 5 mm safety eyes (or screw-back black craft eyes).
- Flat plastic craft pieces (e.g., recycled margarine tub lids) for making the bat’s custom eye backing discs.
- Embroidery Thread:
- Black embroidery thread (Smiles and mouth details).
- White embroidery thread (Bat fangs and eye highlight details).
- Light or dark gray embroidery thread (Bat mouth).
- Extra Notions:
- 3 Metal keychain rings with chains.
- Pink makeup blush and a small brush or cotton swab (for blushing the ghost and pumpkin cheeks).
- Hot glue sticks or fabric glue.
Tools:
- Crochet Hook: Size 1.75 mm (or an appropriately small hook to ensure tight, seamless stitches that keep stuffing hidden).
- Yarn Needle: Tapestry needle for closing rounds and weaving in ends.
- Stitch Marker: Row separator or locking stitch marker.
- Scissors: Sharp craft scissors.
Preparation Notes:
- Maintain a firm, consistent tension throughout all pieces to prevent polyfill from peeking through the stitches.
- Pre-cut small plastic discs (about 1 cm / 0.4 inches in diameter) if you plan on assembling the custom backings for the bat’s eyes.
Abbreviations and Notes
Abbreviations:
- MR: Magic Ring
- ch: Chain stitch
- sc: Single crochet
- inc: Single crochet increase (2 sc in the same stitch)
- dec: Single crochet decrease / sc2tog (2 sc joined as 1 stitch)
- hdc: Half double crochet
- dc: Double crochet
- sl st: Slip stitch
- BLO: Back Loop Only
- st(s): Stitch(es)
Pattern Notes:
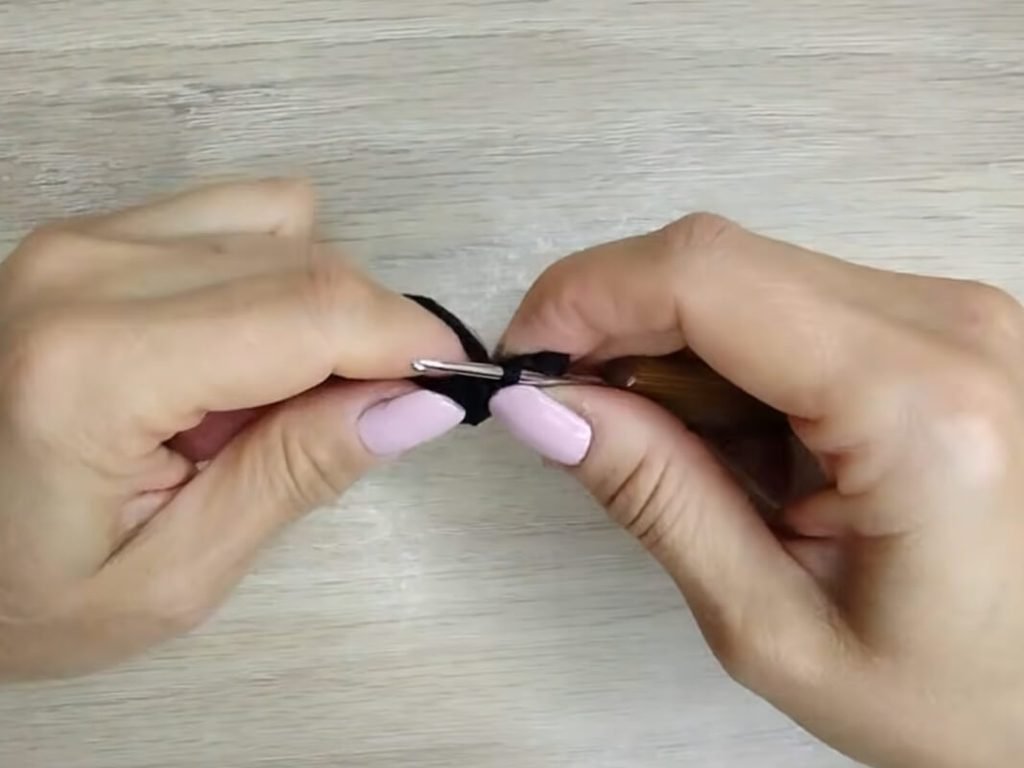
- The main body parts of all three keychains are worked in continuous rounds (spirals) without joining, unless explicitly stated otherwise. Use a stitch marker to mark the first stitch of each round.
- The ruffles, leaves, wings, and stems are worked in joined rounds or back-and-forth flat chains as noted.
Gauge, Approximate Size, and Pattern Notes
Gauge:
Exact gauge is not critical for this project, but stitches should be tight enough to prevent stuffing from escaping.
Finished Size:
Each completed keychain plushie measures approximately 1.5–2.0 inches (4–5 cm) in height, making them lightweight and ideal for keyrings, backpacks, or festive zipper pulls.
Special Techniques:
- Inverted Magic Ring Closure: Threading the yarn tail through the front loops of the final round to pull the opening cleanly shut.
- Segment Contouring (Pumpkin): Wrapping long yarn strands vertically around the stuffed sphere to pull inward and shape distinct pumpkin ridges.
- BLO Working: Working into back loops to create a exposed ridge of front loops for working decorative edges (such as the ghost’s lower ruffle).
Step-by-Step Pattern
Part 1: Little Ghost Keychain
Ghost Body
Crochet in a spiral using white yarn:
- R1: MR 6 sc (6)
- R2: 6 inc (12)
- R3: (1 sc, inc)*6 (18)
- R4: 18 sc (18)
- R5: (2 sc, inc)*6 (24)
- R6: 24 sc (24)
- R7: (7 sc, inc)*3 (27)
- R8–R12: 27 sc (27) (5 rounds total)
- R13: (8 sc, inc)*3 (30)
- R14: BLO 30 sc (30)
- R15: (3 sc, dec)*6 (24)
- R16: (2 sc, dec)*6 (18)
- Stuff the body moderately with polyfill.
- R17: (1 sc, dec)*6 (12)
- R18: 6 dec (6)Fasten off leaving a 10 cm tail. Thread needle through the 6 front loops, pull tight to close, and weave tail through the top of the head.
Bottom Skirt / Wave Ruffle
Attach white yarn to the exposed front loops of R14:
- R1: (4 sc, inc)*6 in front loops (36)
- R2: (sl st, 2 dc in next st, 2 dc in next st, sl st)*9 around to create wavy edges.Fasten off with a seamless invisible join and weave in ends.
Ghost Arms (Make 2)
- R1: MR 6 sc (6)
- R2–R3: 6 sc (6)Fasten off leaving a short tail to tuck inside as internal padding or to attach.
Part 2: Smiling Pumpkin Keychain
Pumpkin Body
Work in a spiral using orange yarn:
- R1: MR 6 sc (6)
- R2: 6 inc (12)
- R3: (1 sc, inc)*6 (18)
- R4: (2 sc, inc)*6 (24)
- R5: (3 sc, inc)*6 (30)
- R6: (4 sc, inc)*6 (36)
- R7–R13: 36 sc (36) (7 rounds total)
- R14: (4 sc, dec)*6 (30)
- R15: (3 sc, dec)*6 (24)
- R16: (2 sc, dec)*6 (18)
- Stuff the sphere firmly with polyfill.
- R17: (1 sc, dec)*6 (12)
- R18: 6 dec (6)Fasten off leaving a long tail (approx. 30 cm / 12 inches) for shaping the ridges.
Leaf Star
Work with blue yarn:
- R1: MR 5 sc, sl st to first st.
- Leaves (5 points): (Ch 5, starting in 2nd ch from hook: sl st, 1 sc, 1 hdc, sl st into next st of MR)*5 times.Fasten off.
Pumpkin Stem
Crochet with brown yarn:
- Foundation: Ch 6.
- R1: Starting in 2nd ch from hook, 5 sl st. (5)Fasten off.
Part 3: Spooky Bat Keychain
Bat Body & Head
Work in a spiral using black yarn:
- R1: MR 6 sc (6)
- R2: 6 inc (12)
- R3: (1 sc, inc)*6 (18)
- R4: (2 sc, inc)*6 (24)
- R5: (3 sc, inc)*6 (30)
- R6–R10: 30 sc (30) (5 rounds total)
- R11: (3 sc, dec)*6 (24)
- R12: (2 sc, dec)*6 (18)
- Stuff the body with polyfill.
- R13: (1 sc, dec)*6 (12)
- R14: 6 dec (6)Fasten off and pull opening closed.
Bat Wings (Make 2)
Crocheted with black yarn:
- Foundation: Ch 7.
- Row 1: 3 sc, 3 hdc in remaining chains. In the last chain, work 1 sc inc to turn.
- Row 2 (Peaks): (Ch 3, 1sl, hdc ), 3sl, (Ch 3, 1sl, hdc ), 2sc, (Ch 3, 1sl, hdc ), 1sl, 1ch.
Bat Ears (Make 2)
Crocheted with black yarn:
- Foundation: Ch 4.
- Row 1: Sl st in 2nd ch from hook, 1 sc in next ch, 1 hdc in last ch. (3)Fasten off.
Part 4: Assembly, Facial Features & Finishing
1. Ghost Assembly & Face:
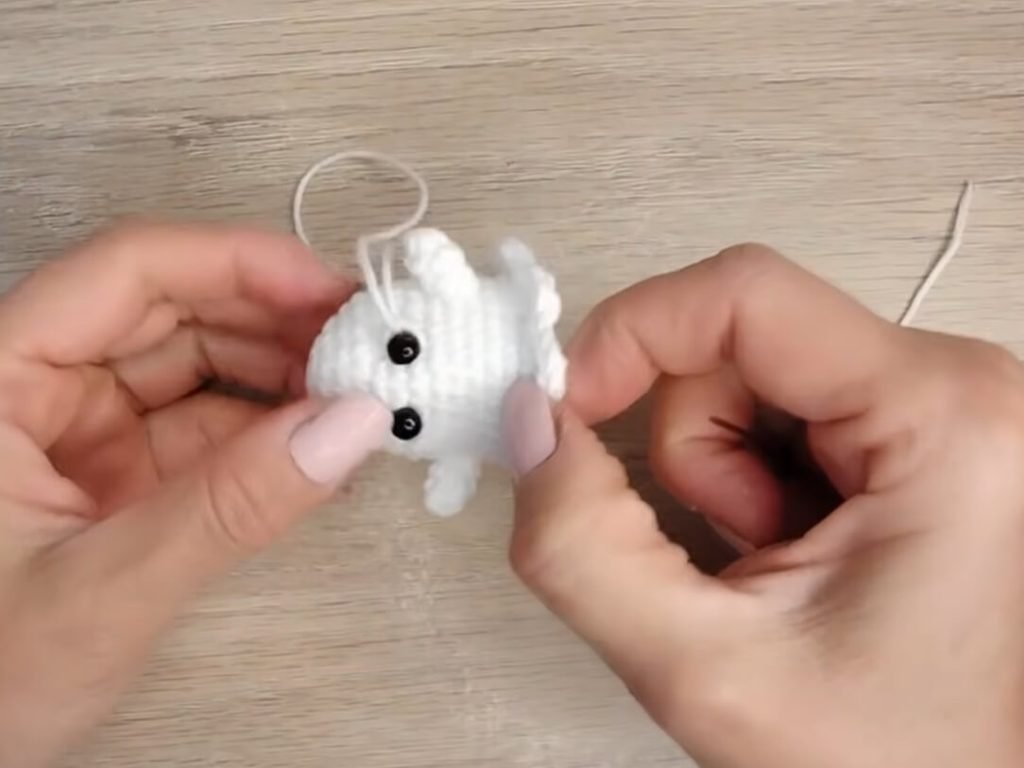
- Attach 5 mm safety eyes between R7 and R8, separated by 2 stitches.
- Use white embroidery thread to stitch a small curved highlight arc along the outer side of each eye.
- Glue or sew the two small arms to the sides, just above the ruffle line.
- Thread black embroidery thread to stitch a “V” or “U” shaped smiling mouth across 2 stitches, centered below the eyes.
- Apply a gentle dab of pink blush right under the eyes for cute rosy cheeks.
- Attach the keychain chain securely to the top center of the head.
2. Pumpkin Assembly & Shaping:
- Thread the 30 cm orange yarn tail onto a tapestry needle. Pass the needle from the top center hole straight down through the bottom center magic ring. Wrap the yarn over the outside of the pumpkin and re-insert through the center, pulling tightly to create 6 even indented vertical ridges around the body. Secure with a knot at the base.
- Insert the brown stem into the center hole of the green leaf star. Glue or sew both assembled pieces to the top center of the pumpkin.
- Insert 5 mm safety eyes between R9 and R10, separated by 3 stitches.
- Stitch a small single-stitch smile with black embroidery thread.
- Apply pink blush below each eye and attach the keychain chain to the top.
3. Bat Assembly & Face:
- Custom Eye Backing: Cut two 1 cm plastic circles from a recycled container lid. Position 5 mm safety eyes onto the plastic backings or glue black eye pupils onto white felt/plastic discs. Insert eyes between R6 and R7, spaced about 1.5 mm apart.
- Fangs & Smile: Using gray thread, stitch a gentle curved smile line across the face. Using white embroidery thread, add two small downward triangular stitches along the smile line to form tiny vampire fangs!
- Ears & Wings: Glue or sew the ears to the top sides of the head (R2–R4 from center, spaced 3 stitches apart). Glue or sew the scalloped wings to the back sides, 2 rounds below the ears.
- Attach the metal keychain chain to the top of the head.
Detailed Pattern Breakdown
1. Ghost Pattern Geometry & Construction:
The ghost’s design utilizes a top-down Amigurumi spherical dome that gradually flares out into a wider body base.
- R1–R7: Establishes the rounded head profile using standardized increment ratios (
6 scup to27 sc). - R8–R12: Maintains straight cylindrical walls for height.
- R14 BLO Technique: Working in the back loops creates a distinct interior shelf where the body narrows inward (
R15–R18) to form a flat-bottomed base for stuffing, while leaving the external front loop ridges accessible. - R1–R2 Ruffle: Uses the exposed outer loops from R14 to construct a decorative wavy skirt (
sl st, 2 dc, 2 dc, sl st) without interrupting the core stuffed volume.
2. Pumpkin Ridges & Botanical Accents:
The pumpkin relies on geometric symmetry and external tensioning to transform a plain sphere into an organic ribbed gourd.
- 36 Stitches Base: The sphere expands to 36 stitches, which conveniently divides by 6 to yield 6 equal segments for wrapping the thread.
- Segment Contouring: Pulling the long yarn tail tightly through the central axis compresses the soft polyfill internally, pulling the outer walls inward to form 6 plump, realistic segments.
- Star Leaf Structure: The green leaves utilize 5 foundation chain spokes (
ch 5) worked with height gradient stitches (sl st,sc,hdc) to form pointed botanically-accurate leaf tips radiating from a single center point.
3. Bat Anatomic Shaping & Custom Accents:
The bat combines a simple head-and-body globe with sharp angular appliques to create contrast.
- Spherical Foundation: The body uses a standard 30-stitch sphere layout (
R1–R14), maximizing crafting efficiency. - Pointed Triangles (Ears): Worked on a short 4-chain base using ascending stitch heights (
sl st→sc→hdc) to naturally produce a sharp right-angled triangle profile. - Scalloped Wings: Constructed using a combination of
scandhdcstitches on a chain base, topped with chain-loop spikes (ch 3, sl st, hdc) that mimic the natural webbing of bat wings. - Visual Contrast: High-contrast eye discs (white backing under black pupils) paired with delicate embroidery (
gray smile+white fangs) give the dark black yarn face maximum readability and expression.
Pattern Question:
Question: How can I make sure the bat’s facial features and eyes stand out clearly when working with pure black yarn?
Answer: Working with dark black yarn can sometimes obscure delicate details, but a few simple tricks will make your bat’s face pop!
First, use custom white backing discs (made from white felt or cut pieces of flexible white plastic container lids) behind your black safety eyes to create a bright ring around the pupils.
Second, swap pure black embroidery thread for light gray or charcoal thread when stitching the mouth line; this provides high contrast against the black body while keeping a clean aesthetic.
Finally, stitch the tiny fangs using bright white embroidery floss so they contrast sharply against both the black yarn and the gray smile line!