
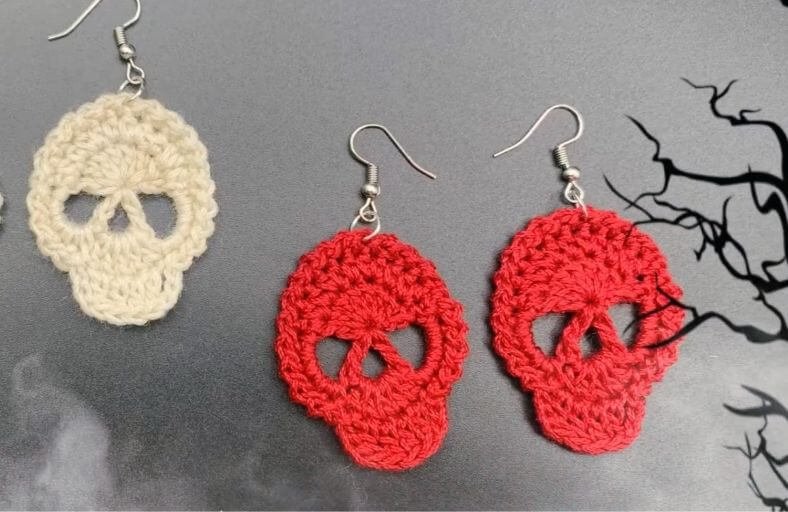
Who says spooky can’t be stylish?
Whether you are gearing up for Halloween, assembling the ultimate gothic accessory, or simply looking to add a little bit of playful edge to your everyday outfit, these lightweight crochet skull earrings are guaranteed to turn heads!
Crafted with delicate thread and clean stitches, this pattern creates a crisp, structured skull shape complete with hollow eye sockets and a defined jawline.
Best of all, it comes together in just three quick rounds, making it an insanely fast project you can whip up in an afternoon.
Materials and Preparation
Materials:
- Yarn/Thread: Fine crochet thread or lace-weight yarn (Color options: Classic Bone White/Off-White, Vampy Red, or Gothic Black).
- Earring Hardware:
- 2 Fishhook ear wires.
- 2 Jump rings (6 mm).
- Fabric Stiffener (Optional): Mod Podge, starch, or clear textile stiffener to help the earrings maintain their shape when worn.
Tools:
- Crochet Hook: 1.5 mm steel crochet hook.
- Yarn Needle: Tapestry/darning needle for weaving in ends.
- Flat-Nose Pliers: For opening and closing jump rings.
- Scissors: Embroidery scissors for clean thread cuts.
Preparation Notes:
- Work with a tight, firm tension. Since lace thread and small steel hooks require fine motor control, keeping your stitches snug ensures the skull maintains a sharp silhouette without floppy eye loops.
- If you are new to working with fine lace weight yarn, keep your workspace well lit and take frequent breaks to rest your eyes.
Abbreviations and Notes
Abbreviations:
- MR: Magic Ring
- ch: Chain stitch
- sc: Single Crochet
- hdc: Half Double Crochet
- hdc inc: Half Double Crochet Increase (2 hdc in the same stitch)
- dc: Double Crochet
- sl st: Slip Stitch
- ch-sp: Chain Space
Pattern Notes:
- The pattern is worked in joined rounds starting from a central Magic Ring to form the forehead and eye sockets, expanding outward, and finishing with an ornamental slip-stitch border and jawline.
- All stitches are written in standard US Crochet Terms.
- Pay close attention to chain spaces in Round 1, as they form the foundational eye openings for the skull.
Gauge, Approximate Size, and Pattern Notes
Gauge:
Gauge is not critical for this jewelry project. However, maintaining consistent tension with a 1.5 mm hook ensures both earrings turn out identical in size.
Finished Size:
Approximately 1.5 to 2 inches (3.8 to 5 cm) in length (excluding the earring wire).
Special Techniques:
- Chain Space Eye Sockets: Creating large chain spaces in Round 1 and working heavy stitch clusters into them in Round 2 gives the skull its iconic hollow eyes and brow ridge without needing separate cutouts or sewing.
- Textured Picot-Style Edging: A repeating sequence of
ch 1, sl stalong the outer border provides a polished, beaded rim around the skull.
Step-by-Step Pattern
Part 1: Forehead & Eye Sockets
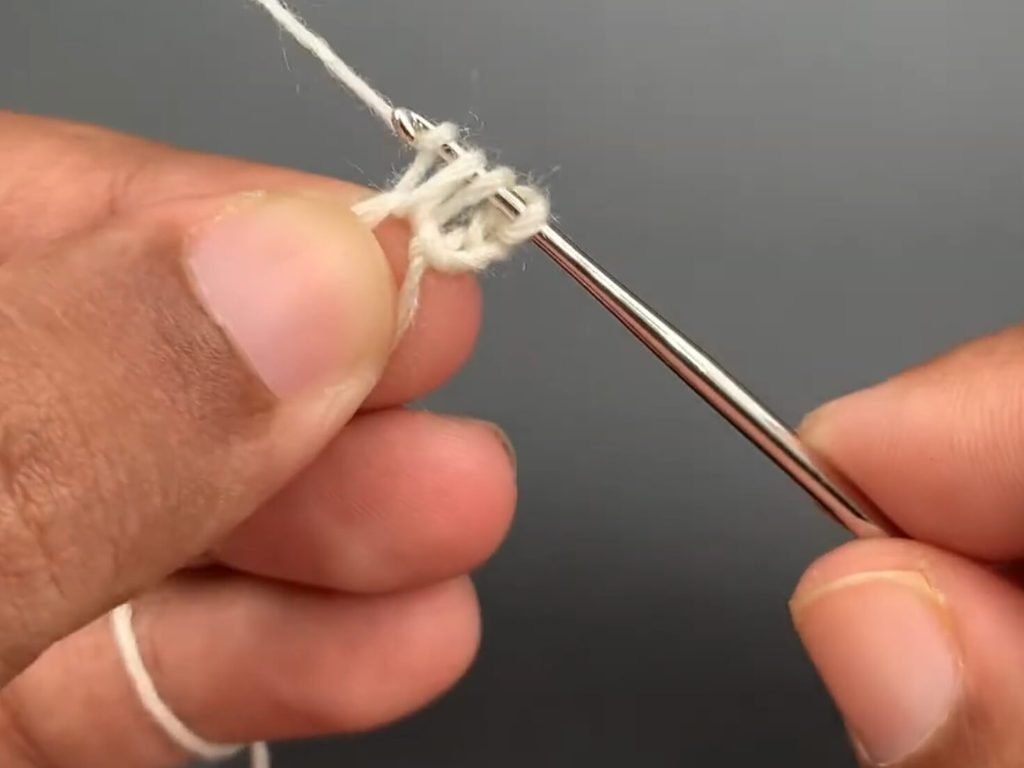
Start with a Magic Ring using your chosen thread color:
- Round 1: MR, ch 3 (counts as first dc), work 7 dc into the ring, ch 5, 1 dc into the ring, ch 3, 1 dc into the ring, ch 5. Pull thread tail tight to close the ring. Join with a sl st to the 3rd chain of the initial ch-3.
Part 2: Skull Contour & Facial Features
- Round 2:
- ch 2 (counts as first hdc), hdc inc into the next st, 1 hdc into the next st, hdc inc into the next st, 1 hdc into the next st, hdc inc into the next st, 1 hdc into the next st, hdc inc into the last st of the crown section.
- Work 5 sc directly into the ch-5 sp (first eye socket).
- Work 5 dc directly into the central ch-3 sp (nasal cavity area).
- Work 5 sc directly into the next ch-5 sp (second eye socket).
- Join with a sl st to the 2nd chain of the starting ch-2.
Part 3: Ornamental Edging & Jawline
- Round 3:
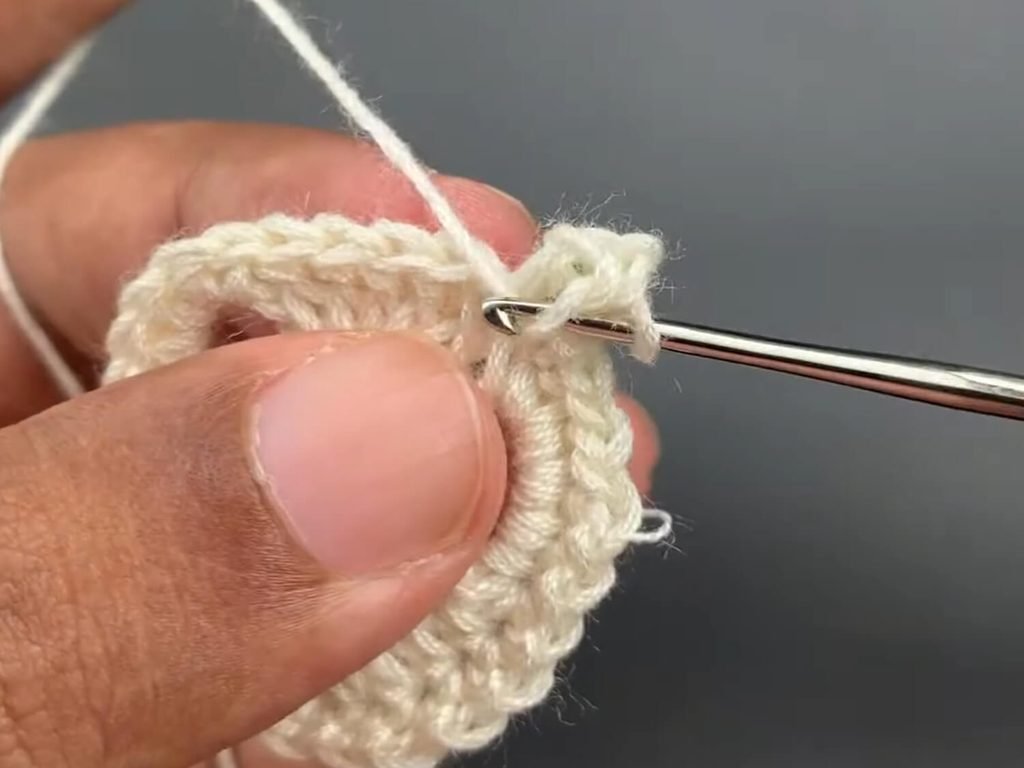
- Top & Side Border: (ch 1, sl st in next st) repeat around the upper edge of the head until you reach the chin area.
- Mouth / Teeth Section: ch 3, work 1 dc into each of the next 4 sts, ch 3, sl st into the next st.
- Remaining Border: Continue (ch 1, sl st in next st) across the remaining edge until you reach the starting point. Fasten off and leave a tail for weaving.
Part 4: Finishing & Jewelry Assembly
- Weaving Ends: Thread the yarn tail onto your tapestry needle and carefully weave it back and forth through the back of the stitches. Snip excess thread cleanly.
- Blocking & Stiffening (Recommended): Lightly pin the skulls into shape on a blocking board. Apply a water-diluted textile stiffener or Mod Podge to the backside and let dry completely.
- Hardware Attachment:
- Using flat-nose pliers, gently twist open a 6 mm jump ring sideways.
- Slip the jump ring through the top center stitch of the forehead (centered between the eyes).
- Slide the loop of the fishhook ear wire onto the jump ring.
- Securely close the jump ring with your pliers.
- Repeat for the second earring.
Detailed Pattern Breakdown
1. Forehead & Eye Base Mechanics (Round 1):
- Constructing the skull geometry relies on strategic negative space created directly inside the Magic Ring.
- The initial group of 8 dc stitches forms the curved forehead/cranium block across the top half.
- The symmetric placement of two large ch-5 loops separated by a central ch-3 loop establishes the foundational openings for the left eye socket, nose center, and right eye socket simultaneously.
2. Facial Expansion & Volumetric Shaping (Round 2):
- Switching to
hdcstitches interspersed with regularhdc incacross the top half expands the crown, rounding off the skull top seamlessly. - Anchoring 5
scstitches directly inside each ch-5 space creates a smooth, firm rim around the hollow eye sockets. - Placing 5
dcstitches into the central ch-3 space pushes the lower bridge outward, providing the structural mass needed for the center face.
3. Jawline Definition & Edging Mechanics (Round 3):
- The
ch 1, sl stedging adds structural rigidity and a subtle picot-like texture, preventing thin lace threads from curling along the cheekbones. - The bottom jawline is established by switching from low-profile slip stitches to tall, sturdy
dcstitches (ch 3, 4dc,ch 3). This sudden height shift projects a distinct rectangular chin complete with tooth-like ridges underneath the eye cavities.
Pattern Question:
Question: My crochet skull earrings are curling at the edges and feel a bit floppy. How can I make them sit flat and hold their shape when worn?
Answer: Working with fine crochet thread often results in soft, flexible motifs. To get that crisp, store-bought look:
- Ensure your stitch tension in Round 3 is firm, especially along the
ch 1, sl stedging. - Wet block your finished pieces by pinning them onto a foam board with rust-proof T-pins, carefully stretching out the eye sockets and jawline.
- Coat the back of each skull with a mixture of equal parts craft glue/Mod Podge and water (or fabric stiffener spray). Allow them to dry completely overnight before attaching your jump rings and ear wires.