
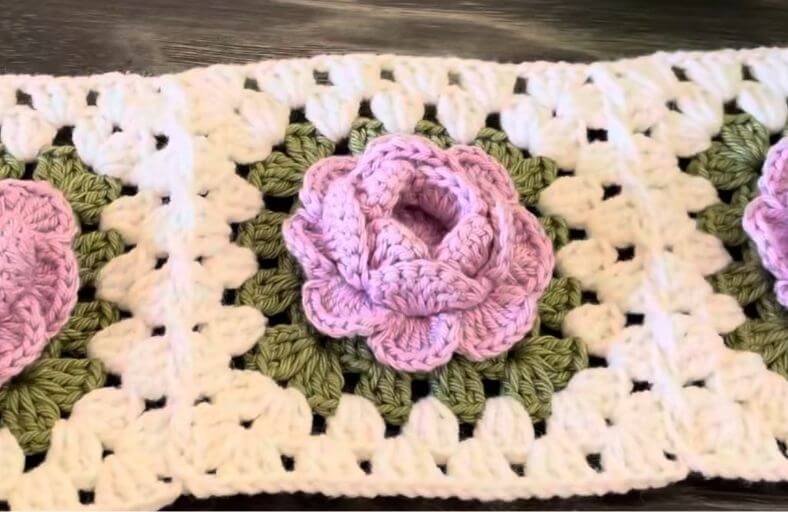
Ever wondered how to trap the timeless beauty of a blooming garden inside a cozy granny square?
Whether you are dreaming of a romantic floral blanket, an eye-catching tote bag, or a cardigan that instantly brightens up any room, this blooming 3D rose granny square is about to become your new favorite project!
Featuring multi-layered 3D petals sitting gracefully on a rich green leaf background and framed in crisp cream borders, this motif brings serious garden-party vibes directly to your yarn stash.
Let us grab a hook, pick your favorite floral shades, and bring these lovely roses to life.
Materials and Preparation
Materials:
- Yarn: Cotton yarn in three colors:
- Petal Color: Light purple/lavender yarn (or any desired rose color).
- Leaf Color: Sage green yarn.
- Background & Border Color: Off-white or cream yarn.
- Stuffing: Not required for this project.
Tools:
- Crochet Hook: 2.5 mm crochet hook (or suitable size matching your yarn weight).
- Yarn Needle: Tapestry needle for weaving in ends.
- Scissors: Sharp craft scissors.
- Stitch Marker: Optional, for keeping track of initial rounds.
Preparation Notes:
- Master basic US crochet stitches like single crochet (
sc), double crochet (dc), slip stitch (sl st), and working into the back loop only (BLO). - Maintain consistent tension across all rounds to ensure your floral center sits flat and the outer square remains perfectly symmetrical.
Abbreviations and Notes
Abbreviations:
- MR: Magic Ring (Magic Circle)
- ch: Chain stitch
- sl st: Slip stitch
- sc: Single crochet
- dc: Double crochet
- BLO: Back Loop Only
- st(s): Stitch(es)
- sp: Space / Chain space
Pattern Notes:
- The 3D rose petals are created in layered rounds where foundation chain loops are anchored behind previous petals to build height and dimension.
- The transition from a circular flower to a square frame uses a traditional granny square construction, placing double crochet clusters and corner chain-2 spaces into chain-5 background loops.
- When joining squares, the final round (Round 4) is worked using a join-as-you-go method by pulling loops through corresponding chain spaces of the neighboring motif.
Gauge, Approximate Size, and Pattern Notes
Gauge:
Gauge is not critical for this project. Adjust hook size according to yarn thickness to achieve crisp, firm petals that hold their 3D shape well.
Finished Size:
Approximately 4.5 x 4.5 inches (11.5 x 11.5 cm) per square when made with 5-ply cotton yarn and a 2.5 mm hook.
Special Techniques:
- Back-Loop Anchor Foundation: Working slip stitches and single crochets behind completed petals onto previous round stitches to create hidden base loops for the next layer of petals.
- Join-As-You-Go (JAYG): Joining completed squares during the final border round using slip-stitch chain pulls, eliminating the need for post-project seaming.
Step-by-Step Pattern
Part 1: The 3D Rose Flower Center
Worked using Light Purple Yarn:
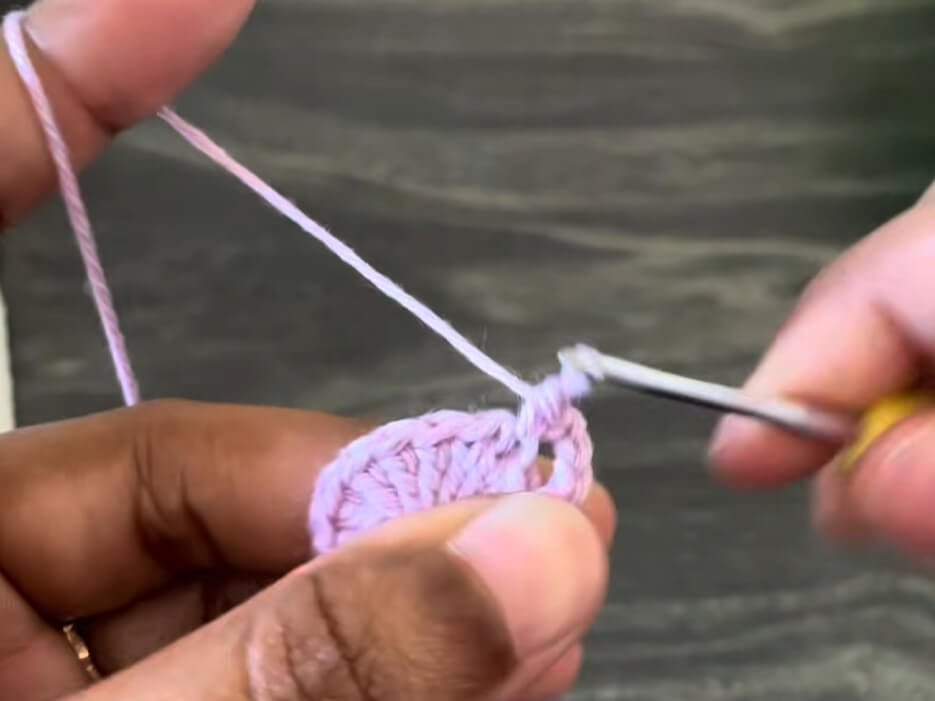
- R1: In a Magic Ring, ch 3 (counts as 1 dc), work 15 dc into the ring. Pull tail tightly to close. Join with a sl st to the 3rd ch of initial ch-3. (16 dc)
- R2: Ch 1, 1 sc in same st, *ch 3, skip 1 st, 1 sc in next st; repeat from * around, ending with ch 3, skip 1 st, sl st to first sc. (8 ch-3 spaces/scallops)
- R3 (Layer 1 Petals): Sl st into first ch-3 sp, ch 1, 1 sc in same sp, *6 dc in next ch-3 sp, 1 sc in next ch-3 sp; repeat from * around, ending with 6 dc in last ch-3 sp, sl st to first sc. (4 main petals formed)
- R4 (Layer 2 Base Loops): Working behind the petals from R3: Ch 2, 1 sc around the stem of R2 single crochet, *ch 3, 1 sl st around next R2 single crochet stem; repeat from * around, ending with ch 3, sl st to first sc. (8 ch-3 base loops behind petals)
- R5 (Layer 2 Petals): Sl st into first ch-3 sp behind R3 petals, ch 1, 1 sc in same sp, *8 dc in next ch-3 sp, 1 sc in next ch-3 sp; repeat from * around, ending with 8 dc in last ch-3 sp, sl st to first sc. (4 alternating layer 2 petals)
- R6 (Layer 3 Base Loops): Working behind Layer 2 petals: Ch 2, 1 sc behind the next single crochet space, *ch 3, 1 sl st behind the next single crochet space; repeat from * around, ending with ch 3, sl st to first sc. (8 ch-3 base loops)
- R7 (Layer 3 Petals): *Sl st in ch-3 sp, ch 1, 8 dc in same ch-3 sp, ch 1, sl st in same ch-3 sp; repeat from * in each of the 8 ch-3 spaces around. (8 full outer petals formed)
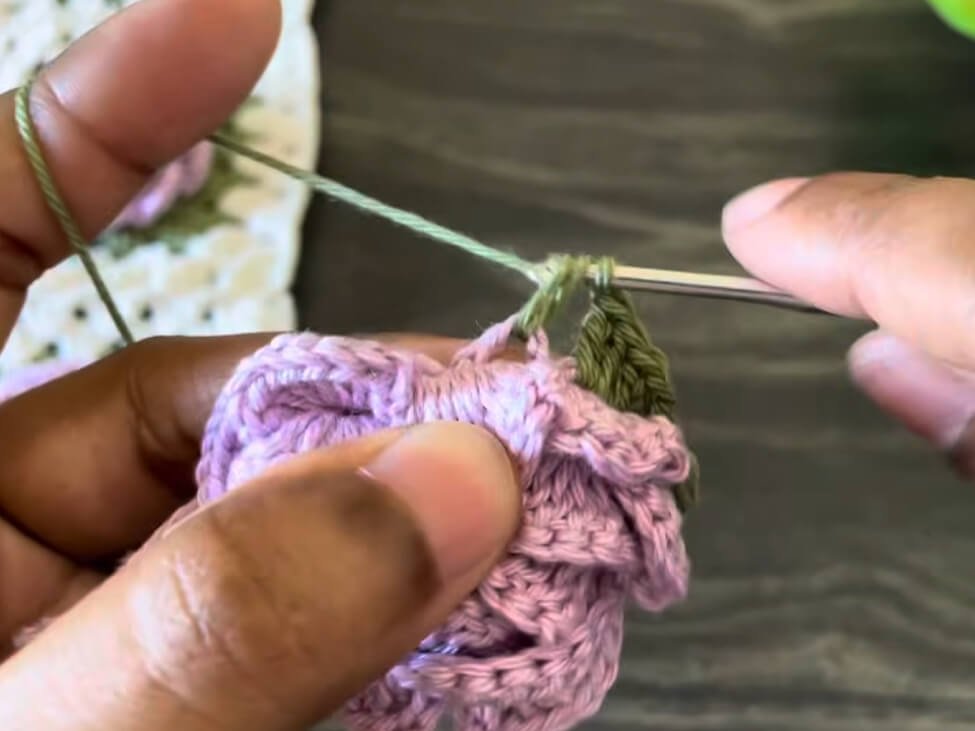
- R8 (Green Leaf Base Foundation): Working behind the outer petals: Ch 2, 1 sl st behind the R7 single crochet stem, *ch 5, 1 sl st behind next single crochet stem; repeat from * around, ending with ch 5, sl st to first sl st. Fasten off light purple yarn. (8 ch-5 background loops)
Part 2: Leaf Frame (Square Transformation)
Attach Green Yarn into any ch-5 space:
- R1: Sl st into any ch-5 sp, ch 3 (counts as 1 dc), 2 dc in same sp, ch 2, 3 dc in same sp (Corner 1 created). *Ch 1, skip to next ch-5 sp, 3 dc in sp, ch 1, skip to next ch-5 sp, (3 dc, ch 2, 3 dc) in same sp (Corner created); repeat from * around, ending with ch 1, 3 dc in last side sp, ch 1, sl st to 3rd ch of initial ch-3. (4 corners and 4 side clusters)
- R2: Sl st across first 2 dc and into corner ch-2 sp. Ch 3 (counts as 1 dc), 2 dc in corner sp, ch 2, 3 dc in same corner sp. *Ch 1, 3 dc in next side ch-1 sp, ch 1, 3 dc in next side ch-1 sp, ch 1, (3 dc, ch 2, 3 dc) in corner ch-2 sp; repeat from * around, ending with ch 1, sl st to 3rd ch of initial ch-3. Fasten off green yarn.
Part 3: Outer Cream Border & Join-As-You-Go Method
Single Square Border (R3 & R4):
Attach White/Cream Yarn into any corner ch-2 space:
- R3: Sl st into corner ch-2 sp, ch 3 (counts as 1 dc), 2 dc in same sp, ch 2, 3 dc in same sp. *(Ch 1, 3 dc in next ch-1 sp) x 3, ch 1, (3 dc, ch 2, 3 dc) in corner sp; repeat from * around, ending with sl st to 3rd ch of initial ch-3.
- R4 (Full standalone square): Repeat R3 logic, adding 3-dc clusters into each of the 4 side ch-1 spaces. Sl st to join, fasten off, and weave in ends.
Joining Squares Together (Join-As-You-Go on R4):
Work the new square up to R4, stopping at the first corner to begin joining:
- Step 1 (Corner Join): In the active square’s corner, work 3 dc, ch 1. Drop loop from hook, insert hook from top to bottom into corresponding corner ch-2 space of completed square, pull dropped loop through, ch 1. Work 3 dc back into working square’s corner.
- Step 2 (Side Join): Drop loop, insert hook into next ch-1 side space of completed square, pull loop through, ch 1. Work 3 dc into next ch-1 space of active square.
- Step 3 (Repeat Side Clusters): Repeat Step 2 across all side spaces until reaching next corner.
- Step 4 (Second Corner Join): Work 3 dc into corner space of active square, ch 1. Pull loop through completed square’s corner space, ch 1, work 3 dc back into active square’s corner.
- Step 5 (Complete Square): Continue R4 pattern normally along remaining unjoined sides. Sl st to join, fasten off, and weave in ends.
Part 4: Edging, Assembly & Finishing
- Block Your Squares: Pin individual or joined squares gently on a blocking board and steam lightly to set straight square edges and pop out the 3D rose center.
- Petal Fluffing: Gently lift and cup each layer of rose petals upward using your fingers to give the bloom a natural, dimensional appearance.
- Weaving Ends: Secure all yarn tails on the reverse side through corresponding color sections using a tapestry needle.
Detailed Pattern Breakdown
1. 3D Layered Rose Flower Construction:
- Round 1 (Foundation Center): A compact circle of 16 double crochets serves as the structural anchor for all subsequent layers.
- Rounds 2-3 (First Petal Tier): Alternating single crochet anchors with 6-dc shells creates 4 neatly curved inner petals surrounding the center.
- Rounds 4-7 (Second and Third Tiers): By creating hidden base loops behind existing stitches, the pattern builds two additional layers of expanded petals (8 dc each). Staggering these loops behind previous rows gives the rose realistic volume without adding bulky seams.
- Round 8 (Background Mesh): 8 oversized chain-5 loops are anchored directly into the structural back stems of the flower, setting up a flat canvas for square construction.
2. Squaring the Circle (Leaf Frame Integration):
- Round 1 (Green Canopy): Converts the 8 circular chain-5 loops into 4 distinct corners using
(3 dc, ch 2, 3 dc)clusters and 4 straight sides using single 3-dc clusters. This immediately transforms a round flower base into a crisp geometry. - Round 2 (Expanding the Leaf Frame): Standard granny square expansion increases side spaces from 1 to 2 per edge while maintaining sharp 90-degree corner turns with chain-2 spaces.
3. Cream Framing & Join-As-You-Go Architecture:
- Rounds 3-4 (Outer Cream Border): Crisp off-white yarn frames the green leaf backdrop, highlighting the central rose motif while creating clean lines for joining.
- Join-As-You-Go (JAYG) Logic: Joining occurs dynamically during the final border round by substituting standard chain-1 spaces with loop-pull stitches through adjacent finished squares. This creates a seamless, durable join without needle-seaming afterward.
Pattern Question:
Question: Why do my rose petals curl inward or obscure the background square, and how do I make the square sit flat?
Answer: Petal curling in 3D floral motifs usually happens if background loops are made too short or if hook tension is overly tight during rounds 4, 6, and 8. Make sure to work base chain loops loosely when attaching them behind completed petals so they lay completely relaxed.
When transitioning to green yarn on Round 1 of the square frame, ensure your corner (3 dc, ch 2, 3 dc) clusters are worked fully into the chain-5 spaces rather than around front petal stitches.
Finally, gently steam-blocking your completed squares will relax the cotton fibers, making the square frame lay flat while allowing the rose petals to stand up in full 3D bloom.