
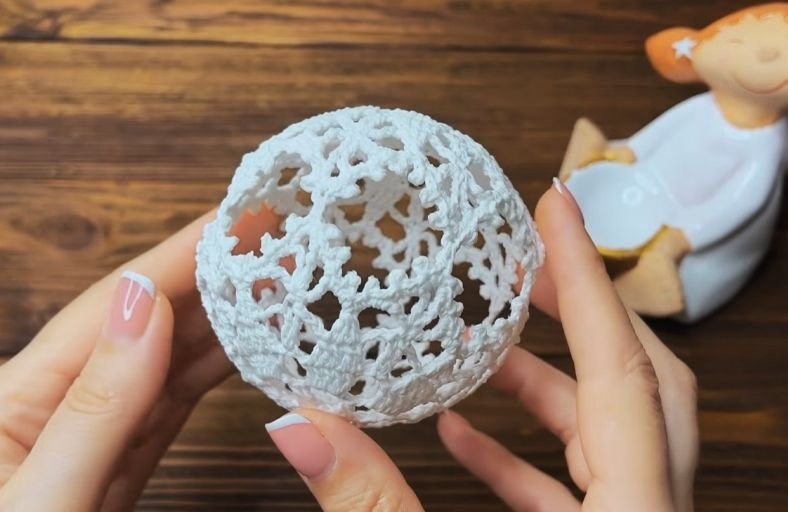
Are your Christmas tree branches looking a little bare, or are you tired of store-bought plastic ornaments that lose their luster after one season?
Creating your own delicate, lace-like lace baubles is the ultimate secret to adding timeless vintage charm and handmade warmth to your holiday home decor.
In this step-by-step tutorial, you will discover how to transform fine cotton thread into breathtaking, heirloom-quality 3D Christmas spheres using simple lacework techniques and a fun starch-stiffening trick.
Materials and Preparation
Materials:
- Yarn: YarnArt Violet (100% Mercerized Cotton, 50g / 282m) in Pure White (or your favorite festive color).
- Starch Solution: Potato starch mixed with boiling water to create a thick stiffening liquid.
- Inflatable Core: A small latex balloon with a round bottom (crucial for forming a smooth sphere).
Tools:
- Crochet Hook: 1.5 mm steel crochet hook.
- Yarn Needle: Fine tapestry needle for weaving in loose ends.
- Scissors: Sharp craft scissors.
Preparation Notes:
- Work with consistent, firm tension to maintain clean arch geometry across all rounds.
- Always weave in and hide your central yarn tails on both motifs before joining them together in Round 5.
- Keep extra latex balloons nearby in case one pops during the inflating process.
Abbreviations and Notes
Abbreviations:
- MR: Magic Ring
- ch: Chain
- sc: Single Crochet
- dc: Double Crochet
- tr: Treble Crochet
- 2 dc tog: 2 Double Crochet Together
- 3 dc tog: 3 Double Crochet Together
- sl st: Slip Stitch
- picot: ch 3, sl st in the 1st ch
Pattern Notes:
- This project is constructed by making 2 identical circular lace motifs (hemispheres) that are joined together on the final round.
- Motif 1 is worked completely through Round 5 and finished off. Motif 2 is worked through Round 4, then joined to Motif 1 while working Round 5.
- Rounds end with a slip stitch into the starting stitch or initial chain sequence unless stated otherwise.
Gauge, Approximate Size, and Pattern Notes
Gauge:
Exact gauge is not critical for this ornament, but working with a 1.5 mm hook ensures delicate, crisp stitch definition.
Finished Size:
Approximately 3.15 inches to 3.5 inches (8 cm to 9 cm) in diameter once inflated and stiffened.
Special Techniques:
- Joining Motifs On-the-Fly: Linking two flat lace motifs using chain space joins to form a seamless hollow sphere.
- Starch Blocking with Balloons: Using a wet starch mixture and an inflated round balloon to stretch threadwork into a perfectly rigid 3D ball.
Step-by-Step Pattern
Part 1: First Hemisphere Motif (Motif 1)
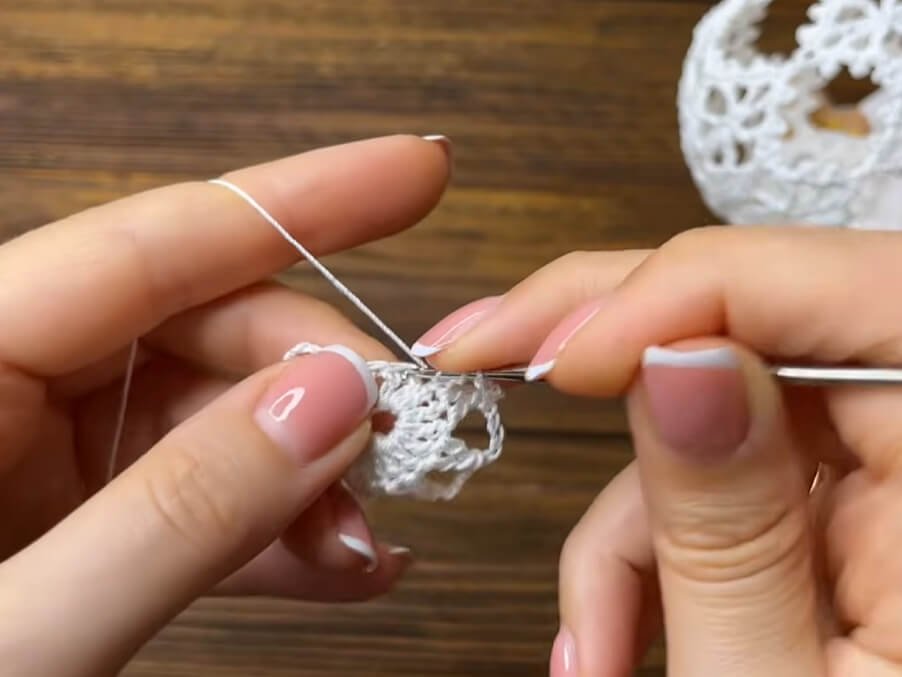
- Foundation: Start MR 8 sc
- R1: ch 3 , 16 dc inc (16)
- R2: (2 dc tog, ch 5)*8, slst into the top
- R3: 5 dc , ch 3 repeat around, sl st to join
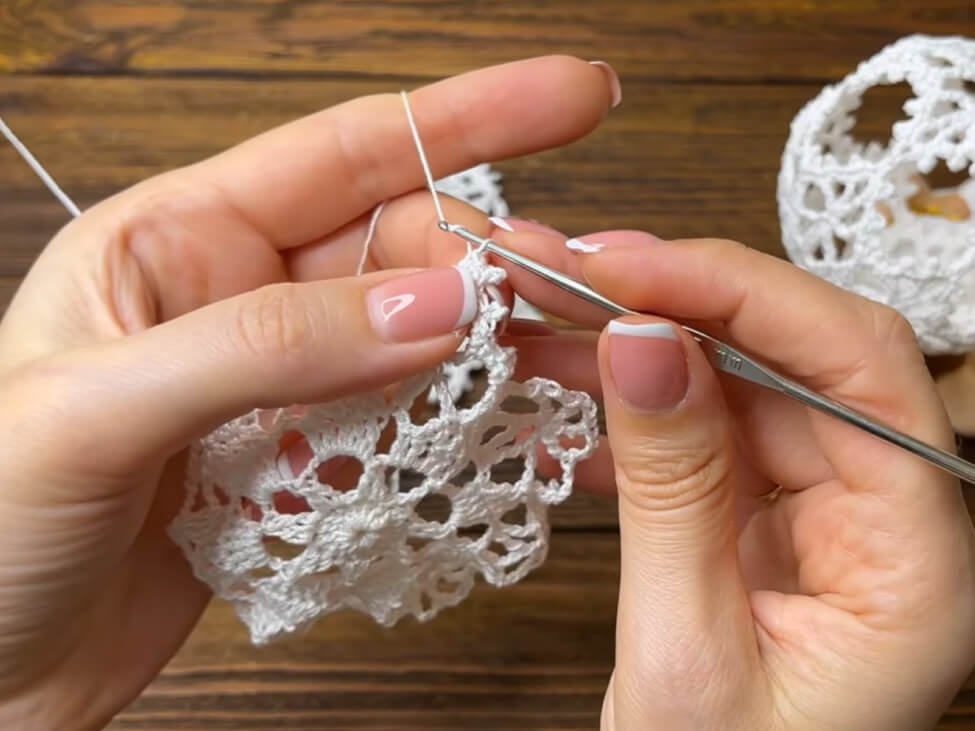
- R4: (2 dc tog, 1 dc, 2 dc tog),(into the middle loop 1 tr, ch 3, 1 tr ) repeat around, sl st to join
- R5 : 3 dc tog, into the middle loop of the arch : ( 1 tr , ch 3)*3 , 1 tr repeat around, sl st to join
- (Motif 1 Complete Edging):
- Under each side chain arch (except central arches): 1 sc, picot, 1 sc
- Under each central chain arch: 1 sc, picot, 1 sc, ch 3, 1 sc, picot, 1 sc
- Finish off and weave in end.
Part 2: Second Hemisphere Motif (Motif 2)
- Work Foundation through R4 exactly as written for Motif 1.
- Do not cut thread after Round 4. Proceed directly to Part 4 for joining while crocheting Round 5.
Part 3: Secondary Accessories & Details
Hanging Loop (Optional Detail):
- Before stiffening, attach yarn to any top central picot, ch 30 to ch 40, sl st back into the same stitch to form a sturdy hanging loop.
Part 4: Edging, Assembly & Finishing
- Joining Motif 2 to Motif 1 (Round 5 Join):
- Hide central yarn tails on both hemispheres before proceeding.
- Crochet Round 5 edging on Motif 2: Under each regular side chain arch, work (1 sc, picot, 1 sc).
- When reaching a central chain arch on Motif 2, work (1 sc, picot, 1 sc), ch 1, 1 sc into the corresponding central arch of Motif 1, ch 1, then return to Motif 2 central arch to complete (1 sc, picot, 1 sc).
- Repeat this joining process across all central connection points around the sphere until fully connected.
- ch 1, cut yarn, and weave in loose ends.
- Starch Blocking & Shaping:
- Prepare a thick starch solution by dissolving potato starch in cold water, then pouring boiling water over it while stirring constantly until clear and gelatinous.
- Submerge the crocheted ball in the warm starch solution for approximately 5 minutes until fully saturated.
- Lightly squeeze out excess liquid without wringing or twisting the lace.
- Insert an uninflated round latex balloon inside the hollow center of the wet crochet ball.
- Inflate the balloon carefully until the crochet lace stretches smoothly into a perfect sphere. Tie the balloon knot tightly.
- Adjust the lace pattern over the balloon surface, making sure picots face outward and arches align symmetrically.
- Allow to dry completely in a warm area for about 24 hours. Once dry and rigid, pop the balloon, remove it through an opening, and admire your stiffened lace ball.
Detailed Pattern Breakdown
1. Central Star & Foundation Geometry Breakdown:
- The ornament starts from a tight central foundation ring of 8 chains closed with a slip stitch.
- Round 1 establishes a firm 16 Double Crochet core, laying down the geometric anchor for 8 symmetrical repeating points.
- Round 2 instantly opens up the design into an airy 8-pointed star flower using 2 Double Crochet Together cluster stitches separated by spacious 5-chain arches.
2. Arch Expansion & Lacy Texture Breakdown:
- Round 3 and Round 4 build dynamic structural height by introducing Treble Crochet stitches into middle chain loops, expanding tiny arches into elaborate fans.
- The use of 3 Double Crochet Together clusters creates distinct structural ribs that radiate outward, preventing delicate cotton thread from sagging.
3. Joining Mechanics & Balloon Blocking Breakdown:
- Instead of sewing two halves together with a needle, Round 5 utilizes direct chain-joining (ch 1, sc into Motif 1, ch 1) to connect central arches, producing an invisible, continuous lace shell.
- The physics of potato starch blocking relies on starch molecules penetrating raw cotton fibers. When inflated by the inner balloon, thread fibers dry under tension, locking the flexible lace into a rock-solid, hollow 3D sphere that holds its shape indefinitely.
Pattern Question:
Question 1: Why is my crocheted ball lopsided or oval instead of perfectly round after drying?
Answer 1: The shape of your finished ornament depends entirely on the balloon you select and how you inflate it. Standard water balloons or long party balloons naturally inflate into tear-drop or oval shapes.
Be sure to use latex balloons specifically labeled with a round bottom. Additionally, gently massage and realign the wet lace motifs over the balloon surface right after inflating so tension is distributed evenly around the sphere.
Question 2: Can I use PVA white glue instead of potato starch solution?
Answer 2: Yes, liquid PVA craft glue diluted with water (typically 1 part water to 2 parts glue) works well as an alternative. However, a traditional cooked potato starch solution gives a very crisp, natural matte finish without leaving glossy glue residue or turning yellow over time, making it ideal for pure white thread ornaments.
Question 3: How do I keep the small picot stitches from sticking inward while the balloon inflates?
Answer 3: While inflating the balloon inside the wet crocheted ball, take a moment to pause every few breaths.
Use your fingers or a small tool like a blunt yarn needle to manually pop each picot stitch outward so it rests flat against the balloon exterior rather than getting tucked underneath adjacent chain arches.