
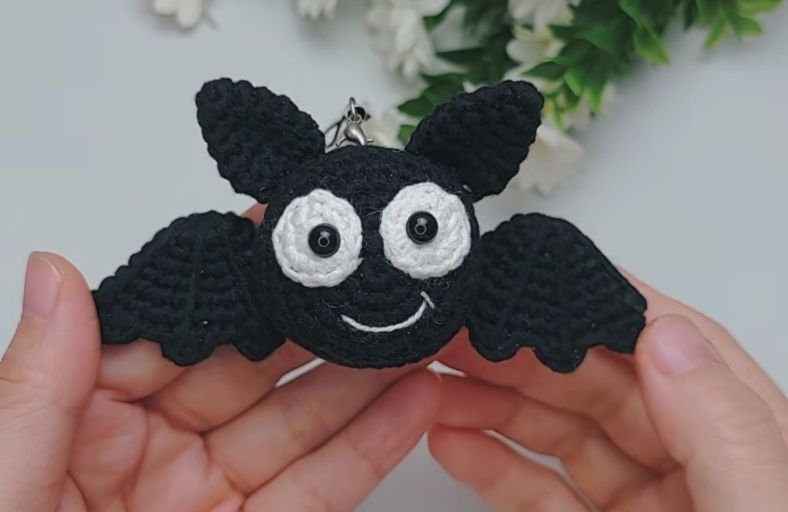
Who said Halloween decor always has to be spooky?
If you are looking to add a touch of adorable charm to your Halloween outfit or backpack, this pocket-sized crochet bat charm is your ultimate festive project!
Quick to work up, wonderfully versatile, and packed with personality, you can easily turn this little guy into a keychain pendant, a brooch pin, or a festive tree ornament.
Materials and Preparation
Materials:
- Yarn: 4-ply milk cotton yarn in Black or Bright Lime Green (for the bat body/wings/ears), plus a small amount of White yarn for the eye whites and smile detail.
- Eyes: Two 6 mm safety eyes or flat-back beads.
- Stuffing: Polyfill fiberfill stuffing for shaping the head.
- Accessories: 15 mm brooch pin back or a lobster clasp attachment for a keychain pendant.
- Glue: Fabric glue or hot glue (optional, for securing eyes or felt details).
Tools:
- Crochet Hook: 2.0 mm crochet hook.
- Yarn Needle: Tapestry needle for sewing parts together and embroidering details.
- Stitch Marker: To mark the beginning of each round.
- Scissors: Craft scissors.
Preparation Notes:
- Maintain a firm, consistent tension so the stuffing remains hidden inside the stuffed head piece.
- Keep your tapestry needle handy as assembly involves joining symmetrical pieces such as the ears, wings, and eye patches onto the head.
Abbreviations and Notes
Abbreviations:
- MR: Magic Ring
- ch: Chain stitch
- sc: Single crochet
- hdc: Half double crochet
- dc: Double crochet
- inc: Single crochet increase (2 sc in the same stitch)
- dec: Single crochet decrease / sc2tog (2 sc joined together)
- sl st: Slip stitch
- st(s): Stitch(es)
Pattern Notes:
- The head pieces, ears, eye whites, and initial wing base are worked in continuous or joined rounds.
- The head consists of two circular panels: a front panel (worked in rounds R1:R6) and a back panel (worked in rounds R1:R8). They are aligned and sewn together around the inner loops with light stuffing inside.
- The ears and wings are flattened and shaped before sewing onto the main head piece.
Gauge, Approximate Size, and Pattern Notes
Gauge:
Exact gauge is not critical for this project. Keep stitches tight enough so that fiberfill stuffing does not show through the stitches.
Finished Size:
Approximately 3.0 inches to 3.5 inches (7.6 cm to 8.9 cm) wide across the wingspan, making it an ideal charm or brooch size.
Special Techniques:
- Inner Loop Joining: Sewing through the inner loops (back loops of the front panel and front loops of the back panel) creates a smooth seam around the head circumference.
- Bat Wing Scalloping: Alternating sl st, hdc, dc, and hdc in row 8 creates the signature webbed ridges along the wing edges.
Step-by-Step Pattern
Part 1: Head
Make 2 panels using main body color (Black or Lime Green):
Front Panel (R1–R6):
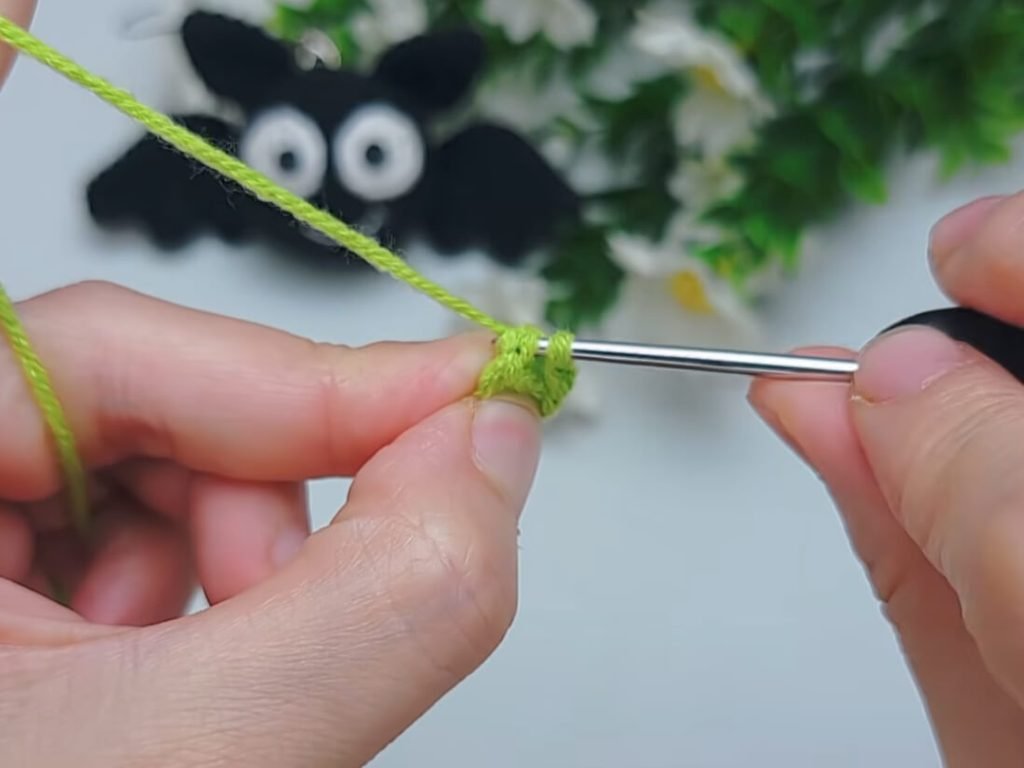
- R1: MR 6 sc, sl st to first st to join (6)
- R2: ch 1, 6 inc, sl st to first st (12)
- R3: ch 1, (1 sc, inc)*6, sl st to first st (18)
- R4: ch 1, (1 sc, inc, 1 sc)*6, sl st to first st (24)
- R5: ch 1, (3 sc, inc)*6, sl st to first st (30)
- R6: ch 1, (2 sc, inc, 2 sc)*6, sl st to first st (36) Fasten off for the front panel.
Back Panel (R1–R8):
- R1–R6: Repeat R1–R6 of the Front Panel (36)
- R7–R8: ch 1, 36 sc around each round, sl st to first st (36) Fasten off, leaving a long tail for assembly.
Part 2: Ears
Make 2 using main body color:
- R1: MR 4 sc, sl st to first st (4)
- R2: ch 1, (1 sc, inc)*2, sl st to first st (6)
- Turn fabric slightly to shape tip:
- R3: ch 1, (1 sc, inc)*3, sl st to first st (9)
- R4: ch 1, (2 sc, inc)*3, sl st to first st (12)
- R5–R6: ch 1, 12 sc around each round, sl st to first st (12)
- R7: Fold top edge flat, ch 1, 1 sc, 2 dec, 1 sc across both layers (4) Fasten off, leaving a long tail for sewing.
Part 3: Wings & Eye Whites
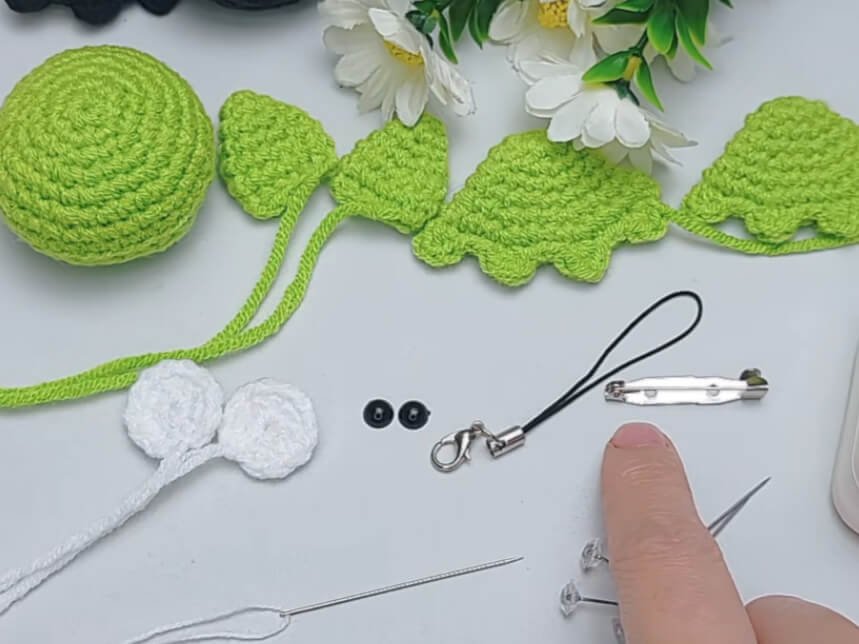
Wings (Make 2 using main body color):
- R1: MR 6 sc, sl st to first st (6)
- R2: ch 1, 6 inc, sl st to first st (12)
- R3: ch 1, 12 sc, sl st to first st (12)
- R4: ch 1, (1 sc, inc)*6, sl st to first st (18)
- R5: ch 1, 18 sc, sl st to first st (18)
- R6: ch 1, (2 sc, inc)*6, sl st to first st (24)
- R7: ch 1, 24 sc, sl st to first st (24)
- R8 (Scalloped Edge): (3 sl st, 1 hdc, 1 dc, 1 hdc)*3, 3 sl st, 1 sl st to finish row. Fasten off, leaving a long tail for sewing.
Eye Whites (Make 2 using White yarn):
- R1: MR 6 sc, sl st to first st (6)
- R2: ch 1, 6 inc, sl st to first st (12) Fasten off, leaving a tail for sewing.
Part 4: Assembly & Finishing
- Assemble the Head: Place the Front Panel and Back Panel together with right sides facing out. Using a tapestry needle, pick up the inner half-loops of both pieces to sew them together. Stuff with fiberfill lightly before closing the final stitches.
- Attach the Eyes: Insert or glue 6 mm safety eyes into the centers of the white eye circles. Sew or glue the assembled eyes onto the upper middle section of the front head panel.
- Embroider Mouth: Using a single strand of white yarn, embroider a cheerful curved smile directly below the eyes.
- Attach Ears: Sew the flat base of each ear onto the top left and top right curves of the head.
- Attach Wings: Sew the inner base of each scalloped wing onto the lower left and right sides of the head.
- Back Attachment: Sew or glue a 15 mm brooch pin back onto the center back panel, or attach a lobster clasp to the top for a keychain pendant.
Detailed Pattern Breakdown
1. Head Construction:
- The head uses a flat circle formula for the front piece (increasing by 6 stitches each round up to 36 stitches) to create a neat 2D disk face.
- The back piece includes two additional rounds of 36 sc without increases (R7–R8), which adds slight depth and cup shape. Joining the inner loops of both panels gives a soft 3D cushion feel without making the charm overly bulky.
2. Ear Shaping:
- Starting with a tight 4 sc magic ring and gradually adding increases in R2, R3, and R4 creates a pointed cone structure.
- Flattening the open base in R7 with 4 sc across both layers prepares a sturdy flat surface that sits flush against the top curve of the head.
3. Wing Webbing Architecture:
- The wing base expands evenly from 6 sc up to 24 sc across 7 rounds to form a wide circular cone section.
- Row 8 uses rhythmic stitch groupings: repeating three slip stitches followed by a peak combination of (1 hdc, 1 dc, 1 hdc). This forms the distinct three-pointed scalloped edge characteristic of bat wings.
Pattern Question:
Question: How do I ensure the wings stay perky and don’t flop downward when wearing the bat as a brooch?
Answer: To keep the wings upright and structured, avoid stuffing the wing pieces. When sewing Row 8’s flat inner edge onto the body, secure at least 3 to 4 stitches along the side seam of the head rather than just a single point.
If using softer yarn, you can also brush a light coating of diluted fabric stiffener or craft glue onto the back of the wings to give them extra firmness.