
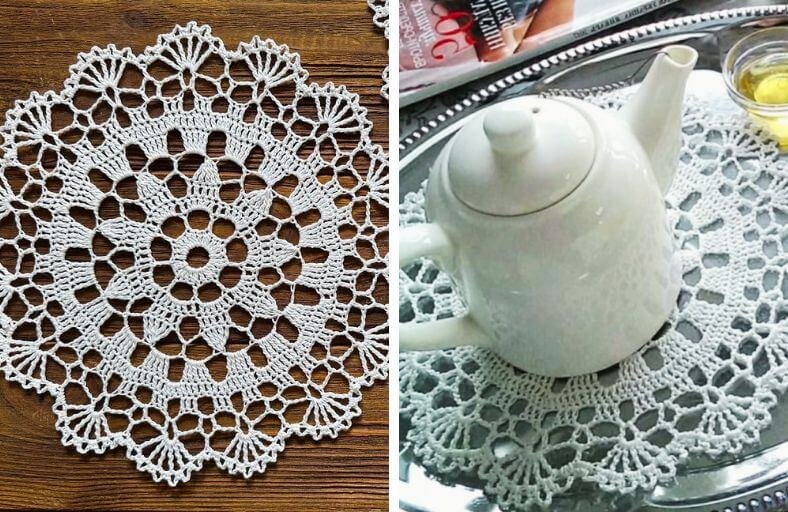
Ever looked at a bare coffee table or a dessert tray and felt it was missing a touch of handmade warmth?
Whether you are serving afternoon tea, displaying a sweet treat, or just wanting to add a vintage flair to your home decor, this charming crochet doily is the perfect weekend project.
Featuring delicate lacework, lovely pineapple fan motifs, and a soft scalloped border, this project is simple enough for adventurous beginners yet engaging enough for seasoned crocheters.
Grab your favorite cotton yarn and let us create a gorgeous lace accent together!
Materials and Preparation
Materials:
- Yarn: Fine weight 100% Cotton Yarn (White, Cream, or any soft pastel shade).
- Starch: Optional light starch solution for blocking and giving the finished doily a crisp structure.
Tools:
- Crochet Hook: Size 2.1 mm (or appropriate size for your chosen fine cotton thread).
- Yarn Needle: Tapestry/yarn needle for weaving in loose ends.
- Scissors: Craft scissors.
- Blocking Supplies: Foam blocking board and stainless steel T-pins.
Preparation Notes:
- Work with an even tension so the openwork arches and fan motifs lay flat and symmetrical.
- When working stitches into chain spaces, you can choose to insert your hook into each individual chain loop or simply work directly under the chain loop. Working under the chain space is faster, smoother, and delivers a clean, beautiful result without the hassle of counting tiny chain loops.
Abbreviations and Notes
Abbreviations:
- ch: Chain
- sl st: Slip Stitch
- sc: Single Crochet
- dc: Double Crochet
- tr: Treble Crochet
- dtr: Double Treble Crochet (Yarn over 3 times, insert hook, [yarn over, pull through 2 loops] 4 times)
- tr5tog: Treble Crochet 5 Together (5 incomplete treble crochets joined at the top)
- ch-sp: Chain Space
- st(s): Stitch(es)
Pattern Notes:
- The entire doily is crocheted in seamless joined rounds working from the center outward.
- Each round closes with a slip stitch (
sl st) into the starting chain or top of the first stitch group. - Turning chains count as stitches where specified (e.g.,
ch 3counts as 1dc,ch 4counts as 1tr,ch 5counts as 1dtr). - Original design and pattern credit belongs to Iryna Tsokalo Crochet.
Gauge, Approximate Size, and Pattern Notes
Gauge:
Gauge is not critical for this decorative lace piece, but maintaining uniform tension ensures the doily lays flat without cupping or ruffling.
Finished Size:
Approximately 9.5 inches (24 cm) in diameter after blocking.
Special Techniques:
- Treble 5 Together (tr5tog): Worked over 5 stitches to form a dramatic pointed petal/cluster motif. Yarn over twice, insert hook into st, yarn over and pull up a loop, [yarn over, pull through 2 loops] twice (2 loops left on hook). Repeat for the next 4 stitches (6 loops on hook). Yarn over and pull through all 6 loops on hook.
- Light Starch Blocking: Soaking the finished piece in a mild starch bath and pinning out the scalloped edges highlights the intricate openwork geometry.
Step-by-Step Pattern
Part 1: Central Ring & Foundation Petals
Foundation Ring:
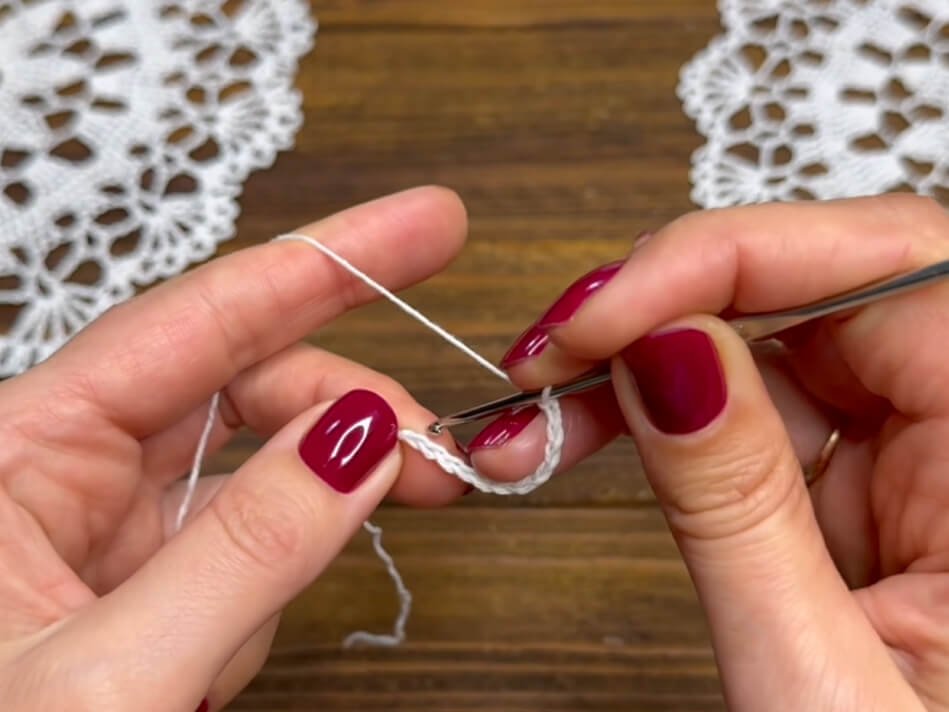
- Round 1: Ch 12, sl st into the 1st ch to form a ring. Ch 3 (counts as 1st dc), work 26 dc directly into the ring. Sl st to the 3rd ch of the starting ch-3 to join. (27 dc)
Openwork Arches & Base Blocks:
- Round 2: Ch 3 (counts as 1st dc), ch 5, skip 2 sts, 1 dc in next st, *ch 5, skip 2 sts, 1 dc in next st; repeat from * around, ending with ch 5, skip last 2 sts, sl st into the 3rd ch of starting ch-3 to join. (9 dc, 9 ch-5 spaces)
- Round 3: Ch 3 (counts as 1st dc), work 5 dc under the ch-5 space, *1 dc in the next dc st, 5 dc under the next ch-5 space; repeat from * around. Sl st into the 3rd ch of starting ch-3 to join. (54 dc)
- Round 4: Ch 3 (counts as 1st dc), 1 dc in each of the next 4 sts (5 dc block total), ch 5, skip 1 st, *1 dc in each of the next 5 sts, ch 5, skip 1 st; repeat from * around. Sl st into the 3rd ch of starting ch-3 to join. (9 five-dc blocks, 9 ch-5 spaces)
Part 2: Cluster Rays & Solid Expansion
Petal Clusters & Star Radiance:
- Round 5: Ch 3, tr5tog over the 5-dc block (the initial ch-3 combined with 4 incomplete trebles joined together), ch 5, 1 dc under the ch-5 space, ch 5, *tr5tog over the next 5-dc block, ch 5, 1 dc under the ch-5 space, ch 5; repeat from * around. Sl st into the top of the 1st tr5tog cluster to join. (9 cluster points, 18 ch-5 spaces, 9 dc)
Expanding Solid Shells:
- Round 6: Sl st across 2 sts to reach the center of the first ch-5 loop. Ch 4 (counts as 1st tr), 4 tr under the same ch-5 space (5 tr block), ch 3, *5 tr under the next ch-5 space, ch 3; repeat from * around (skipping over the tr5tog tops and single dc sts according to loop placement). Sl st into the 4th ch of starting ch-4 to join. (18 five-tr blocks, 18 ch-3 spaces)
- Round 7: 1 dc in each of the 5 tr sts, 3 dc under the ch-3 space, 1 dc in each of the next 5 tr sts, 3 dc under the next ch-3 space, 1 dc in each of the next 5 tr sts, 4 dc under the following ch-3 space, *1 dc in each of the next 5 tr sts, 3 dc under the ch-3 space, 1 dc in each of the next 5 tr sts, 3 dc under the next ch-3 space, 1 dc in each of the next 5 tr sts, 4 dc under the following ch-3 space; repeat from * around. Sl st into the starting dc to join.
Part 3: Lace Lattice & Fan Shells
Mesh Base:
- Round 8: *1 dc in each of the next 3 sts, ch 3, skip 2 sts; repeat from * around. Sl st into the 1st dc to join.
V-Stitch Mesh:
- Round 9: Sl st to the center of the first ch-3 space. Ch 3 (counts as dc), ch 3, 1 dc under the same ch-sp (1st V-stitch), ch 3, *1 dc under the next ch-3 sp, ch 3, 1 dc under the same ch-sp, ch 3; repeat from * around. Sl st into the 3rd ch of starting ch-3 to join.
Double Treble Fan Spray:
- Round 10: Sl st under the first V-stitch ch-space. Ch 5 (counts as 1st dtr), [ch 1, 1 dtr] 5 times under the same V-stitch space (creating a fan of 6 dtr separated by ch-1 spaces), ch 2, 1 dc under the next V-stitch ch-space, ch 2, *[1 dtr, ch 1] 5 times + 1 dtr under the next V-stitch space, ch 2, 1 dc under the next V-stitch space, ch 2; repeat from * around. Sl st into the 5th ch of starting ch-5 to join.
Part 4: Picot Edging & Finishing
Scalloped Picot Border:
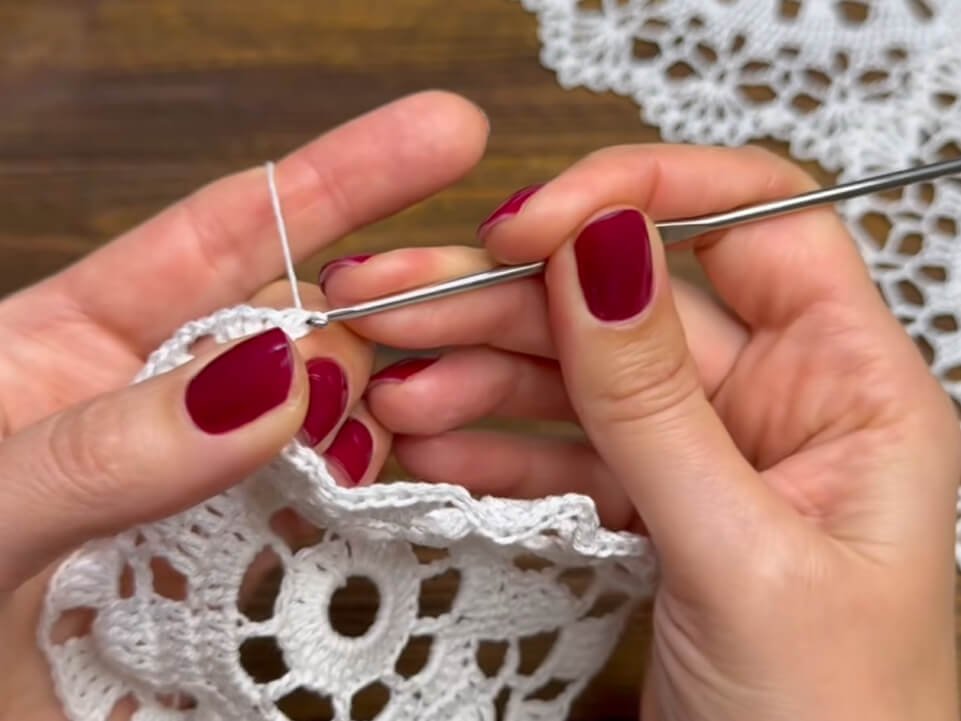
- Round 11: Sl st under the first ch-1 space of the fan. Ch 1 (counts as 1 sc), 1 sc under the same ch-1 space, ch 3, *2 sc under the next ch-1 space, ch 3; repeat across the fan loops. Continue pattern of (2 sc, ch 3) across every fan ch-1 space and transition smoothly around the perimeter. Sl st into the 1st ch to join.
- Fasten off yarn and weave in all loose ends invisibly on the back side.
Detailed Pattern Breakdown
1. Central Ring & Radial Star (Rounds 1–5 Breakdown):
- Structure & Geometry: The piece begins with a sturdy foundation ring (
ch 12) filled with27 dc. This specific count allows an exact division into 9 repeating pattern sectors (27 / 3 = 9). - Spoke Formation: Round 2 introduces structural spokes by placing
1 dcevery 3 stitches withch-5arches in between. Round 3 fills these arches with5 dceach to create a solid wheel. - 3D Cluster Petals: Round 5 uses the
tr5tog(Treble 5 Together) technique. By pulling 5 long treble stitches together into a single top loop over each 5-dc block, the flat fabric gathers into 9 distinct, pointed star rays that project outward.
2. Mesh Expansion & Solid Ring (Rounds 6–8 Breakdown):
- Transitioning Width: Round 6 anchors
5 trgroups directly into the opench-5loops from Round 5, effectively doubling the structural anchor points from 9 to 18. - Filling the Canvas: Round 7 converts the open arches back into a solid ring of double crochet stitches, carefully varying between
3 dcand4 dcin the chain spaces to ensure the circle expands smoothly without curling. - Preparing the Lace Base: Round 8 creates a rhythmic foundation of
3 dcblocks separated bych-3spaces, setting up the exact spacing needed for the intricate outer lace border.
3. V-Stitch Lattice & Crown Edging (Rounds 9–11 Breakdown):
- V-Stitch Alignment: Round 9 uses
[1 dc, ch 3, 1 dc]V-stitches inside each chain arch to create an airy openwork lattice that balances the solid center. - Fan Motif Construction: Round 10 converts alternating V-stitches into dramatic 6-spoke fans using tall
dtr(Double Treble Crochet) stitches separated bych-1spaces. The lowerdcplaced between fans anchors the motifs and causes the fan edges to flare outward. - Final Scallops: Round 11 finishes the doily with a delicate picot-like edging of
(2 sc, ch 3)worked into every fan gap, giving the doily its elegant scalloped border.
Pattern Question:
Question: My doily looks a bit wavy around the edges and doesn’t lay completely flat after I finish Round 11. How can I fix this?
Answer: It is completely normal for fine lace doilies to look slightly textured or uneven right off the hook! Fine cotton lace relies heavily on blocking to relax the fibers and open up the stitches. To achieve a perfectly flat, professional finish:
- Soak your finished doily in lukewarm water mixed with a small amount of liquid starch (or spray starch lightly after dampening).
- Gently squeeze out excess water in a towel without wringing.
- Place the doily on a foam blocking board. Pin the center first, then stretch out each of the outer fan scallops evenly, securing them with stainless steel T-pins in a uniform circle.
- Allow it to dry completely before removing the pins. Your doily will hold its crisp, exquisite shape perfectly!