
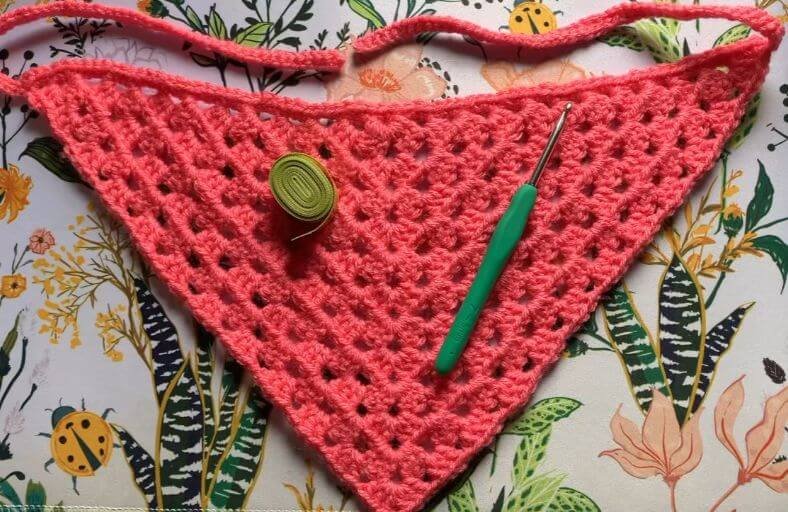
Ready to add a pop of handmade charm to your spring closet? Hair bandanas are having a serious moment right now, and for good reason!
Whether you are heading out for a sunny picnic, hiding a messy hair day, or just wanting to channel those breezy boho vibes, this granny square inspired triangle kerchief is the ultimate weekend accessory.
The best part? It comes together so quickly using basic stitches, making it a fantastic, stress-free project for crocheters of all skill levels.
Materials and Preparation
Materials:
- Yarn: Big Twist Value Yarn (or any Medium/Aran Weight 4 cotton or acrylic yarn) in “Watermelon” (or your favorite spring colorway).
- Measuring Tape: Optional, but handy for checking your dimensions as you work.
Tools:
- Crochet Hook: Size 4.5 mm (US 7) crochet hook (or size needed to meet your desired drape).
- Yarn Needle: Tapestry needle for weaving in ends securely.
- Scissors: Sharp craft scissors.
Preparation Notes:
- Familiarize yourself with the basic granny cluster stitch (groups of 3 double crochets worked into spaces).
- Tension plays a big role in drape: if your bandana feels too stiff, try going up half a hook size for a softer, flowier headband.
Abbreviations and Notes
Abbreviations:
- ch: Chain stitch
- sl st: Slip stitch
- sc: Single crochet
- dc: Double crochet
- cluster: Group of 3 double crochets worked into the same space
- sp: Space (e.g., chain space)
- st(s): Stitch(es)
Pattern Notes:
- The bandana is worked in flat rows from the top center down, forming a triangular shape that expands with each round.
- A
ch 4at the beginning of a round acts as1 dc + ch 1. - Side shell clusters are separated by
ch 1spaces, while the center point peak uses ach 2space to form a distinct corner point. - The top edge border and side ties are worked continuously in a single finishing row without cutting your yarn.
Gauge, Approximate Size, and Pattern Notes
Gauge:
4 rounds of granny triangle motif = approximately 4 inches (10 cm) along the top flat edge. Gauge is flexible depending on yarn weight and hook selection.
Finished Size:
- Width (Top edge before ties): Approximately 14–15 inches (35.5–38 cm).
- Depth (Top center to point): Approximately 8 inches (20.3 cm).
- Tie Length: Approximately 12 inches (30.5 cm) per side tie.
Special Techniques:
- Granny Cluster Point Expansion: Working
(3 dc, ch 2, 3 dc)all inside the same centerch-2peak space creates a neat 90-degree expansion point. - Integrated Edge & Ties: Working
ch 51at the corners, slip-stitching back along the chain, and edging across the top with single crochets creates seamless, sturdy ties.
Step-by-Step Pattern
Part 1: Triangle Foundation & Body
- Foundation Circle:
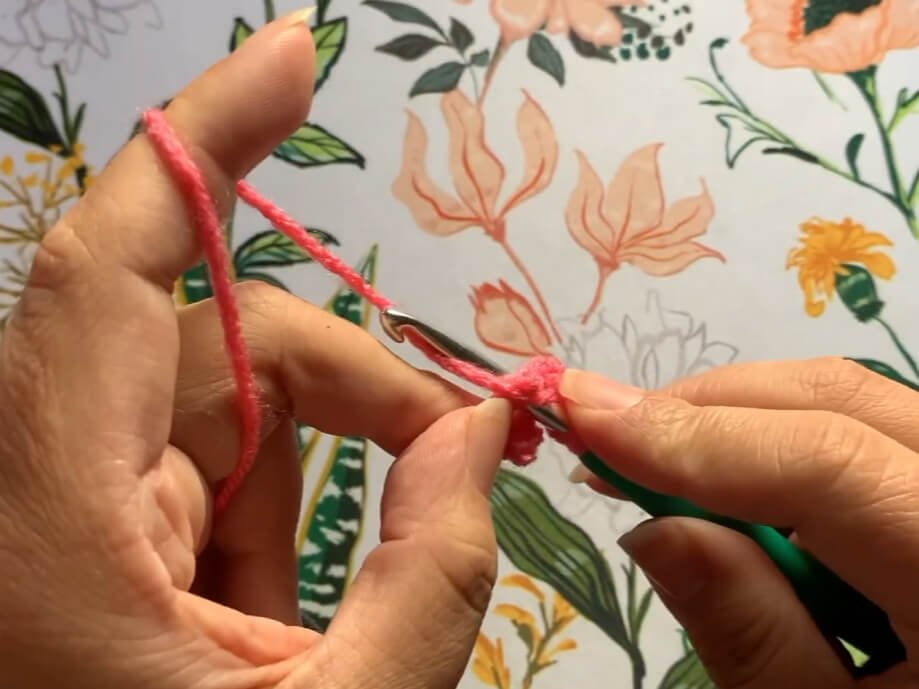
- Ch 4.
- Sl st into the 1st chain to form a center ring.
- Round 1:
- Ch 4 (counts as 1 dc + ch 1).
- Into the center ring, work a cluster of 3 dc:
3 dc. - Ch 2 (this forms the center point of your bandana).
- Work another cluster into the ring:
3 dc. - Ch 1, then work
1 dcinto the center ring.
- Round 2:
- Ch 4, turn your work.
- In the first
ch-1space (between the edge dc and the first cluster), work3 dc. - Ch 1 (skipping over the cluster beneath).
- In the center
ch-2peak space, work:(3 dc, ch 2, 3 dc). - Ch 1 (skipping over the cluster beneath).
- In the last
ch-1space, work3 dc. - Ch 1, then work
1 dcinto the same space.
- Round 3:
- Ch 4, turn your work.
- Work
3 dcin the firstch-1space. - Ch 1, work
3 dcin the nextch-1space. - Ch 1, into the center peak
ch-2space work:(3 dc, ch 2, 3 dc). - Ch 1, work
3 dcin the nextch-1space. - Ch 1, work
3 dcin the finalch-1space. - Ch 1, work
1 dcinto the same final space.
- Round 4:
- Ch 4, turn your work.
- Work
3 dcin the firstch-1space. - (Ch 1, work
3 dcin the nextch-1space) across to the peak. - Ch 1, into the center peak
ch-2space work:(3 dc, ch 2, 3 dc). - (Ch 1, work
3 dcin the nextch-1space) across to the end. - Ch 1, work
3 dcin the lastch-1space. - Ch 1, work
1 dcinto the same space.
- Rounds 5–12 (or until desired length is reached):
- Repeat Round 4, building additional
3 dcclusters in eachch-1space along the sides. - Continue repeating until your top edge measures roughly 14 to 15 inches (36 cm), or until the piece wraps comfortably from ear to ear across your forehead.
- Repeat Round 4, building additional
Part 2: First Side Tie
- Tie Extension:
- At the end of your final round (after completing the last
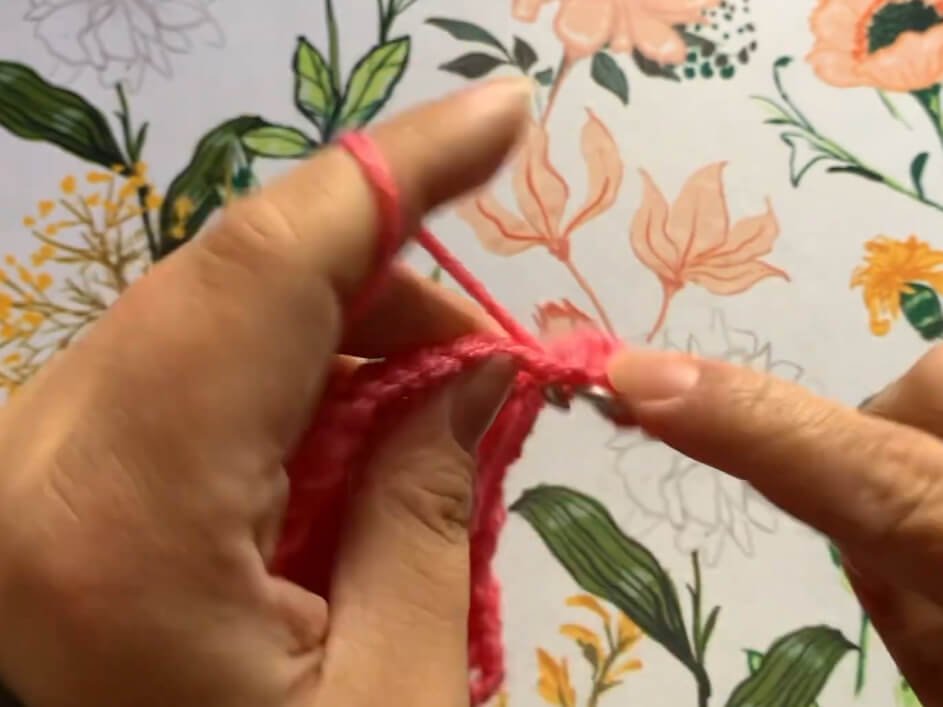
1 dc), do not cut the yarn. - Ch 51.
- At the end of your final round (after completing the last
- Working Back Down the Tie:
- Skip the first chain from your hook.
- Sl st into each of the remaining 50 chains back toward the corner of the main bandana body.
Part 3: Top Edge Border
- Top Edging:
- Once you reach the base of the tie, transition to working along the top flat edge of your bandana.
- Work
3 scinto each raw side post/space (around the turning chains and end double crochets) along the top edge. - When you reach the initial center ring, place
2 scdirectly into the ring opening (incorporating any starting yarn tail to secure it). - Continue working
3 scinto each edge space along the second half of the top border until you arrive at the opposite top corner.
Part 4: Second Side Tie & Finishing
- Second Tie Extension:
- Ch 51 from the second corner.
- Turn your work slightly to work back down the chain.
- Skip the first chain from your hook, then sl st into each of the remaining 50 chains back toward the bandana body.
- Finishing:
- Sl st into the main body corner to secure the tie.
- Fasten off, leaving a short tail.
- Pull yarn tight, knot securely if desired, and weave in all loose ends with a tapestry needle.
Detailed Pattern Breakdown
1. Geometric Construction & Central Expansion:
The beauty of this classic kerchief lies in its clever triangular geometry. Starting from a tiny magic ring or chain loop, the pattern expands outwards along two diagonal axes simultaneously:
- The Starting Anchor: Round 1 establishes two distinct clusters separated by a central
ch 2corner. - The Peak Turning Point: By placing
(3 dc, ch 2, 3 dc)inside the central point in every single round, you continually add one extra cluster per side while maintaining a crisp 90-degree apex. - Edge Straightening: The combination of
ch 4at the start and(3 dc, ch 1, 1 dc)at the end creates a completely flat top border, allowing the bandana to sit flush across the forehead.
2. Sizing Flexibility & Custom Fit:
Because this pattern uses a uniform repeat structure, customizing the size is simple:
- Adapting to Different Yarns: If you opt for lightweight fingering yarn or a smaller 3.0 mm hook, you can simply add more rounds (e.g., 15 to 18 rounds total) until reaching your target length.
- Measuring for Fit: The top edge should cover the crown of your head from ear to ear (typically 14 to 16 inches for adults, or 11 to 12 inches for children).
3. Integrated Border & Reinforced Ties:
Rather than attaching ties separately with extra knots and seam ends, this design uses a streamlined continuous technique:
- No-Break Flow: The first tie branches directly off the last stitch of the main body triangle.
- Sturdy Edge Support: Working
3 scinto the raw turning chain posts along the top edge stabilizes the fabric, preventing the kerchief from sagging or stretching out of shape when worn. - Symmetrical Finish: The second tie mirrors the first, leaving you with only two yarn tails to weave in when completed!
Pattern Question
Q: My bandana keeps curling at the edges, and the center point isn’t pointing straight down. How can I fix this?
A: Edge curling or distorted corners usually come down to two factors: chain tension and blocking.
- Check Your Chains: Make sure your
ch 1side spaces andch 2peak spaces aren’t pulled too tight. Tight chains cause the cluster groups to pucker inward. - Give It a Quick Steam Block: Acrylic and cotton blend yarns respond wonderfully to light blocking. Pin your bandana out into a neat triangle shape on a blocking board, mist it lightly with water (or use the steam setting on an iron held 2 inches above the fabric without touching), and let it dry completely. This relaxes the stitches and makes the lace pattern open up beautifully!