
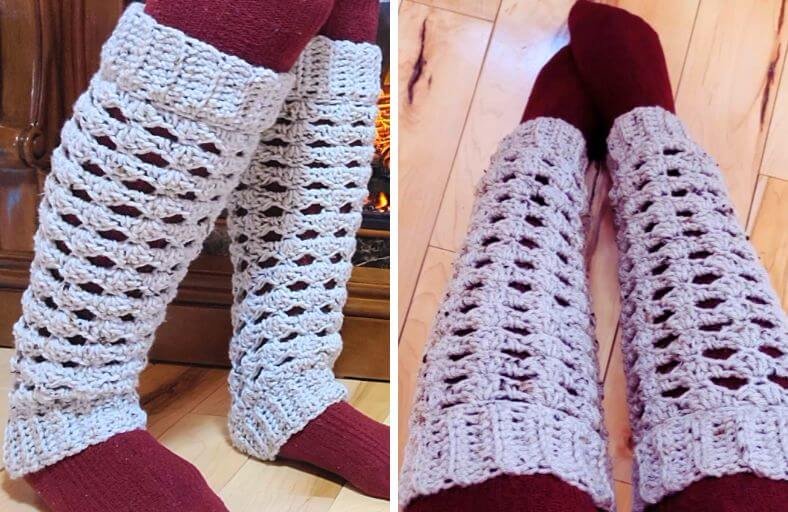
Looking for a stylish, quick-stitch project to elevate your cool-weather wardrobe? These versatile leg warmers offer maximum cozy vibes with minimal fuss!
Built with a clever top-down construction, a flexible textured stitch, and neat ribbed cuffs at both ends, this pattern adapts effortlessly to any leg length or size.
Whether styled over tights, paired with boots, or pulled up for cozy loungewear, this approachable design comes together fast and delivers a polished look.
Materials and Preparation
Materials:
- Yarn: Premier Basic Tweed (Medium weight #4; 97% Acrylic, 3% Viscose), colorway “Aran Tweed”, approximately 300 yards (274 m). Any Medium weight #4 yarn will work, or adjust yarn weight/hook size to preference.
- Optional Yarn Adjustments: Light DK (#3) yarn with a 5.0 mm hook, or Bulky (#5) yarn with a 6.5 mm hook.
Tools:
- Crochet Hook: Size J/10 (6.0 mm) crochet hook.
- Yarn Needle: Tapestry needle for weaving in ends.
- Scissors: Standard yarn scissors.
Preparation Notes:
- Focus on maintaining consistent tension throughout the ribbing so it stretches comfortably without losing recovery.
- Because the width of the leg warmer depends directly on your initial ribbed band, wrap the top cuff around your calf or knee during assembly to verify the perfect fit before proceeding to the main textured body.
Abbreviations and Notes
Abbreviations:
- ch: Chain
- sc: Single Crochet
- dc: Double Crochet
- sl st: Slip Stitch
- BLO: Back Loop Only
- st(s): Stitch(es)
- rnd(s): Round(s)
- row(s): Row(s)
Pattern Notes:
- The project begins with a flat ribbed strip for the top cuff, which is joined into a ring using slip stitches.
- The main body is worked in seamless-looking joined rounds down to the ankle.
- The bottom ribbing is worked vertically and attached directly to the bottom row of the body using slip stitches.
- CRITICAL SIZING RULE: The total number of rows in your top ribbing MUST be a multiple of 3 (e.g., 27, 30, 33 rows) to ensure the 3-stitch shell pattern repeat works out evenly.
- Original design and pattern credit belongs to Bag-O-Day Crochet.
Gauge, Approximate Size, and Pattern Notes
Gauge:
- Gauge is adaptable to personal fit preferences. For standard reference, 3 double crochet stitches in a shell measure approximately 1 inch (2.5 cm) wide.
Finished Size:
- Length: Approx. 16.5 inches (41.9 cm).
- Top Cuff Circumference: Approx. 13.5 inches (34.3 cm) relaxed, with generous stretch.
Special Techniques:
- BLO (Back Loop Only) Ribbing: Single crochets worked exclusively into the back loops create an elastic, rib-like texture for both top and bottom cuffs.
- Mini-Shell Pattern: Alternating 3-dc shells into single crochets and single crochets into chain-3 spaces builds a flexible, openwork lace structure that stretches comfortably over tights or leggings.
Step-by-Step Pattern
Part 1: Top Ribbed Cuff
Work in flat rows:
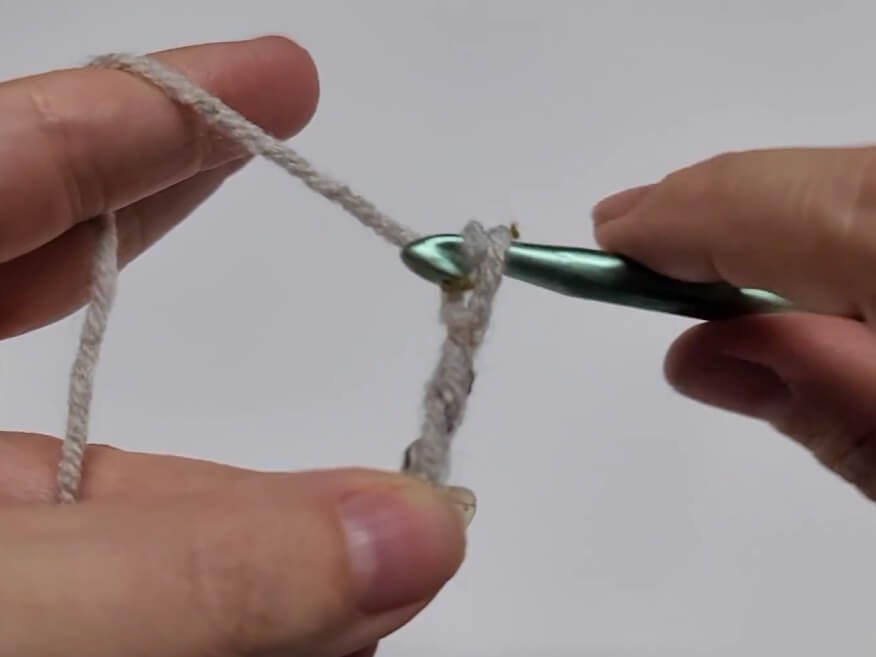
- Foundation: Ch 9.
- Row 1: Sc in 2nd ch from hook and in each ch across. Turn. (8 sc)
- Row 2: Ch 1, working in BLO, sc in each st across. Turn. (8 sc)
- Row 3–30: Repeat Row 2 until you complete 30 rows (or any desired count that is a multiple of 3).
Assembly of Top Cuff: Bring short ends together without twisting. Ch 1, slip stitch through the BLO of the working side and both loops of the foundation side across to join into a circle. Turn work right-side out. Do not cut yarn.
Part 2: Main Body
Work in joined rounds along the side edge of the top cuff:
- Rnd 1 (Base Round): Ch 1, evenly space 30 sc along the raw edge of the ribbing (1 sc per ribbing row). Sl st to first sc to join. (30 sc)
- Rnd 2: Ch 1, sc in same st, *ch 3, skip 2 sts, sc in next st; repeat from * around, ending with ch 3, skip last 2 sts. Sl st to first sc. (10 ch-3 spaces, 10 sc)
- Rnd 3: Ch 3 (counts as dc), 2 dc in same st (first shell made), *sc in next ch-3 space, 3 dc in next sc; repeat from * around, ending with sc in last ch-3 space. Sl st to top of starting ch-3. (10 shells, 10 sc)
- Rnd 4: Sl st to middle dc of first shell, ch 1, sc in same st, *ch 3, sc in middle dc of next shell; repeat from * around, ending with ch 3. Sl st to first sc. (10 ch-3 spaces, 10 sc)
- Rnds 5–25: Repeat Rnds 3 and 4 alternately, ending on a Rnd 3 (Shell Round) at Rnd 25 (or desired length reaching just above the ankle).
Part 3: Transition Round & Bottom Ribbed Cuff
Transition Round:
- Rnd 26: Ch 1, sc in same st, sc in next 2 dc of shell, *skip next sc, sc in each of the 3 dc of next shell; repeat from * around, skipping last sc. Sl st to first sc. (30 sc)
Bottom Ribbed Cuff:
Work vertically, attaching directly to Rnd 26:
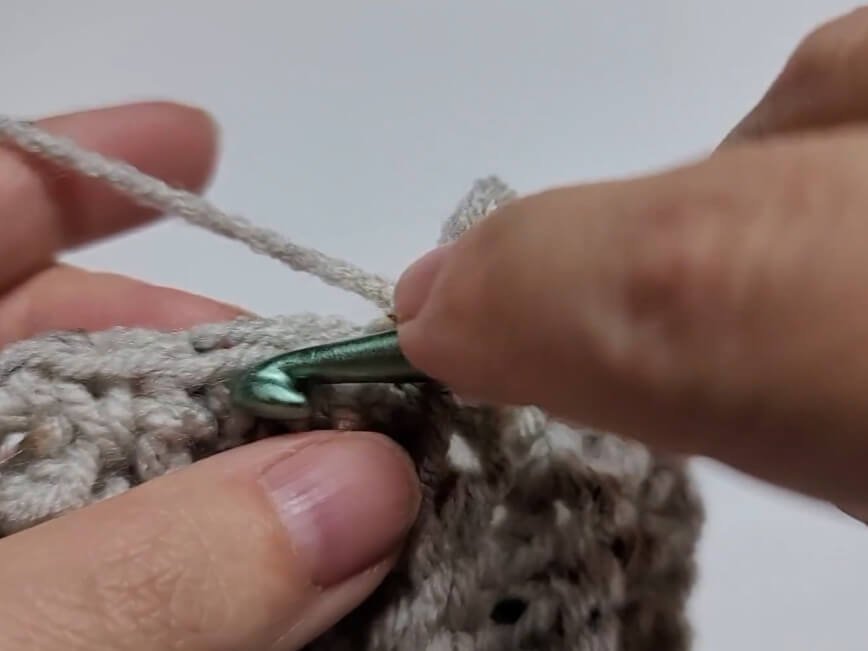
- Step 1: Ch 7 extending outward from current st.
- Step 2: Sc in 2nd ch from hook and in next 5 ch across down toward edge. (6 sc)
- Step 3: Sl st into next 2 available sc of Rnd 26. Ch 1, turn.
- Step 4: Skip the 2 sl sts. Working back up the ribbing, sc BLO in first 5 sts, sc through both loops on 6th st. Ch 1, turn.
- Step 5: Sc through both loops of 1st st at top, sc BLO in next 5 sts down. Sl st into next 2 available sc of Rnd 26. Ch 1, turn.
- Step 6: Repeat Steps 4 and 5 around the circumference until all 30 base sts are used.
Part 4: Assembly & Finishing
- Align the last row of the bottom ribbing with the foundation chain of the ribbing.
- Sl st through front loops only of both edges to join neatly.
- Fasten off and weave in all yarn ends securely on the inside of the work.
- Repeat Parts 1 through 4 to create the matching second leg warmer.
Detailed Pattern Breakdown
1. Top Ribbed Cuff Breakdown:
- Vertical Ribbed Construction: Started with a foundation chain of 9, the cuff uses 8 back-loop single crochets per row to generate vertical ridges. This structural elasticity grips the leg naturally without needing elastic bands.
- Multiple-of-3 Math: Ending on a row count divisible by 3 (such as 30) ensures that when transitioning to the body, each 3-stitch repeat (1 single crochet + 2 skipped stitches for a chain-3 loop) fits perfectly around the circle without leftover stitches.
2. Main Body Shell Architecture Breakdown:
- Alternating Mesh & Shell Foundations: Rnd 2 creates open chain-3 arches anchored by single crochets into the base edge.
- Mini-Shell Placement (Rnd 3): Placing 3 double crochets directly into each single crochet stitch spreads the fabric outward into decorative arches, while anchoring single crochets into the chain-3 spaces pins the center of each arch down.
- Off-Set Rows (Rnd 4): Re-anchoring single crochets into the middle (second) double crochet of each 3-dc shell keeps the lace pattern aligned symmetrically down the leg without twisting.
3. Bottom Ribbing & Attachment Breakdown:
- Stitch Reset (Rnd 26): Skipping the single crochet valleys between shells converts the scalloped lace edge back into a uniform 30-stitch ring.
- Perpendicular Attachment Technique: The bottom cuff is constructed sideways (perpendicular to the body) by anchoring 6-stitch rib rows directly into 2 body stitches at a time with slip stitches. This technique binds the bottom hem neatly while providing firm ankle stretch.
Pattern Question:
Question: How can I adjust this pattern for different leg sizes, children, or over-the-knee lengths without ruining the stitch count?
Answer: To change the circumference, simply work more or fewer rows on the top ribbing until it fits comfortably around your leg (or child’s leg), making sure your final row count is any number divisible by 3 (e.g., 24, 27, 33, 36).
Work the base round (Rnd 1) so that your single crochet count matches your total ribbing rows. For longer lengths (such as over-the-knee or thigh-high), simply continue repeating Rnd 3 and Rnd 4 to your desired measurement before completing the transition round and bottom cuff.