
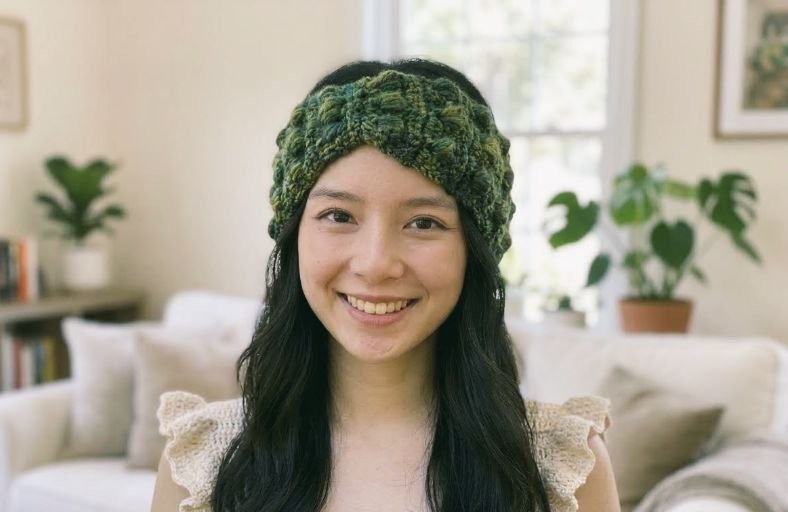
Tired of freezing your ears off on brisk morning walks while ruining a perfectly good hair day with a bulky beanie?
Say hello to your new cold-weather best friend: the Everglade Ear Warmer!
Featuring lush, squishy rows of front post puff clusters and an effortlessly chic cinched center, this wide crochet headband looks like something straight out of a cozy boutique.
Best of all, it works up super fast in worsted weight yarn and is completely customizable to fit any head size without breaking a sweat.
Materials and Preparation
Materials:
- Yarn: Approx. 100 to 130 yards of Category 4 Worsted Weight yarn (such as Lion Brand Heartland in a rich, earthy variegated green or your favorite solid shade).
- Scrap Yarn: A small strand (about 12 inches) of matching yarn for cinching the center front.
Tools:
- Crochet Hook: Size I/9 (5.5 mm) or 5.0 mm crochet hook (use whichever achieves a comfortable, flexible drape with your yarn).
- Yarn Needle: Tapestry needle for seaming the ends and weaving in loose tails.
- Stitch Markers: Optional, helpful for marking turning chains.
- Scissors: Sharp crafting scissors.
Preparation Notes:
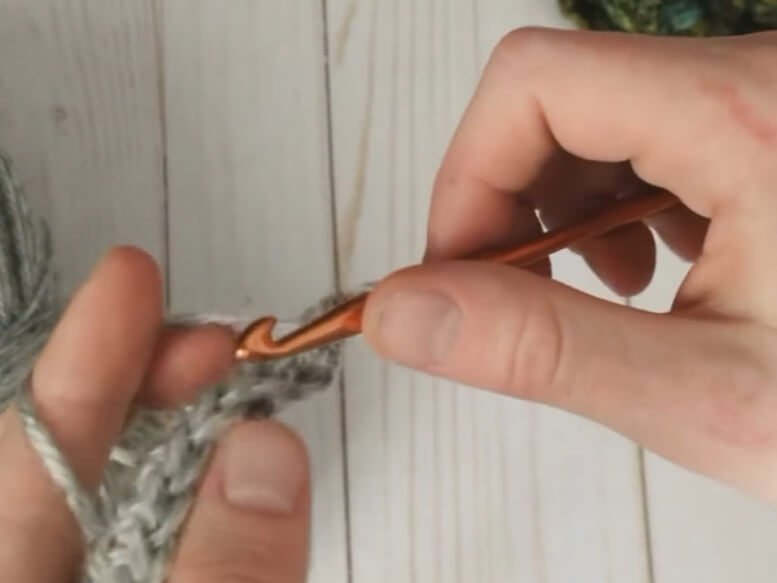
- Foundation Technique: This pattern starts with a Foundation Single Crochet (
fsc) row so the bottom edge has just as much stretch as the top edge. If you prefer a traditional starting chain, chain 18 and work 17scacross instead. - Width Customization: The standard base is 17 stitches wide, which produces three bold vertical columns of puff stitch clusters. If you want a wider or narrower headband, adjust your starting stitch count to any multiple of 5 plus 2 (for example, 12, 17, or 22 stitches).
Abbreviations and Notes
Abbreviations:
- ch: Chain
- fsc: Foundation Single Crochet
- sc: Single Crochet
- dc: Double Crochet
- sl st: Slip Stitch
- sk: Skip
- st(s): Stitch(es)
- FPpuff: Front Post Puff Stitch (see Special Techniques below)
- FPpuff-cl: Front Post Puff Cluster (
FPpuff,ch 1,FPpuffall worked around the same post) - RS / WS: Right Side / Wrong Side
Pattern Notes:
- Turning Chains: A
ch 1at the beginning of a row never counts as a stitch. Ach 3at the beginning of a double crochet row always counts as your firstdc. - Stitch Count Check: Maintaining an exact count of 17 stitches on every single crochet and double crochet setup row is essential so your front post puff clusters line up cleanly.
Gauge, Approximate Size, and Pattern Notes
Gauge:
- Approx. 14 stitches and 10 rows in pattern = 4 inches (10 cm), though exact gauge is flexible since you can wrap the band around your head as you go to check the fit.
Finished Size:
- Adult Size: Approx. 4.5 inches (11.5 cm) wide by 20 to 21 inches (51 to 53 cm) in circumference before stretching.
- Length Adjustment: Simply repeat the 4-row pattern sequence until the rectangle comfortably wraps around your head with about 1 inch (2.5 cm) of negative ease for a snug fit.
Special Techniques:
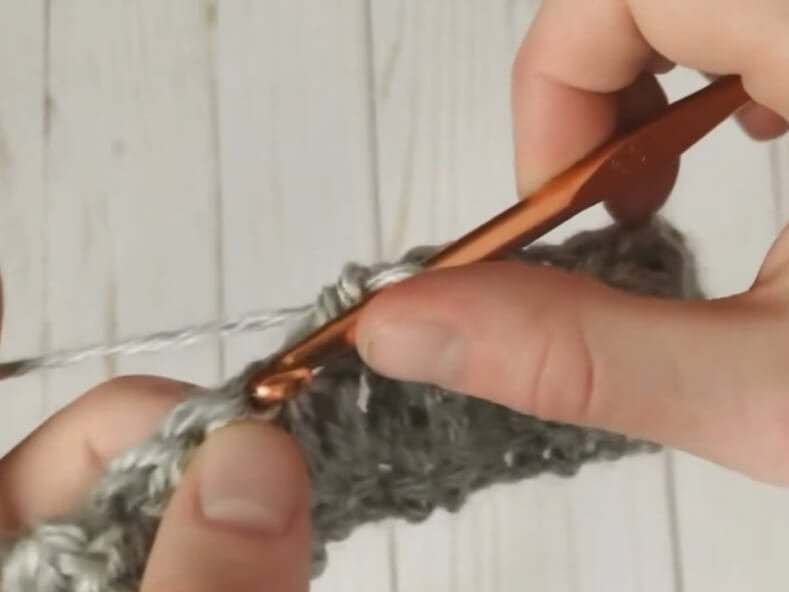
- Front Post Puff Stitch (
FPpuff): Yarn over, insert your hook from front to back to front around the post of the indicateddcstitch, yarn over and pull up a long loop (3 loops on hook). Repeat (yarn over, insert hook around the same post, pull up a long loop) two more times until you have 7 loops on your hook. Yarn over and pull through the first 6 loops, then yarn over and pull through the remaining 2 loops to close the puff. - Hidden Stitch Navigation: Because front post stitches wrap around the post of a
dcrather than sitting in the top loops, the top loops of that workeddcremain empty behind the puff. Always tilt your work slightly forward to inspect the back loops so you do not accidentally work into the hidden loops behind the cluster.
Step-by-Step Pattern
Part 1: Foundation and Setup Rows
Worked flat in rows turning at the end of each row:
- Foundation Row (RS): Work 17
fsc, turn (17). - R1 (WS):
ch 1(does not count as a st), 1scin each st across, turn (17). - R2 (RS):
ch 3(counts as firstdc),skfirst st, 1dcin each remaining st across, turn (17).
Part 2: Textured Puff Cluster Repeat
Note: R3 is worked on the Wrong Side so that your front post puffs pop forward onto the Right Side of the fabric.
- R3 (WS):
ch 1, 1scin each of the first 2 sts,sknextdc, work (FPpuff,ch 1,FPpuff) around the post of the nextdc(4thdcof row),skthe hidden top loops behind the puff ANDskthe nextdc, 1scin each of the next 2 sts,sknextdc, work (FPpuff,ch 1,FPpuff) around the post of the nextdc; repeat from * to * once more,skthe hidden top loops behind the puff ANDskthe nextdc, 1scin the lastdc, 1scin the top of the turningch 3, turn (3FPpuff-cland 8sc). - R4 (RS):
ch 1, 1scin each of the first 2sc, 1scin the top of the firstFPpuff, 1scin thech-1space, 1scin the top of the secondFPpuff, 1scin each of the next 2sc; repeat from * to * twice more, turn (17sc). - R5 (WS):
ch 1, 1scin each st across, turn (17sc). - R6 (RS):
ch 3(counts as firstdc),skfirst st, 1dcin each remaining st across, turn (17dc).
Part 3: Body Length Extension
- R7 to Desired Length: Repeat R3 through R6 until your rectangular band measures roughly 19 to 20 inches (48 to 51 cm) long, or fits snugly around your head when slightly stretched.
- Final Row: End after completing a R4 or R5 single crochet row so both short ends have matching flat edges. Fasten off, leaving a 12-inch (30 cm) yarn tail for seaming.
Part 4: Seaming and Center Cinch Finishing
- Step 1 (Join the Band): Fold the headband in half with the Right Sides facing inward (or outward if you prefer a visible decorative ridge). Using your yarn needle and long tail, whip stitch or slip stitch the two short ends together evenly through all 17 stitches. Weave in the seaming tail securely.
- Step 2 (Cinch the Front): Turn the band right side out and position the seam at the back center. Locate the
scrow directly underneath one of the front puff stitch rows at the opposite front center. - Step 3 (Weave and Gather): Cut a 12-inch (30 cm) strand of matching yarn. Using your crochet hook or yarn needle, insert the strand under the
scstitch aligned directly beneath the first puff cluster, skip across to thescaligned beneath the middle puff cluster, and pass through thescaligned beneath the third puff cluster. - Step 4 (Secure): Pull both ends of the cinching strand tightly on the front to gather the three puff columns into a flattering bow-like pinch. Tie a firm double knot, pull both ends through to the inside (Wrong Side) of the headband, tie another secure knot, and weave in the ends invisibly.
Detailed Pattern Breakdown
1. Foundation Stretch and Setup Logic
Starting with 17 fsc instead of a standard chain creates an elastic, comfortable bottom border that hugs the hairline without digging in. Following that with R1 (sc) and R2 (dc) establishes a sturdy architectural anchor. Because FPpuff stitches require tall vertical posts to wrap around, R2 (dc) acts as the essential scaffolding for the entire texture.
2. Geometry of the 4-Row Repeat
A clever bit of crochet engineering happens between R3 and R6. In R3, working (FPpuff, ch 1, FPpuff) around every fifth dc post creates three bold V-shaped bobble clusters separated by 2 sc valleys.
R4 then restores the stitch count back to 17 sc by placing 3 sc across each cluster (puff, chain space, puff) and 2 sc in each valley. Adding a second sc row in R5 ensures that the next dc row (R6) always lands on the Right Side, guaranteeing that every single puff cluster pops out on the exact same side of your headband.
3. Shaping Through Structural Cinching
Rather than complicated short-row shaping or decreases, the signature contoured silhouette shown in the finished piece comes entirely from gathering three aligned stitches across the center front. Pulling the three vertical puff columns together creates natural diagonal folds that frame the forehead and taper gently over the ears.
Pattern Question:
Question: Why do I keep ending up with 18 or 19 stitches on Row 4 after working my puff stitch clusters?
Answer: This almost always happens because of the “hidden” top loops sitting directly behind each FPpuff-cl. When you wrap your hook around the post of a dc in Row 3, the two top loops of that dc remain unworked behind your puff cluster.
When skipping stitches between clusters in Row 3, make sure you look at the back of your work and skip both the small tucked-away loops behind the puff and the next full dc stitch before working your next 2 sc. Counting your 17 stitches at the end of every Row 4 will keep your columns perfectly straight.