
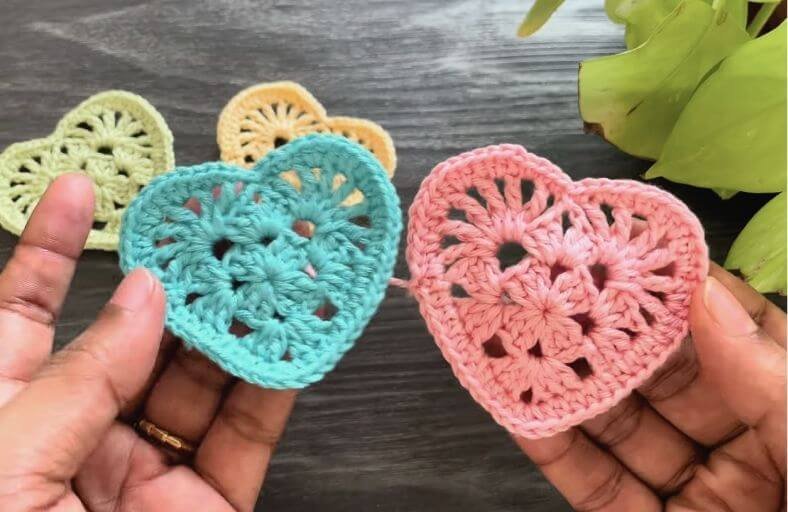
Looking for a charming project that comes together faster than your morning coffee brews?
Whether you need a last minute applique to sweeten up a tote bag, a coaster for your mug, or a stash busting project for leftover yarn, this lovely lace heart has you covered!
What starts as a classic granny square cleverly transforms into a full, defined heart shape with simple arches added on two adjacent sides.
Materials and Preparation
Materials:
- Yarn: Cotton yarn (sport weight or DK weight works beautifully for crisp stitch definition) in any color of your choice (e.g., lime green, turquoise, soft pink, or pastel yellow).
- Stuffing: Not required for this flat granny heart motif.
Tools:
- Crochet Hook: 2.5 mm crochet hook (or size appropriate for your chosen yarn).
- Yarn Needle: Tapestry needle for weaving in ends.
- Stitch Marker: Optional, helpful for marking corner spaces.
- Scissors: Craft scissors.
Preparation Notes:
- Basic familiarity with granny square construction, chain spaces, and working treble crochets into open spaces will make this project a breeze.
- Maintain consistent tension throughout the rounds so the outer edging lays flat without curling or puckering.
Abbreviations and Notes
Abbreviations:
- ch: Chain
- sl st: Slip Stitch
- sc: Single Crochet
- hdc: Half Double Crochet
- dc: Double Crochet
- tr: Treble Crochet
- st(s): Stitch(es)
- ch-sp: Chain Space
Pattern Notes:
- Round 1 and Round 2 are worked as a standard 4 corner granny square.
- Round 3 builds two curved scallops along two adjacent sides using treble crochets to create the top lobes of the heart.
- Round 4 works around the entire perimeter with mixed stitches (hdc, sc, sl st) to smooth out the border, define the bottom point, and deepen the center indentation.
- Beginning
ch-3counts as 1 double crochet throughout the pattern.
Gauge, Approximate Size, and Pattern Notes
Gauge:
Gauge is not critical for this motif. Using a 2.5 mm hook with light cotton yarn produces a neat, flat lace heart.
Finished Size:
Approximately 3.5 inches x 3.5 inches (9 cm x 9 cm) when made with sport weight cotton yarn and a 2.5 mm hook.
Special Techniques:
- Granny Motif Base: Working 3-dc clusters separated by chain spaces into a central ring.
- Treble Crochet Arches: Working
trstitches separated bych-1into side spaces to form smooth circular lobes. - Point Definition: Placing 3
hdcinto the bottom corner to form a clean, sharp tip.
Step-by-Step Pattern
Part 1: Granny Square Base (Rounds 1–2)
Round 1:
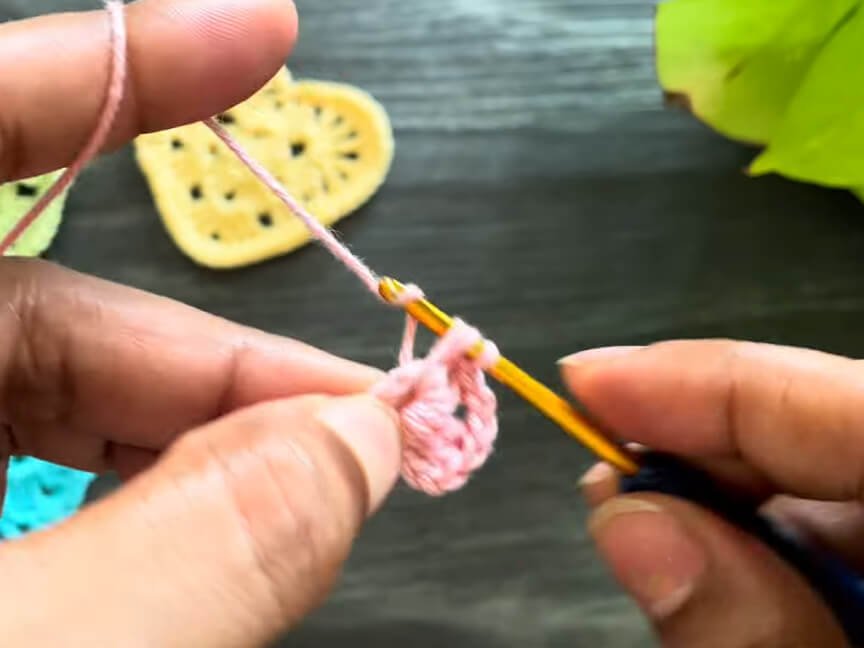
- Start with a slip knot and
ch 4. - Insert hook into the first chain and make a
sl stto form a central ring. ch 3(counts as firstdc), work 2dcinto the ring (total 3 dc).ch 2, work 3dcinto the ring.ch 2, work 3dcinto the ring.ch 2, work 3dcinto the ring.ch 2, join with asl stto the 3rd chain of the initialch-3. (4 clusters of 3 dc, 4 corner ch-2 spaces)
Round 2:
sl stin each of the next 2dc, thensl stinto the first cornerch-2space to position yarn.ch 3(counts asdc), 2dcinto same corner space,ch 2, 3dcinto same corner space.ch 1, skip to next corner space: work (3dc,ch 2, 3dc) into corner space.ch 1, skip to next corner space: work (3dc,ch 2, 3dc) into corner space.ch 1, skip to next corner space: work (3dc,ch 2, 3dc) into corner space.ch 1, join with asl stto top of initialch-3.
Part 2: Heart Lobes Formation (Round 3)
Round 3:
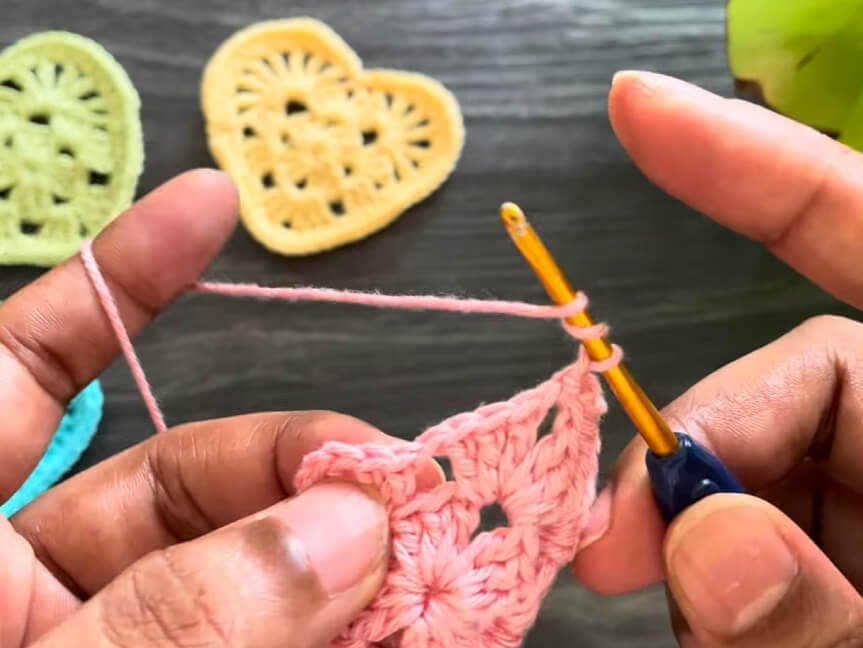
sl stin each of the next 2dc, thensl stinto the cornerch-2space.ch 1, yarn over twice to prepare for treble crochet.- Work into the side
ch-1space between corners:- Work 1
tr,ch 1. - Work 1
tr,ch 1. - Work 1
tr,ch 1. - Work 1
tr,ch 1. - Work 1
tr,ch 1. - Work 1
tr,ch 1. (Total of 6 tr separated by ch-1 in this middle space)
- Work 1
sl stinto the next cornerch-2space to anchor the first heart lobe.ch 1, yarn over twice.- Work into the next side
ch-1space between corners:- Work (1
tr,ch 1) a total of 6 times.
- Work (1
sl stinto the next cornerch-2space to anchor the second heart lobe.
Part 3: Border & Finishing (Round 4)
Round 4:
ch 2(counts as firsthdc).- Work
hdcacross the straight edge in each stitch and chain space:- Work 1
hdcin next space, continue withhdcacross to the bottom corner point.
- Work 1
- At the bottom point space (the bottom corner of the original square):
- Work 3
hdcinto the point space to create a sharp tip.
- Work 3
- Continue working
hdcup the next straight edge in each chain space. - Around the first top curved lobe:
- Work 2
hdcin the space between treble crochets. - Work 1
hdcon top of thetr. - Transition to
sc: work 2scbetween next treble crochets, 1scon top oftr, 1scin space.
- Work 2
- At the center top valley (between the two lobes):
- Work 1
sl stdirectly into the center indentation to pull the heart shape down crisp and deep.
- Work 1
- Around the second top curved lobe:
- Work 1
scin space, 1scon top oftr, 2scin space betweentr. - Transition to
hdc: work 1hdcon top oftr, 2hdcin next spaces across the curve.
- Work 1
- Join with a
sl stinto the 2nd chain of the initialch-2. ch 1, fasten off yarn, and weave in ends securely.
Detailed Pattern Breakdown
1. The Granny Base Construction (Rounds 1–2)
- Geometry & Foundation: The pattern begins with a classic 4 corner granny square motif. Round 1 establishes 4 clusters of 3
dcseparated bych-2spaces. - Expansion: Round 2 expands each corner by placing a (3
dc,ch 2, 3dc) shell into each corner space, linked bych 1along the sides. Moving between corners is done seamlessly by slipping across stitches (sl st) to avoid bulk.
2. Creating the Heart Lobes (Round 3)
- Scallop Placement: Instead of continuing as a square, Round 3 targets two adjacent side
ch-1spaces. - Treble Fan Shells: By working 6 tall
trstitches withch-1spaces between them directly into the side spaces and anchoring each fan with asl stinto the adjacent corners, the top of the square immediately transforms into two rounded lobes.
3. Outer Edge & Heart Contouring (Round 4)
- Point Creation: The bottom point of the square receives 3
hdcin one space, forming an extended triangular tip. - Top Center Dip: Moving from high
hdcstitches on the outer edges of the lobes down to shorterscstitches, and finally placing asl stat the exact midpoint, creates a dramatic dip that defines the classic heart silhouette.
Pattern Question
Question: How do I ensure my heart motif lies completely flat and doesn’t cup along the edges?
Answer: Cupping usually happens if the stitches along the outer curve of Round 4 are pulled too tightly or if stitches are skipped along the treble fan lobes.
Make sure to place the specified 2 stitches inside each ch-1 space between the tr posts. If your tension is naturally tight, switching to a 0.5 mm larger hook for Round 4 or giving your finished heart a light steam blocking will instantly flatten out the lace work.