
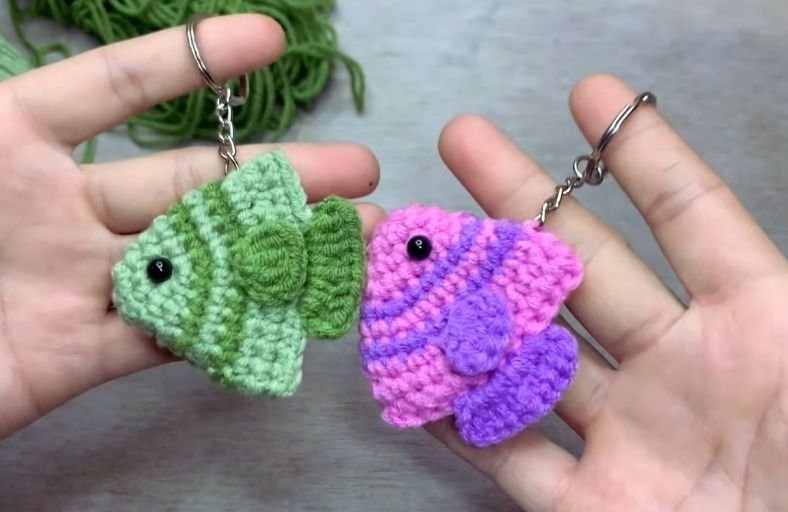
Ever wondered if you could carry a tiny, adorable splash of the ocean right in your pocket without getting your keys all wet?
This charming little fish keychain is the perfect quick stash buster project that brings a playful pop of color and handmade joy everywhere you go.
Pack your favorite yarn shades and let us dive straight into crafting this irresistible sea companion!
Materials and Preparation
Materials:
- Yarn: Cotton or acrylic yarn in two or three contrasting shades (for example, light green and dark green, or bright pink and purple for vibrant stripes).
- Stuffing: A small handful of polyester fiberfill (poly-fill) to give your fish a plump 3D shape.
- Safety Eyes: 1 pair of 5 mm or 6 mm black safety eyes (or black thread/beads if prefer embroidery).
- Keyring: 1 keychain ring with chain and jump ring attached.
Tools:
- Crochet Hook: 2.5 mm – 3.0 mm hook (choose a size slightly smaller than recommended on your yarn label to keep stitches tight and prevent stuffing from showing through).
- Yarn Needle: Tapestry needle for sewing fins, embroidering, and weaving in loose ends.
- Stitch Marker: Essential for keeping track of the start of each round.
- Scissors: Sharp pair for clean thread snips.
Preparation Notes:
- Work with an even, firm tension so the stitches stay tight and neat.
- Feel free to experiment with color changes every two rows to create eye-catching nautical stripes!
Abbreviations and Notes
Abbreviations:
- MR: Magic Ring
- ch: Chain
- sc: Single Crochet
- inc: Single Crochet Increase (2 sc in the same stitch)
- dc: Double Crochet
- sl st: Slip Stitch
Pattern Notes:
- The body is worked in continuous joined rounds: end each round with a slip stitch into the first stitch, then chain 1 before starting the next round.
- Tail fin details and side fins are crocheted separately and stitched securely onto the main body.
Gauge, Approximate Size, and Pattern Notes
Gauge:
Gauge is not critical for this project. Keep stitches tight to ensure poly-fill stuffing does not peek through the stitches.
Finished Size:
Approximately 2.5 inches (6.35 cm) long and 2.0 inches (5.08 cm) high (excluding the metal keychain hardware).
Special Techniques:
- Color Changing: Swap yarn colors seamlessly on the slip stitch at the end of a round.
- Tail Fin Integration: The back opening of the fish body is flattened and worked directly into with double crochet stitches to form the tail.
Step-by-Step Pattern
Part 1: Main Fish Body
Start with lighter yarn color:
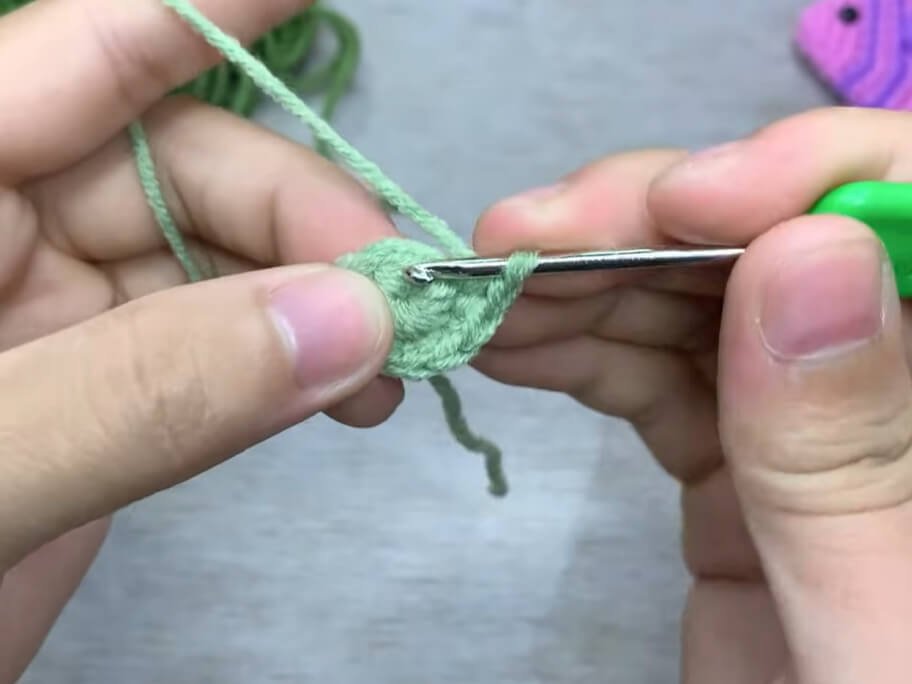
- R1: MR, ch 1, 6 sc, sl st to first sc (6)
- R2: ch 1, (1 sc, inc)*3, sl st to first sc (9)
- R3: ch 1, (2 sc, inc)*3, sl st to first sc (12)
- R4: ch 1, (3 sc, inc)*3, sl st, change color (15)
- R5: ch 1, (4 sc, inc)*3, sl st (18)
- R6: ch 1, (5 sc, inc)*3, sl st, change color (21)
- R7: ch 1, (6 sc, inc)*3, sl st (24)
- R8–R9: ch 1, 24 sc, sl st (24)
- R10: ch 1, 12 sc, sl st (12)
Fasten off leaving a long tail. Insert safety eyes between R3 and R4 on both sides of the head. Lightly stuff the body with fiberfill.
Part 2: Tail Fin
Flatten the back opening of R10 together so the top and bottom edges line up horizontally. You will crochet through both layers to seal the body:
- Tail Row: Join yarn at one corner, ch 3, 2 dc in the same stitch. Work 2 dc in each of the next 4 stitches across the flattened edge (total 10 dc). Ch 3, sl st into the last stitch. Fasten off and weave in ends.
Part 3
Head & Side Fins: Side Fins (Make 2)
Crochet using dark-colored yarn or a color of your choice:
- R1: MR, ch 3, 3 dc into MR, ch 3, sl st into MR. Pull the magic ring tight to form a small shell-like fin. Fasten off, leaving a tail for sewing.
Part 4: Assembly & Finishing
- Attach one side fin onto each side of the body near R5-R6 using the yarn needle.
- Ensure safety eyes are securely fixed and poly-fill is evenly distributed inside.
- Attach the metal keyring jump ring to the top center stitch of the fish body (around R6-R7).
- Weave in all remaining yarn tails neatly inside the body.
Detailed Pattern Breakdown
1. Main Fish Body Breakdown:
- The body begins at the snout using a Magic Ring (
MR) with 6sc. - Through R2 to R7, the conical shape expands gradually by adding 3 increase stitches (
inc) evenly distributed in every round, expanding from 6 to 24 stitches. - Rounds 8 to 10 maintain a constant count of 24
sc, creating a smooth, rounded midsection that houses the stuffing and sets up the base for the tail.
2. Tail Fin Breakdown:
- Instead of closing the body with decrease stitches, the opening of R10 is pressed flat.
- Working through both thickness layers simultaneously seals the body while building the tail fan in a single step using tall
dcstitches andch 3side bridges.
3. Side Fins & Finishing Breakdown:
- The side fins leverage the circular structure of a Magic Ring. Combining
ch 3, 3dc, and a closingch 3inside an unclosedMRcreates a fan shape that mimics natural pectoral fins when pulled tight.
Pattern Question:
Question: How do I ensure the color stripes on my fish body look clean without jagged steps at the end of each round?
Answer: To achieve seamless color transitions when working in joined rounds, perform the final slip stitch (sl st) of the round using the new yarn color.
Drop the old color, pull the new color loop through to complete the slip stitch, chain 1 with the new color, and proceed with your round. This eliminates visible stair-stepping between striped sections.