
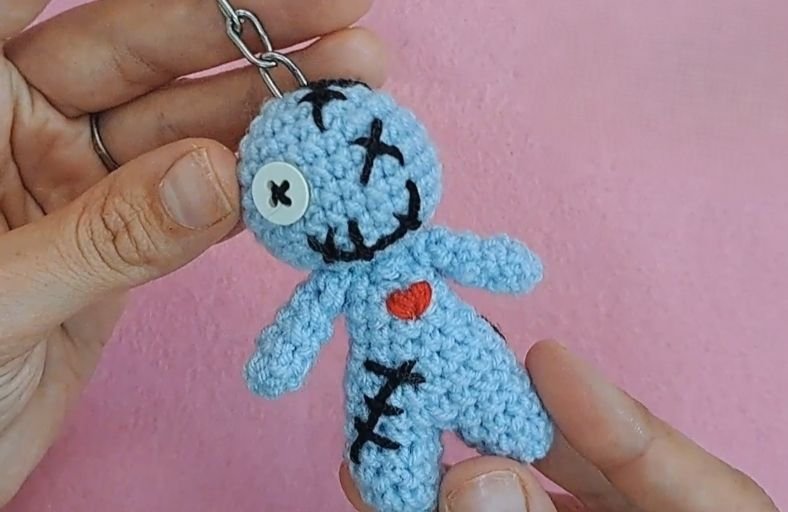
Ever wished you had a quirky little companion to keep bad vibes away from your keys or backpack?
Whether you are gearing up for Halloween or simply love creepy-cute amigurumi accessories, this Crochet Voodoo Doll Keychain is the ultimate stash-busting project.
Featuring playful button eyes, stitched scars, and a charmingly spooky silhouette, this miniature doll is quick to make and endlessly customizable.
Materials and Preparation
Materials:
- Yarn: Medium weight yarn or 4-ply cotton/acrylic yarn in your favorite background color (Pastel Yellow, Dusky Rose, Baby Blue, or Natural Beige). Small leftover scraps of White yarn for felt/crochet eye bases, Red yarn for embroidered heart details, and Black embroidery floss or yarn for stitching mouth scars and body stitches.
- Stuffing: Polyester Fiberfill (Polyfill) stuffing.
- Eye Attachments: Black safety eyes (6 mm to 8 mm) or small black buttons/beads.
- Keychain Hardware: Keyring with jump ring and chain attachment.
Tools:
- Crochet Hook: 2.5 mm to 3.0 mm crochet hook (choose a size smaller than yarn label recommendations to keep stitches tight).
- Yarn Needle: Tapestry needle for embroidering details and sewing components.
- Stitch Marker: Essential for tracking rounds in continuous spirals.
- Scissors: Sharp craft scissors.
Preparation Notes:
- Master foundational amigurumi techniques including the Magic Ring, single crochet stitches, simple increases, and invisible decreases.
- Maintain firm, consistent tension throughout the project to ensure the fiberfill stuffing remains completely hidden inside the stitches.
Abbreviations and Notes
Abbreviations:
- MR: Magic Ring
- ch: Chain stitch
- sc: Single Crochet
- inc: Single Crochet Increase (2 sc in the same stitch)
- dec: Invisible Single Crochet Decrease (sc2tog)
- sl st: Slip Stitch
- st(s): Stitch(es)
- rnd(s): Round(s)
- [ ]: Repeat instructions inside brackets the specified number of times
- ( ): Total stitch count at the end of the round
Pattern Notes:
- The body, head, arms, and legs are worked in continuous spiral rounds without joining at the end of each round unless specified.
- The legs are crocheted first, then joined directly together with chain stitches to form the lower torso in one seamless piece.
- Facial features and body stitches are embroidered after partial stuffing, right before closing up the head.
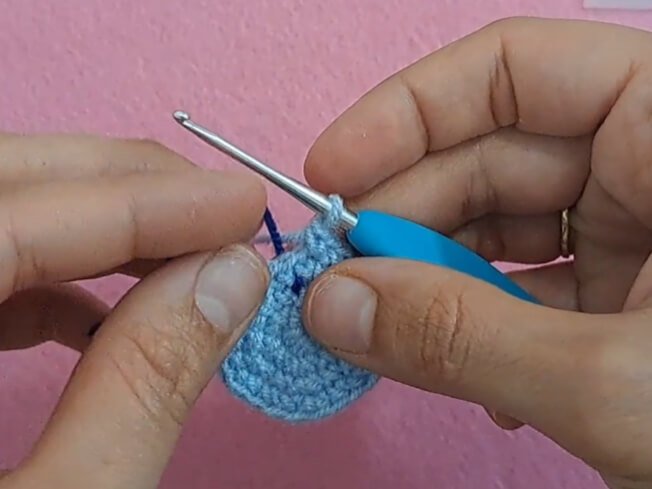
Gauge, Approximate Size, and Pattern Notes
Gauge:
Exact gauge is not critical for this project. Keep stitches dense so fiberfill does not poke through the fabric.
Finished Size:
Approximately 3.5 inches to 4 inches (8.9 cm to 10.2 cm) in height, excluding the metal keyring.
Special Techniques:
- Seamless Leg Join: Connecting two separate leg pieces with a short chain to construct the main body seamlessly.
- Surface Embroidery: Using backstitches and cross-stitches with black thread to create iconic voodoo scar marks and stitched facial details.
- Felt or Button Eyes: Sewing contrasting eye elements to give the doll its signature asymmetrical, handmade look.
Step-by-Step Pattern
Part 1: Legs and Body Assembly
Hands (Make 2):
Work in main yarn color in continuous rounds:
- Rnd 1: MR 6 sc (6)
- Rnd 2 – Rnd 5: 6 sc (6)
- Slip stitch in the next stitch, chain 1 and cut.
Legs and Body
- Rnd 1: MR 8 sc (8)
- Rnd 2 – Rnd 4: 8 sc (8)
- Rnd 5: attach the 2nd leg to the first one with a sc.
- Rnd 6 – Rnd 7: 16sc (16)
- Rnd 8: (1sc, dec)*5 , 1 sc (11)
- Rnd 9 – Rnd 11: 11 sc (11)
- Rnd 12: 6dec (6)
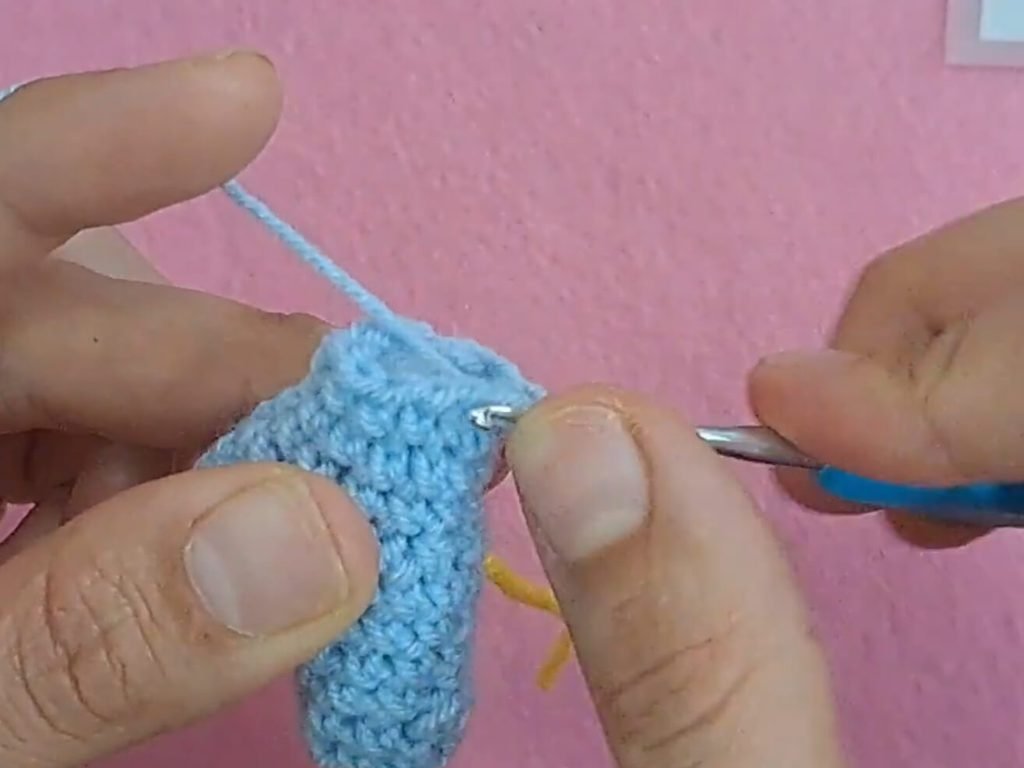
Part 2: Head Construction
Continue working in main yarn color seamlessly from Rnd 14 of the body:
- Rnd 1: MR 6sc
- Rnd 2: [2inc] * 6 (12)
- Rnd 3: [1 sc, inc] * 6 (18)
- Rnd 4: [2 sc, inc] * 6 (24)
- Rnd 5 – Rnd 8: 24 sc (24)
- Rnd 9: [2 sc, dec] * 6 (18)
- Rnd 10: [1 sc, dec] * 6 (12)
- Rnd 11: decrease 6 times
- Slip stitch in the next stitch, chain 1, leave some yarn for sewwing and cut.
Part 4: Assembly, Embroidery & Finishing
- Eye Attachment: Sew the white crochet circle or felt piece to one side of the face. Attach a safety eye or black button over it. On the opposite side, attach a simple black bead or embroider an “X” mark using black embroidery thread.
- Mouth Embroidery: Use black thread to embroider a wide horizontal line across the lower face, then add short vertical stitches across it to form stitched mouth scars.
- Body Scars: Embroider diagonal “X” stitches and patched line details across the chest, arms, or legs to emphasize the ragdoll aesthetic.
- Arm Attachment: Sew one arm to each side of the body right at shoulder level (around Rnd 13 – Rnd 14).
- Heart Detail: Embroider a tiny red heart on the chest using satin stitch or simple straight stitches.
- Keychain Attachment: Securely attach the keyring hardware to the very top center of the head using a jump ring and matching yarn tail.
Detailed Pattern Breakdown
1. Legs and Body Assembly Breakdown:
- Construction begins from the bottom up starting with two individual cylinder legs (MR 6 sc expanded to 9 sc).
- Joining the legs with a 2-chain bridge creates a sturdy, wide hip base of 22 stitches without needing separate sewing steps.
- The body reduces gradually from 22 stitches down to 9 stitches at the neck line, establishing a well-proportioned ragdoll silhouette.
2. Head Construction Breakdown:
- The head expands directly from the 9-stitch neck opening up to 30 stitches over four expansion rounds, forming a large, cute head typical of amigurumi keychains.
- Maintaining 30 sc across 6 consecutive rounds provides ample space for dramatic facial expressions, asymmetrical eyes, and stitched details.
- Tapering down with symmetric decreases (30 to 24 to 18 to 12 to 6) seals the top securely around the keychain attachment point.
3. Limb and Accent Embroidery Breakdown:
- Arms are intentionally kept slim (7 stitches) and unstuffed so they hang naturally alongside the body.
- The iconic voodoo look relies on deliberate asymmetry: pairing one large white eye base with a button/safety eye against an embroidered “X” eye on the other side.
- High-contrast black thread embroidery for facial scars and body patches adds personality and transforms simple stitches into a spooky-cute collector accessory.
Pattern Question:
Question: How can I make sure the head stays upright and doesn’t flop over on the keychain?
Answer: To prevent a wobbly head, make sure you stuff the neck area very firmly with fiberfill right before closing the top rounds.
You can also use the leftover yarn tail from the body or arms to wrap around the internal neck joint a few times for extra structural support.
Using a hook size that creates tight stitches will naturally give your amigurumi a firm, sturdy structure that holds up well on keys or bags.