
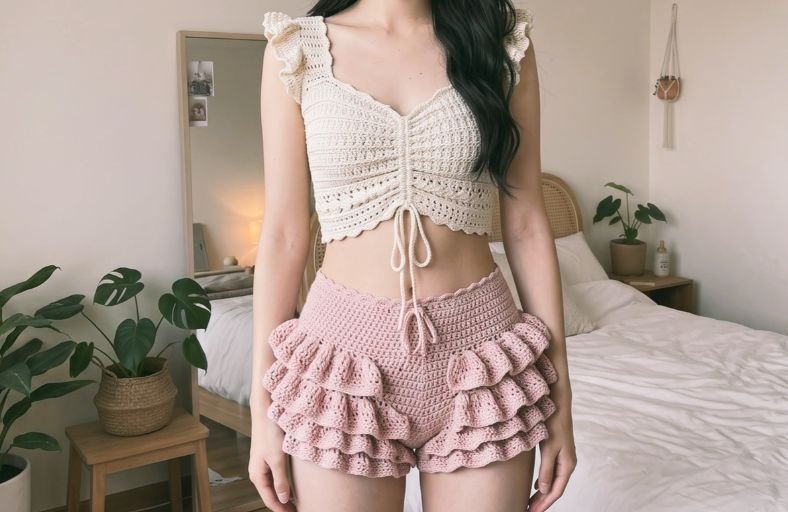
Looking to elevate your handmade summer wardrobe with the ultimate statement piece?
These dramatic, flirty ruffle shorts combine high-waisted comfort with eye-catching tiered ruffles that bring all the playful vacation energy.
Whether you are styling them over a swimsuit or pairing them with a matching crop top, this step-by-step pattern will help you whip up a custom pair with surprisingly simple stitches.
Materials and Preparation
Materials:
- Yarn: Worsted weight / Medium (Category 4) charity or acrylic yarn (Approximately 300–400 grams depending on size).
- Elastic / Drawstring Material: Optional thin elastic thread or matching yarn chain for the waistband drawstring.
Tools:
- Crochet Hook: 4.0 mm (US G/6) crochet hook.
- Measuring Tape: Essential for custom sizing.
- Yarn Needle: For weaving in loose ends.
- Scissors: For cutting yarn.
- Stitch Markers: To mark front and back center points during shaping.
Preparation Notes:
- Sizing Customization: This project is designed as high-waisted shorts with a custom fit. Measure around your hips (at the widest point over your bottom) to ensure the initial chain easily slides on over your hips.
- Stitch Density: Keep your double crochets smooth and tension relaxed so the ruffles drape softly without getting excessively rigid.
Abbreviations and Notes
Abbreviations:
- ch: Chain
- sc: Single Crochet
- hdc: Half Double Crochet
- dc: Double Crochet
- inc: Double Crochet Increase (2 dc in the same stitch)
- sl st: Slip Stitch
- FLO: Front Loop Only
- BLO: Back Loop Only
- st(s): Stitch(es)
Pattern Notes:
- The main body of the shorts is worked in joined rounds from the waist downward.
- Each main round begins with a ch 3 (counts as first dc) and joins with a sl st to the top of the initial ch 3.
- Ruffles are added in targeted surface rows (using FLO or working into post gaps along side/hip areas) to maximize movement and maintain sitting comfort.
Gauge, Approximate Size, and Pattern Notes
Gauge:
- 16 dc x 8 rows = 4 inches x 4 inches (10 cm x 10 cm) using a 4.0 mm hook.
Finished Size:
- Waistband (Unstretched): Approximately 28–32 inches (71–81 cm) for Size M/L.
- Hip Allowance: Expands to 38–42 inches (96–107 cm).
- Total Length: Approximately 14–15 inches (35–38 cm).
Special Techniques:
- Front Loop Only (FLO) Ruffling: Working increases exclusively in the front loops leaves the back loops free for continuing the underlying leg structure.
- Targeted Tier Placement: Placing the upper ruffles along the side hips keeps the seat back smooth and comfortable when sitting.
Step-by-Step Pattern
Part 1: High-Waisted Base & Shaping
Waistband & Upper Body:
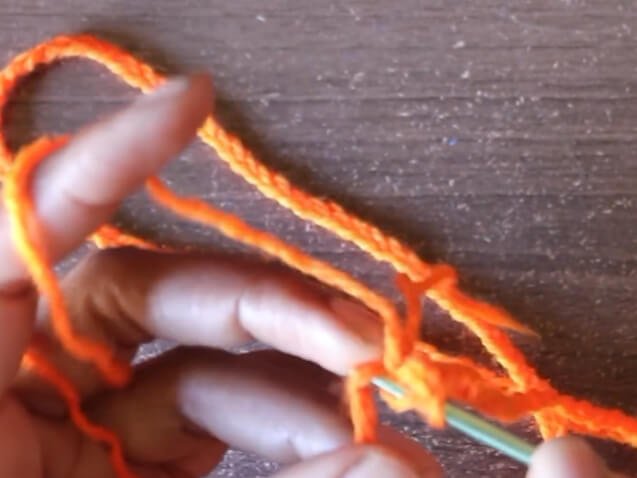
- Foundation: Ch 140 (or a multiple of stitches that fits comfortably over your hips when stretched). Join with a sl st to the first ch, taking care not to twist the chain.
- Round 1: Ch 3 (counts as 1 dc), 1 dc in each ch around. Join with sl st to top of ch 3 (140 sts).
- Rounds 2–11: Ch 3, 1 dc in each st around. Join with sl st to top of ch 3 (140 sts).
Hip Expansion & Shaping:
- Round 12 (Increase Round): Ch 3, dc across to the center point of the first hip/buttock curve, work 2 dc in the next st (inc), dc across to the opposite hip curve, work 2 dc in the next st (inc), dc to end. Join with sl st (142 sts).
- Rounds 13–14: Ch 3, 1 dc in each st around. Join with sl st.
- Round 15 (Quad Increase Round): Ch 3, work 4 evenly spaced increases across the round (1 front left, 1 front right, 1 back left, 1 back right). Join with sl st (146 sts).
- Rounds 16–30: Ch 3, 1 dc in each st around. Join with sl st (146 sts across 30 total main rounds).
Part 2: Crotch Inset & Individual Legs
Crotch Divider:
- Fold shorts flat to align front and back center points.
- Crotch Chain: Attach yarn at center front, ch 7, sl st to center back to divide the shorts into two leg openings.
First Leg:
- Round 1: Ch 3, 1 dc in each st around the leg opening and 1 dc in each of the 7 crotch ch sts. Join with sl st (approx. 80 sts).
- Rounds 2–3: Ch 3, 1 dc in each st around. Join with sl st.
Second Leg:
- Reattach yarn on the opposite side of the crotch chain and repeat Rounds 1–3 of First Leg.
Part 3: Layered Bottom Ruffles
Leg 1 Bottom Ruffle (Tier 1):
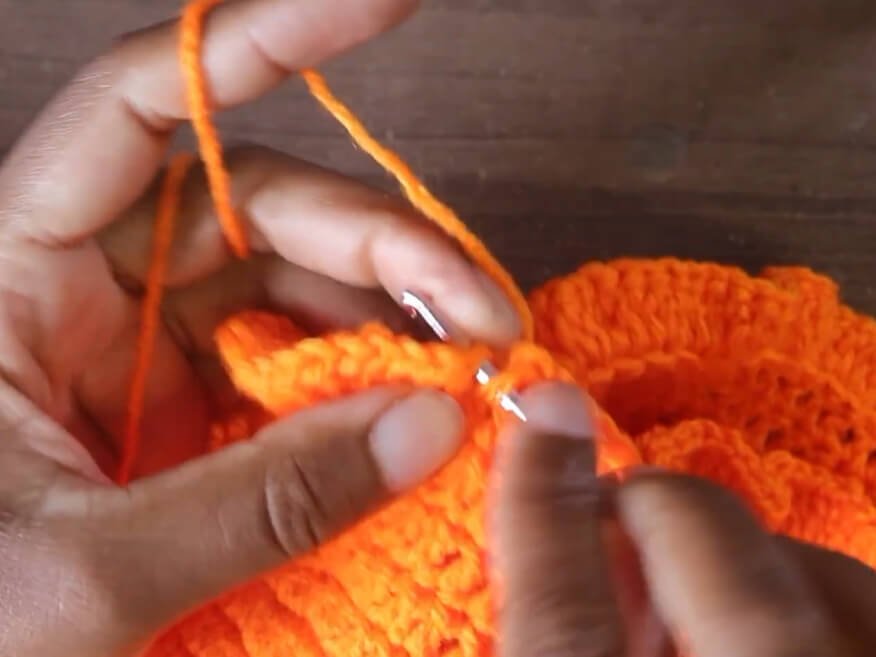
- Row 1 (Ruffle Foundation – FLO): Working into FLO of Round 3 of the leg, ch 3, work (3 dc in next st, 2 dc in next st) repeatedly around. Join with sl st.
- Row 2 (Ruffle Expansion): Ch 3, work (1 dc in next st, 2 dc in next st) repeatedly around. Join with sl st and fasten off.
Leg 1 Lower Base extension:
- Attach yarn to the remaining BLO of Round 3 of the leg.
- Rounds 4–5: Ch 3, 1 dc in each st around. Join with sl st and fasten off.
Leg 2 Bottom Ruffle (Tier 1):
- Repeat the exact Ruffle Foundation and Base extension steps on the second leg.
Part 4: Upper Hip Side Ruffles & Finishing
Side Hip Ruffles (Tier 2 & Tier 3):
- Tier 2 (Mid-Hip): Locate Round 22 of the main body along the outer side seam. Attach yarn, ch 3, and work across 20–25 surface stitch gaps along the outer hip: (3 dc in next gap, 2 dc in next gap). Turn, ch 3, work (1 dc in next st, 2 dc in next st) back across. Fasten off.
- Tier 3 (Upper Hip): Repeat Tier 2 on Round 18 along the outer side seam.
- Symmetry: Repeat Tier 2 and Tier 3 on the opposite side hip.
Drawstring & Finishing:
- Drawstring: Ch 180 (or desired length for a tie bow). Fasten off and weave through the dc posts of Round 2 at the waistband.
- Finishing: Weave in all yarn ends with a yarn needle and shape ruffles with your hands.
Detailed Pattern Breakdown
1. Main Shorts Body Structure:
- Rounds 1–11: Establishes a straight, stretchy cylinder designed to fit snugly over the midsection. Working in standard double crochet ensures height builds quickly while maintaining horizontal flexibility.
- Rounds 12–30: Incorporates strategic 2-stitch and 4-stitch increases over key rounds to accommodate natural hip/glute curves without creating bulky distortion in the front profile.
2. Leg Division & Crotch Inset:
- Dividing the base into two distinct leg openings via a 7-chain bridge creates an ergonomic inset. This prevents binding, allows comfortable movement, and establishes an even foundation for both leg hem ruffles.
3. Tiered Ruffle Mechanics:
- Volume Creation: Alternating between 3 double crochets and 2 double crochets in foundation loops doubles to triples the local stitch count instantly, forcing the fabric into structured, dense waves.
- Comfort Placement: Keeping upper tiers restricted to outer side-hip panels leaves the rear seat free of dense ruffle layers, preserving sleek aesthetics without compromising seating comfort.
Pattern Questions & Answers
Question 1: How can I adjust this pattern for smaller or larger sizes?
Answer: Measure around your widest hip dimension. Adjust your initial foundation chain in increments of 10 chains until it matches your hip measurement when slightly stretched. Maintain the same proportional distribution for leg separation (divide total body sts in half and add 7 crotch chains).
Question 2: What if I want fuller, fluffier ruffles?
Answer: To maximize volume, work 3 double crochets into every single front loop during the initial ruffle foundation row instead of alternating between 3 dc and 2 dc.
Question 3: Why are upper ruffles placed only on the sides instead of all the way around?
Answer: Working ruffles 360 degrees around the upper hip adds bulk directly over the seat area, which can be uncomfortable when sitting down. Side-hip placement concentrates dramatic volume along your silhouette while keeping the front and back flat and functional.