
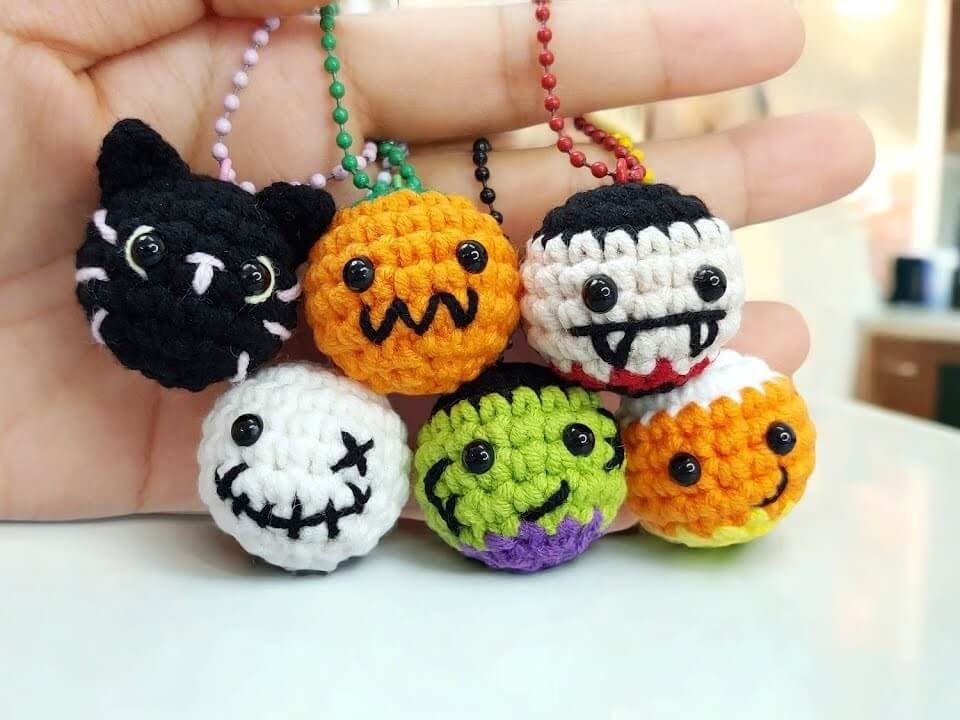
Black Cat, Pumpkin, Candy Corn, Skull, Frankenstein, Vampire Crochet Patterns
Ready to add some spooktacular fun to your crochet hook? These adorable Mini Halloween Keychains featuring a Black Cat, Pumpkin, Candy Corn, Skull, Frankenstein, and Vampire are quick to whip up and full of festive charm!
Designed as compact sphere bases, each pocket-sized monster comes together in just a few rounds, making them ideal for last-minute gifts, party favors, or bag charms.
Materials and Preparation
Materials:
- Yarn: Small amounts of worsted weight (#4) or lightweight yarn (#3) in orange, yellow, beige, red, green, purple, white, and black.
- Stuffing: Poly-fil or fiberfill stuffing.
- Safety Eyes: 5mm safety eyes (1 pair per character design).
- Keychain Attachments: Metal ball chains or keyrings with jump rings.
Tools:
- Crochet Hook: 2.5 mm or 3.0 mm (use a smaller hook size to keep stitches tight and prevent stuffing from showing).
- Tapestry Needle: For embroidery details and weaving in ends.
- Stitch Marker: Essential for tracking the beginning of continuous rounds.
- Scissors: For trimming yarn.
Preparation Notes:
- Practice your magic ring and color changes before starting so your spheres transition cleanly.
- Keep your tension firm and consistent throughout each round to give the keychains a sturdy shape.
Abbreviations and Notes
Abbreviations:
- MR: Magic Ring
- ch: Chain
- sc: Single Crochet
- inc: Increase (2 single crochets in the same stitch)
- dec: Decrease (single crochet two stitches together)
- hdc: Half Double Crochet
- sl st: Slip Stitch
Pattern Notes:
- Work in continuous rounds without joining unless specified otherwise; place a stitch marker in the first stitch of each round.
- Insert 5mm safety eyes between Round 5 and Round 6 with 3 stitches between them across all designs.
- Stuff each character firmly before completely closing Round 9.
Gauge, Approximate Size, and Pattern Notes
Gauge:
Exact gauge is not critical for this project. Ensure stitches are tight enough so stuffing does not peek through.
Finished Size:
Approximately 1.5–2 inches (3.8–5.1 cm) tall.
Special Techniques:
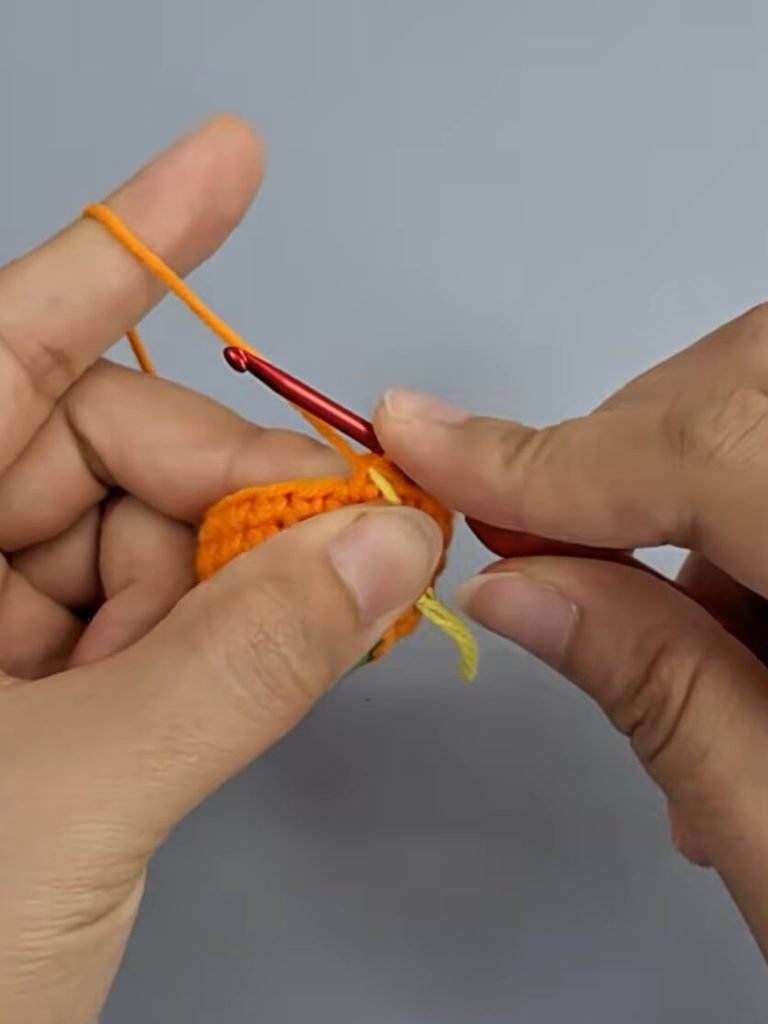
- Color Changing: Work the final yarn over of the last stitch in the previous color using the new color yarn.
- Facial Embroidery: Use black, white, or red yarn with a tapestry needle to stitch cute or spooky faces.
Step-by-Step Patterns
Part 1: Mini Pumpkin
- R1: MR 6 sc [6]
- R2: 6 inc [12] (Orange yarn)
- R3: (1 sc, 1 inc)*6 [18]
- R4–R7: 18 sc (4 rounds total) [18]
- R8: (1 sc, 1 dec)*6 [12]
- Insert 5mm safety eyes between R5 and R6, spaced 3 sc apart. Stuff firmly.
- R9: 6 dec [6]
- Fasten off. Add a green yarn loop or stem at the top and embroider a zig-zag jack-o’-lantern mouth with black yarn.
Part 2: Black Cat
- R1: MR 6 sc [6]
- R2: 6 inc [12] (Black yarn)
- R3: (1 sc, 1 inc)*6 [18]
- R4–R7: 18 sc (4 rounds total) [18]
- R8: (1 sc, 1 dec)*6 [12]
- Insert 5mm safety eyes between R5 and R6, spaced 3 sc apart. Stuff firmly.
- R9: 6 dec [6]
- Ears (Make 2): ch 3, skip 1 ch, 1 sl st, 1 hdc. Attach ears to the top between R3 and R4 on either side.
- Embroider white whiskers and a tiny nose.
Part 3: Candy Corn
- R1: MR 6 sc (White yarn) [6]
- R2: 6 inc [12] (White yarn)
- R3: (1 sc, 1 inc)*6 [18] (Change to Orange yarn) [18]
- R4–R7: 18 sc (4 rounds total, Yellow yarn) [18]
- R8: (1 sc, 1 dec)*6 [12]
- Insert 5mm safety eyes between R5 and R6, spaced 3 sc apart. Stuff firmly.
- R9: 6 dec [6]
- Embroider a cheerful smile using black thread.
Part 4: Skull
- R1: MR 6 sc (White yarn) [6]
- R2: 6 inc [12]
- R3: (1 sc, 1 inc)*6 [18]
- R4–R7: 18 sc (4 rounds total) [18]
- R8: (1 sc, 1 dec)*6 [12]
- Insert 5mm safety eyes between R5 and R6, spaced 3 sc apart. Stuff firmly.
- R9: 6 dec [6]
- Embroider a stitched mouth line with vertical cross-hatches and stitching details using black yarn.
Part 5: Frankenstein
- R1: MR 6 sc (Black yarn) [6]
- R2: 6 inc [12] (Black yarn for hair)
- R3: (1 sc, 1 inc)*6 [18] (Change to Green yarn) [18]
- R4–R7: 18 sc (4 rounds total, Green yarn) [18]
- R8: (1 sc, 1 dec)*6 [12] (Change to Purple yarn for shirt base) [12]
- Insert 5mm safety eyes between R5 and R6, spaced 3 sc apart. Stuff firmly.
- R9: 6 dec [6]
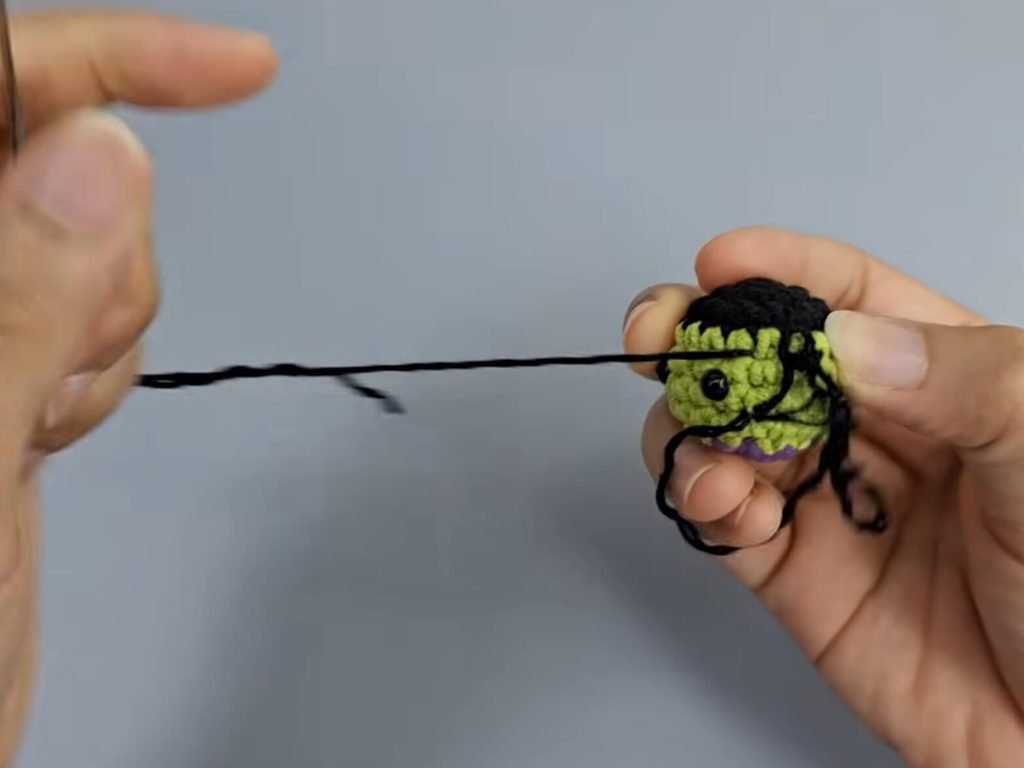
- Embroider forehead scars and a smirk with black yarn.
Part 6: Vampire
- R1: MR 6 sc (Black yarn) [6]
- R2: 6 inc [12] (Black yarn)
- R3: (1 sc, 1 inc)*6 [18] (Change to Beige yarn) [18]
- R4–R7: 18 sc (4 rounds total, Red yarn for collar accent) [18]
- R8: (1 sc, 1 dec)*6 (Black yarn) [12]
- Insert 5mm safety eyes between R5 and R6, spaced 3 sc apart. Stuff firmly.
- R9: 6 dec [6]
- Embroider a mouth with two tiny white fangs and red drippings at the bottom.
Part 7: Assembly & Finishing
- Secure all loose yarn tails inside the spheres.
- Attach a keychain ring or ball chain through the top stitches of each character.
- Give each keychain a gentle squeeze to shape it into a perfect sphere.
Step By Step Guide
Detailed Pattern Breakdown
1. Sphere Geometry Base Construction
- R1 to R3 (Expansion): The foundation relies on standard amigurumi sphere geometry. Starting with an
MR 6 sc, doubling stitches to 12 via6 inc, and then expanding to 18 stitches via(1 sc, 1 inc)*6forms a balanced flat circle top. - R4 to R7 (Wall Height): Maintaning 18
scover 4 consecutive rounds converts the flat circle into a hollow cylindrical body without warping. - R8 to R9 (Contouring & Tapering): Reversing the expansion with
(1 sc, 1 dec)*6reduces the count back to 12, followed by6 decto draw the bottom closed seamlessly around the poly-fil stuffing.
2. Multi-Color Block Injections
- Candy Corn & Vampire Transitions: By shifting yarn colors precisely at R3 (beige to orange or red) and R4 (yellow or black), distinct horizontal stripes are established without interrupting the overall stitch count.
- Hairline Contouring (Frankenstein & Vampire): Starting R1 and R2 in black yarn simulates a hairline or cap, seamlessly joining into the green or beige face rounds below.
3. Surface Embroidery Techniques
- Linear Detail Stitching: Facial features like stitches, whiskers, mouth lines, and fangs rely on simple straight stitches using thin yarn or embroidery floss to preserve the small scale without adding bulk.
Pattern Questions
Question: How do I ensure my color changes stay clean on the small round keychains?
Answer: Switch to your new color during the final yarn over of the last stitch in the previous color. Pull both the old and new yarn tails snugly to keep the transition crisp before continuing with the new color.
Question: Why are my safety eyes popping out or loosening?
Answer: Ensure you press the plastic washer firmly onto the post on the inside of your crochet work before adding stuffing. Using washers designed specifically for 5mm safety eyes will lock them in place permanently.
Question: Can I turn these into tree ornaments instead of keychains?
Answer: Absolutely! Simply loop a 6-inch piece of green, orange, or black yarn through the top center of each character, knot the ends inside, and hang them directly onto your Halloween tree!