
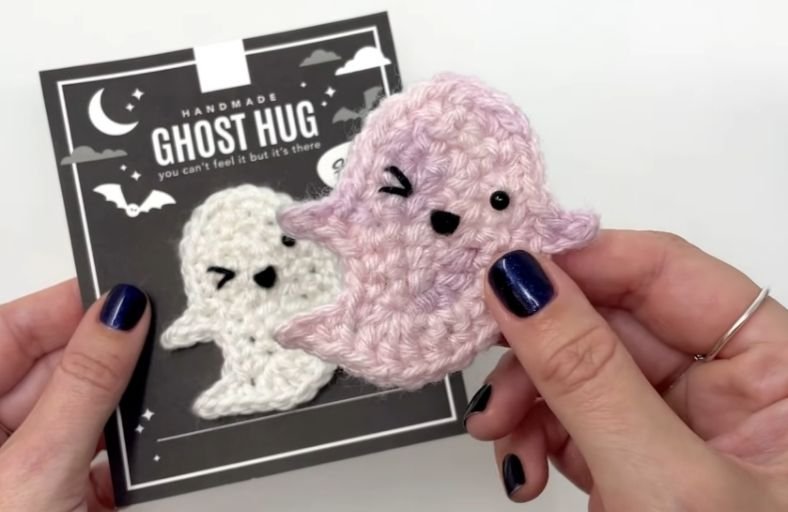
Who says ghosts have to be scary when they can be absolutely adorable?
If you are looking to add a touch of friendly fright and playful spookiness to your Halloween creations, this Pocket Ghost Applique is about to become your new favorite quick project.
Whether stitched onto a cozy sweater pocket, attached to a beanie, turned into a cute keychain, or used as spooky bunting decor, this tiny phantom is ready to bring big smiles!
Materials and Preparation
Materials:
- Yarn: Small amounts of Worsted Weight / Category 4 yarn (Cotton or Acrylic works wonderfully).
- White or Light Pink yarn for the ghost body.
- Fine Black Embroidery Floss or scrap black yarn for the embroidered winking face.
- Safety Eyes (Optional): 4 mm – 6 mm safety eyes or tiny black beads if you prefer attached eyes instead of embroidery.
Tools:
- Crochet Hook: 3.5 mm (US E-4) or 4.0 mm (US G-6) hook depending on how tight you want your stitches.
- Yarn Needle: Tapestry needle for embroidering facial expressions and weaving in ends.
- Stitch Marker: To mark starting points when working flat rows or curved edges.
- Scissors: Sharp craft scissors.
Preparation Notes:
- Maintain a firm, consistent tension throughout to ensure the flat applique holds its wavy, floating silhouette cleanly without curling.
- Keep your embroidery floss handy before starting so you can stitch the expressive winking eye and mouth right after finishing the main body shape.
Abbreviations and Notes
Abbreviations:
- MR: Magic Ring
- ch: Chain
- sc: Single Crochet
- inc: Single Crochet Increase (2 sc in the same stitch)
- dec: Single Crochet Decrease / sc2tog
- hdc: Half Double Crochet
- dc: Double Crochet
- sl st: Slip Stitch
- FO: Fasten Off
- st(s): Stitch(es)
Pattern Notes:
- The main body of the ghost is worked in flat rows from the top down, expanding sideways to create the rounded head and floating hands.
- Chain stitches at the beginning of rows or turning points do not count as stitches unless specified otherwise.
- The wavy tail at the bottom is created using a combination of escalating stitch heights (sl st, sc, hdc, dc) to give the illusion of a floating ghost tail.
Gauge, Approximate Size, and Pattern Notes
Gauge:
Gauge is not critical for this applique project. Keep stitches snug so the shape remains neat and structured.
Finished Size:
Approximately 2.5 inches (6.35 cm) tall by 2 inches (5.08 cm) wide when using worsted weight yarn and a 3.5 mm hook.
Special Techniques:
- Picot / Extended Arm Technique: Creating tiny chain extensions to form the ghost’s outstretched arms waving sideways.
- Surface Facial Embroidery: Straight stitches and small French knots or V-stitches to craft the playful winking eye and open smile.
Step-by-Step Pattern
Part 1: Main Head & Upper Body
Worked in flat turned rows using White or Pink yarn:
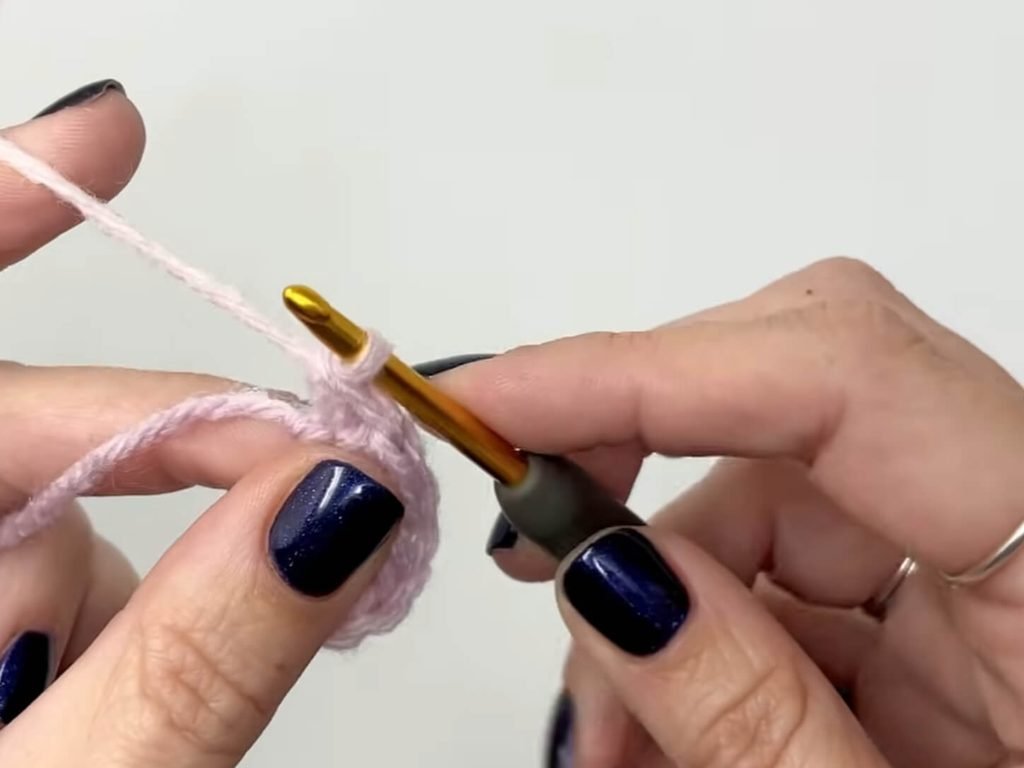
- Foundation: Ch 6.
- R1: 2hdc into next 3sts , 2hdc into last st. Turn
- R2: 2hdc into 1sts , hdc into next 3 sts, 2hdc into last st. slst to 1sts to join. (14)
- R3: 2sc into 1sts, sc into next 5sts, 2sc into next 2sc, sc into next 5sts, 2sc into last st. (18)
- R4: slst to 1 sts to join. ch1, turn
- R5: 2sc into next 2sts, sc into next 3.
Part 2: Arms & Lower Body
- R6 (Left Arm & Body): Ch 3 (arm extension), slst into 2nd ch from hook, sc in next ch, sc in back into same st on body, turn.
- R7: sc in to next 2sts
- R8 (To make the tail) : dc into next st, ch3, slst into 2nd ch, sc into next ch , sc through top of dc, 3 dc back into same st as the 1st dc on body, hdc into next st, sc into next 5sts.
- R9(Right Arm & Body): sc, ch3, slst into 2nd ch, sc into next ch, sc into same st on body.
- R10: Sc into next st, 2sc into next 2sts. Slst to 1sts to join.
Part 4: Assembly & Facial Embroidery
- Winking Eye Embroidery: Using black embroidery floss and a yarn needle, stitch a small “V” shape or angled dash on the left side of the face for the winking eye.
- Open Eye Embroidery: Stitch a small French knot or tiny vertical stitch on the right side of the face for the open eye (or insert a tiny safety eye/bead).
- Mouth: Stitch a tiny inverted triangle or curved crescent stitch between the eyes to create a happy, open mouth.
- Finishing: Weave in the starting yarn end. Use the long tail from fastening off to attach the ghost applique onto your target garment or accessory!
Detailed Pattern Breakdown
1. Head & Body Shaping
- The top-down construction starts with a compact base of
ch 4and expands rapidly usingincstitches at both ends ofR2andR3. This creates a smooth dome shape perfect for a cute ghost head. - Rows
R4throughR6maintain a steady7 sccount, giving the head enough vertical space before branching out into the arms.
2. Side Arms & Floating Silhouette
- The arms utilize quick chain extensions (
ch 3) at the beginning ofR7andR8. By working ascfollowed by ahdcback down the chain, the arm gains a natural tapered shape that points outwards and slightly upward. - The transition from arms back into the main body is seamlessly secured as you continue single crocheting across the central
7 sc.
3. Bottom Wave & Tail Sweep
- The bottom edge uses gradient stitch heights (
sl strightarrowscrightarrowhdcrightarrowdc incrightarrowhdcrightarrowscrightarrowsl st) to sculpt an undulating wave. - The additional
ch 4extension at the very end curves the tip of the ghost tail sideways, capturing the classic floating motion of a friendly pocket specter.
Pattern Question:
Question: How do I ensure my ghost applique stays completely flat and doesn’t curl up at the edges when sewn onto clothing?
Answer: To keep your pocket ghost perfectly flat, make sure to add the optional slip stitch border (Round 1) around the entire perimeter with a relaxed tension. Once finished, give your applique a gentle steam blocking: pin the ghost down flat on a blocking board, hover a steam iron an inch above the piece for a few seconds, and let it dry completely before stitching it onto your fabric pocket or sweater.