
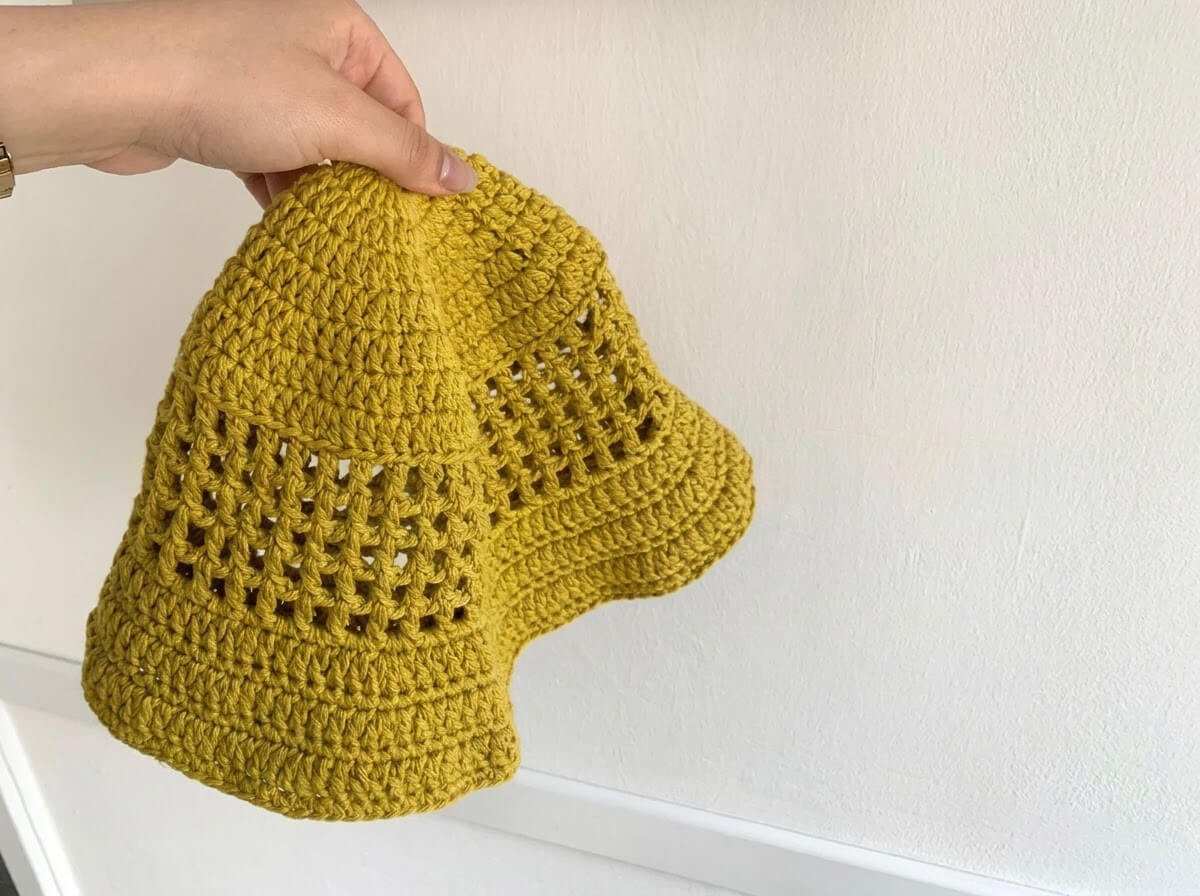
Ready to level up your warm-weather wardrobe with a breezy, hand-crocheted accessory?
This sunny mustard-yellow bucket hat features a breathable mesh body, a structured crown, and a subtle flared brim that shields your eyes in style.
Designed by Monica, this project combines soft cotton yarn with clever hook size adjustments to create the ultimate summer staple.
Materials and Preparation
Materials:
- Yarn: Hobbii Friends Cotton 8/8 in Mustard Yellow (or your preferred DK/Aran weight cotton yarn).
Tools:
- Crochet Hooks: 3.5 mm hook (for the top crown and brim) and 4.0 mm hook (for the mesh section).
- Yarn Needle: Tapestry needle for weaving in loose ends.
- Scissors: Standard craft scissors.
- Stitch Marker: Optional, helpful for keeping track of the first stitch of each round.
Preparation Notes:
- Ensure you have both 3.5 mm and 4.0 mm crochet hooks on hand, as switching hook sizes between sections is key to getting the light, airy drape in the mesh body.
- Cotton yarn works best for this project because it provides great stitch definition, durability, and breathable comfort on hot days.
Abbreviations and Notes
Abbreviations:
- MR: Magic Ring
- ch: Chain
- sc: Single Crochet
- dc: Double Crochet
- inc / inc dc: Double Crochet Increase (2 dc worked into the same stitch)
- slpst / sl st: Slip Stitch
- blo: Back Loop Only
- flo: Front Loop Only
Pattern Notes:
- Rounds are joined at the end of each round with a slip stitch (
slpst) into the starting chains unless stated otherwise. - The top crown and brim are worked with a 3.5 mm hook to create a sturdy structure, while the mesh body switches to a 4.0 mm hook for a looser, airy texture.
Gauge, Approximate Size, and Pattern Notes
Gauge:
Gauge is not strictly critical for this hat, but maintaining consistent tension will ensure the brim flares evenly without bubbling.
Finished Size:
Designed to fit an average adult head circumference of approximately 21.5–22.5 inches (55–57 cm).
Special Techniques:
- Hook Switching: Changing from 3.5 mm to 4.0 mm hook at the mesh section allows the stitches to open up and form neat square mesh openings.
- BLO (Back Loop Only): Used at the start of the mesh section to transition cleanly from the flat crown to the sides of the hat.
- FLO (Front Loop Only): Used in the brim rounds to allow the brim to flare outward naturally.
Step-by-Step Pattern
Part 1: Top of the Hat
Work using the 3.5 mm crochet hook:
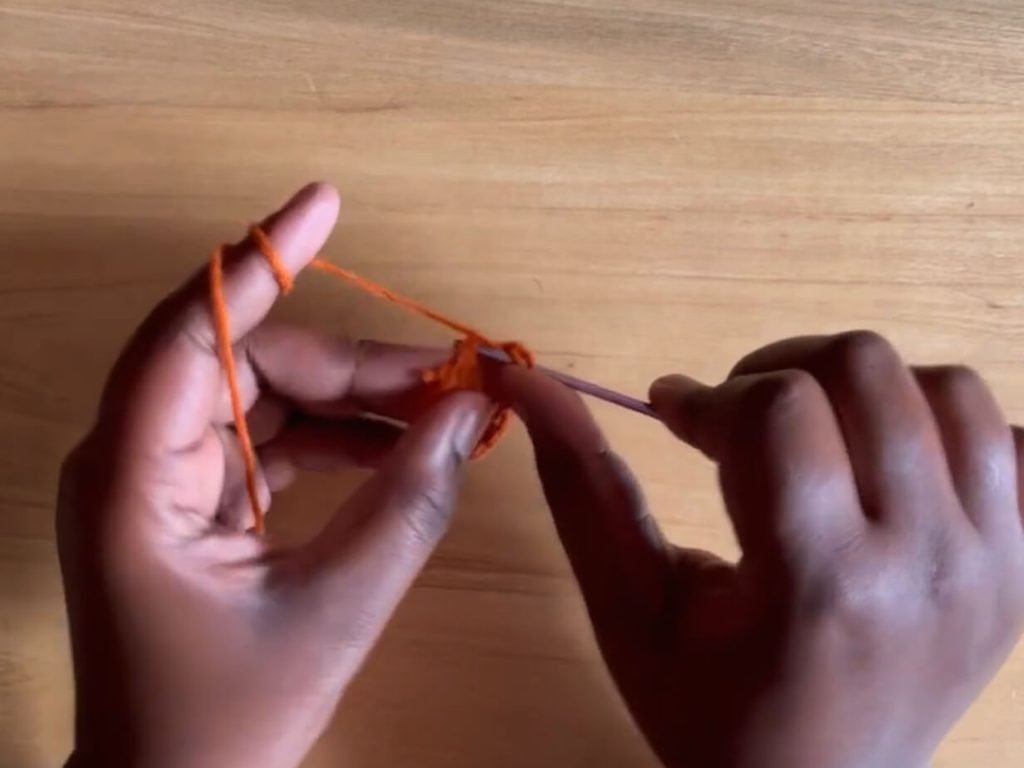
- Round 1: MR with 3.5 mm hook, work 12 sc into the ring (12)
- Round 2: slpst, ch 2, dc in the first stitch, inc x 11 (24)
- Round 3: slpst, ch 2, inc, (dc, inc) x 11 (36)
- Round 4: slpst, ch 2, dc, inc, (dc 2, inc dc) x 11 (48)
- Round 5: slpst, ch 2, dc 2, inc, (dc 3, inc dc) x 11 (60)
- Round 6: slpst, ch 2, dc 3, inc, (dc 4, inc dc) x 11 (72)
- Round 7: slpst, ch 2, dc 4, inc, (dc 5, inc dc) x 11 (84)
(Optional sizing note: If you want to make your hat larger, add Round 8: slpst, ch 2, dc 5, inc, (dc 6, inc dc) x 11 (96))
Part 2: Mesh Body
Switch to the 4.0 mm crochet hook:
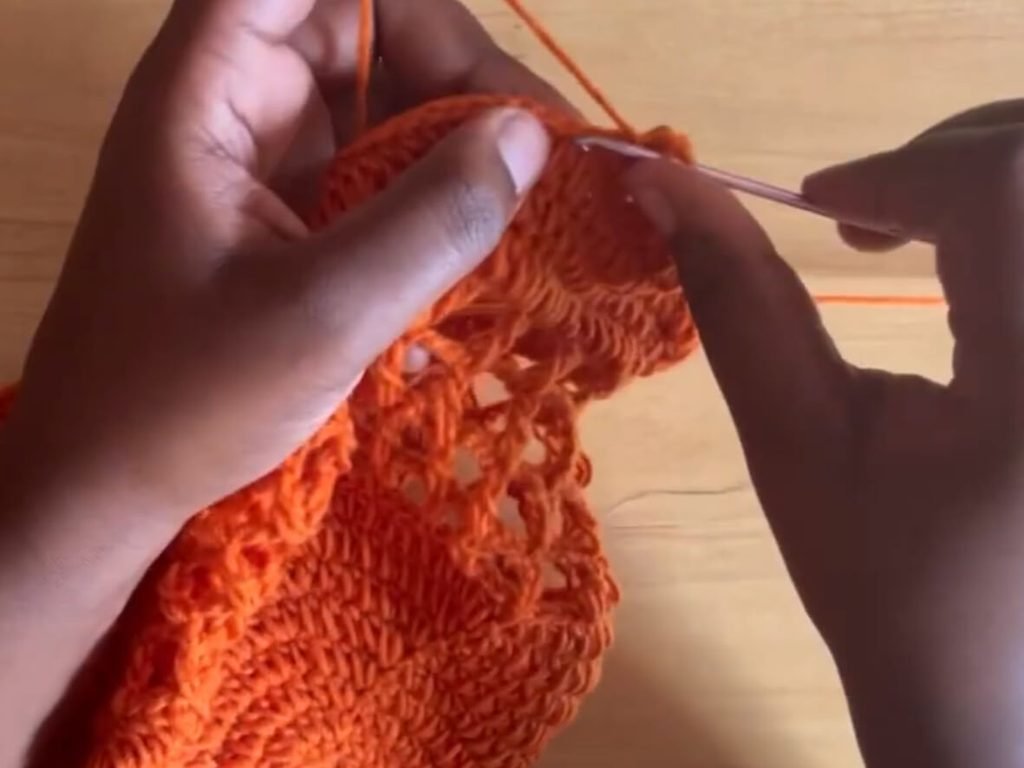
- Round 9: slpst, ch 3, skip a stitch, dc blo, (ch 1, skip a stitch, dc blo) all the way around
- Round 10: slpst, ch 3, skip a stitch, dc, (ch 1, skip a stitch, dc) all the way around
- Round 11: slpst, ch 3, skip a stitch, dc, (ch 1, skip a stitch, dc) all the way around
- Round 12: slpst, ch 3, skip a stitch, dc, (ch 1, skip a stitch, dc) all the way around
- Round 13: slpst, ch 3, skip a stitch, dc, (ch 1, skip a stitch, dc) all the way around
- Round 14: slpst, ch 1, make 2 sc on every chain space all the way around
Part 3: Brim
Switch back to the 3.5 mm crochet hook:
- Round 15: slpst, ch 2, dc 4 flo, inc dc flo, (dc 5 flo, inc dc flo) all the way around
- Round 16: slpst, ch 1, sc all the way around
- Round 17: slpst, ch 2, dc 5 flo, inc dc flo, (dc 6 flo, inc dc flo) all the way around
- Round 18: slpst, ch 1, sc all the way around
- Round 19: slpst, ch 2, dc 6 flo, inc dc flo, (dc 7 flo, inc dc flo) all the way around
- Round 20: slpst, ch 1, sc all the way around
Part 4: Assembly and Finishing
- Fasten off: Cut the yarn leaving a 4-inch tail.
- Weave in ends: Thread the tail onto a yarn needle and weave securely into the back of the brim stitches. Secure the starting tail at the center of the magic ring to pull the crown tight.
Detailed Pattern Breakdown
1. Top Crown Geometry:
- The crown expands using classic flat circle math with double crochet increases (
inc dc). - Starting with 12 stitches in Round 1 and adding 12 stitches systematically in each round creates a smooth, flat dome that fits comfortably over the crown of the head.
2. Mesh Transition and Texture:
- Switching to a larger 4.0 mm hook for Rounds 9–13 expands the stitch height and spacing, producing open, square mesh pockets for ventilation.
- Working Round 9 in the back loops only (
BLO) creates a clean 90-degree ridge, turning the direction of work from horizontal (crown) to vertical (hat sides). - Round 14 locks the mesh in place by placing 2 single crochet stitches into each mesh space, creating a sturdy foundation for the brim.
3. Flared Brim Mechanics:
- Switching back to the smaller 3.5 mm hook restores tension for a firm brim.
- Working the double crochet rounds (R15, R17, R19) in the front loops only (
FLO) forces the stitches to angle outward, giving the brim its characteristic bucket hat silhouette. - Interleaving single crochet rounds (R16, R18, R20) between increase rounds adds structural support to keep the brim edge crisp and prevent curling.
Pattern Question:
Question: Why do I need to switch between two different hook sizes for this hat, and what happens if I use only one hook size throughout?
Answer: Switching hook sizes controls the structure and drape of different parts of the hat. Using a 3.5 mm hook on the crown and brim creates tight, firm stitches that hold their shape.
The 4.0 mm hook in the mesh section opens up the stitches, making the sides breathable and flexible.
If you use a 3.5 mm hook throughout, the mesh body may feel too stiff and tight; if you use a 4.0 mm hook throughout, the brim and crown may turn out too floppy.