
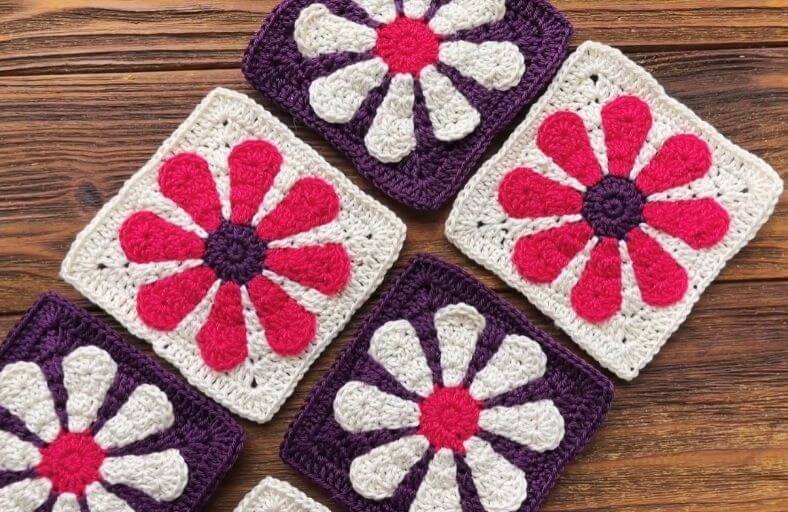
Have you ever looked at a gorgeous retro daisy granny square and wondered how those vibrant 3D petals seem to float effortlessly above the background?
If you are ready to add a splash of vintage charm to your blankets, tote bags, or cozy cardigans, this floral motif is your next dream project!
This comprehensive tutorial guides you through crafting a stunning layered flower motif with crisp geometric edges.
Materials and Preparation
Materials:
- Yarn (Cotton/Acrylic Blend):
- Center Flower Color (e.g., Deep Purple or Dark Plum)
- Petal Color (e.g., Bright Magenta Pink or Cream White)
- Background/Frame Color (e.g., Cream White or Contrasting Dark Purple) (Featured sample uses YarnArt Begonia 50g/169m or equivalent fine/sport weight yarn)
- Stuffing: None required (this is a flat structural motif square).
Tools:
- Crochet Hook: 2.1 mm size hook (or appropriate size matching your yarn weight)
- Yarn Needle: Tapestry needle for seamless invisible joins and hiding yarn tails
- Stitch Markers: To mark corner chain spaces or working loops if needed
- Scissors: Sharp craft scissors for clean cuts
Preparation Notes:
- Familiarize yourself with basic US crochet terms like single crochet (
sc), half double crochet (hdc), double crochet (dc), and working in chain spaces. - This pattern uses an ingenious dual-layer technique where working loops from previous rounds are left in front of the fabric to allow background stitches to pass underneath seamlessly.
Abbreviations and Notes
Abbreviations:
- MR: Magic Ring
- ch: Chain
- sc: Single Crochet
- hdc: Half Double Crochet
- dc: Double Crochet
- inc: Increase (2 stitches in the same base stitch)
- sl st: Slip Stitch
- st(s): Stitch(es)
Pattern Notes:
- The motif is built in alternating layers: flower petals work on the front layer while background mesh rows build the structural frame behind.
- When switching between petal rounds and background rounds, always keep active working loops and yarn balls on the FRONT side of your work to prevent messy yarn crossings.
Gauge, Approximate Size, and Pattern Notes
Gauge:
Gauge is not strictly critical for individual squares, but maintaining consistent tension across all motifs ensures smooth assembly into larger projects.
Finished Size:
Approximately 4.5 in x 4.5 in (11.5 cm x 11.5 cm) per square when made with sport weight yarn and a 2.1 mm hook.
Special Techniques:
- Front Loop Working / Floating Petals: Petal stitches flare outward in front of the background mesh.
- Square Shaping Corner Shells: Seamless transition from round flower to square geometry using varied stitch heights (
scrightarrowhdcrightarrowdcrightarrowcorner shell).
Step-by-Step Pattern
Part 1: Flower Center & Petal Base (Rounds 1–3)
Start with Center Color (e.g., Deep Purple):
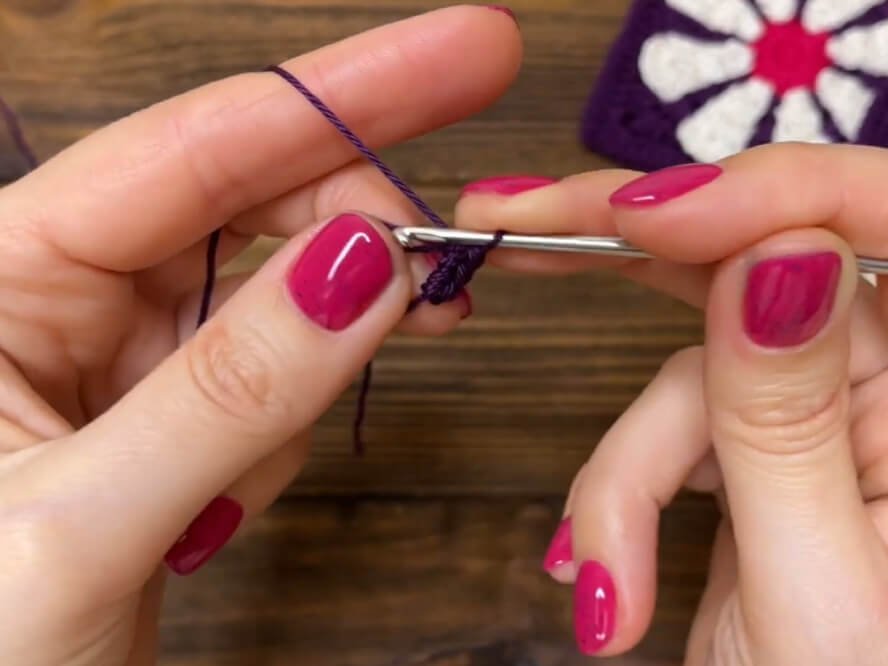
- R1: MR, 8 sc into the ring. Join with sl st into the 1st sc (8 sts).
- R2: ch 3 (counts as 1 dc), 1 dc in the same st, 2 dc in each remaining st around. Join with sl st into the 3rd loop of starting ch-3 (16 dc). ch 1, cut yarn and fasten off.
Attach Petal Color (e.g., Pink/White):
- R3 (Petals): Insert hook into any st and pull up a loop. Repeat (3 dc in 1 st, ch 1, skip 1 st) 8 times around. Join with sl st, pull out loop to secure. Do not cut yarn.
Part 2: Background Mesh & Petal Expansion (Rounds 4–7)
Attach Background Color through empty skipped stitches of Round 2:
- R4 (Background): Insert hook through any empty skipped st from R2 (behind R3 petals) and pull up a loop. Keep previous round’s yarn loop in FRONT of work. Repeat (ch 3, 1 dc in next empty R2 st, ch 4) around. Join with sl st into 3rd ch of starting chain, pull out loop.
- R5 (Petals – Switch back to Petal Yarn): Over R3 petals, work (1 dc, 2 dc in next st [inc], 1 dc, ch 2) across each petal group around. Join with sl st into 3rd loop, pull out loop.
- R6 (Background – Switch back to Background Yarn): Work (2 dc into 1 st, ch 5) around the background framework. Join with sl st into 3rd loop, pull out loop.
- R7 (Petals – Switch back to Petal Yarn): Work (1 dc, 1 dc, 2 dc in next st [inc], 1 dc, ch 2) across each petal group around. Join with sl st.
Part 3: Petal Scallops & Background Frame (Rounds 8–9)
Round 8: Petal Scallop Finishing
Using Petal Color:
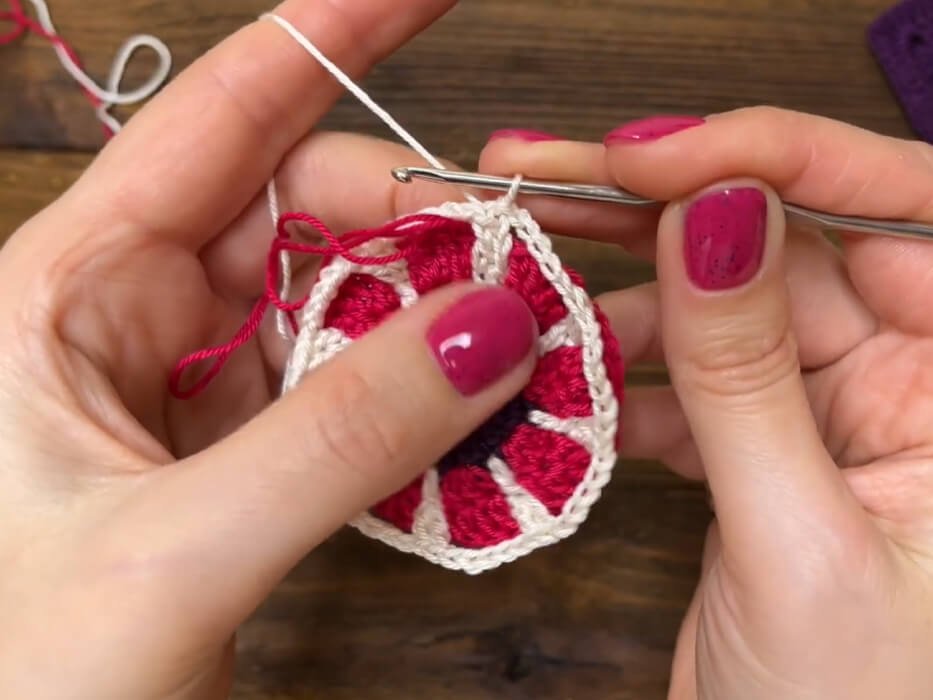
- R8 (Petals): ch 1, 1 sc in same st. For each petal top: (skip 1 st, 5 dc in next st, skip 1 st, 1 sc in next st, ch 2). Repeat around all 8 petals. Join with sl st to 1st sc, ch 1, cut yarn and fasten off.
Round 9: Background Filling
Using Background Color:
- R9 (Background): Work (2 dc into 1 st, 1 dc, 5 dc under the ch-space) repeatedly around behind the finished petals to create a full circular base. Join with sl st into 3rd loop.
Part 4: Squaring the Circle & Finishing (Rounds 10–11)
- R10 (Square Shaping):
- ch 1, 1 sc in same st, 5 sc (6 sc total).
- 1 hdc, 1 dc.
- Corner: (2 dc, ch 1, 2 dc) all in next st.
- Side: 1 dc, 1 hdc, 11 sc, 1 hdc, 1 dc.
- Corner: (2 dc, ch 1, 2 dc) all in next st.
- Repeat sides and corners around. After final corner, work 1 dc, 1 hdc, 5 sc. Join with sl st to 1st sc.
- R11 (Final Square Border):
- ch 2, 3 hdc.
- 7 dc across side to corner.
- Corner: (2 dc, ch 1, 2 dc) in corner ch-1 space.
- Side: 7 dc, 6 hdc, 7 dc.
- Repeat around all 4 sides and corners. After final corner, work 7 dc, 2 hdc. Fasten off and weave in ends with a needle.
Detailed Pattern Breakdown
1. Central Radial Flower Construction (Rounds 1–3)
The design begins with a compact circle of 8 single crochets (sc) that doubles to 16 double crochets (dc) in Round 2. In Round 3, 3-dc petal clusters are established with skipped stitches between them, providing precise anchoring points for the background mesh to weave through without flattening the 3D pop of the petals.
2. Dual-Layer Floating Mesh Technique (Rounds 4–7)
Instead of cutting yarn every round, both yarn working loops stay active simultaneously. By leaving the petal yarn loop in FRONT while working background chains through the empty Round 2 spaces, you construct an independent supportive grid behind the flowers. Subsequent petal rounds expand using simple increases (2 dc in 1 st) to give each daisy petal a flared silhouette.
3. Rounded Petal Tops & Circular Frame (Rounds 8–9)
Round 8 shapes the soft rounded tops of the 8 daisy petals using classic shell stitch geometry: skipping stitches and working 5 double crochets (5 dc) into a single crown stitch flanked by single crochets. Round 9 fills in the background mesh completely with solid double crochet stitches under ch-spaces, providing a sturdy canvas for border transformation.
4. Circular-to-Square Geometry (Rounds 10–11)
Transforming a 360-degree circle into a 4-sided square relies on stitch height gradients. Short single crochets (sc) sit at the center of each side where the circle is widest, gradually stepping up to half double crochets (hdc), double crochets (dc), and high-volume corner shells (2 dc, ch 1, 2 dc) at the four corners. Round 11 solidifies the straight edges and crisp 90-degree corners.
Pattern Question:
Question: How do I keep my background yarn from twisting with my petal yarn when working alternating double-layer rounds?
Answer: The golden rule for this multi-layer square is to always place your active petal loop and yarn skein on the FRONT side of your work whenever you drop it to work a background round.
When you pick the petal yarn back up, pull the loop through toward the front. This creates two distinct parallel layers of fabric and stops your yarns from wrapping around each other.