
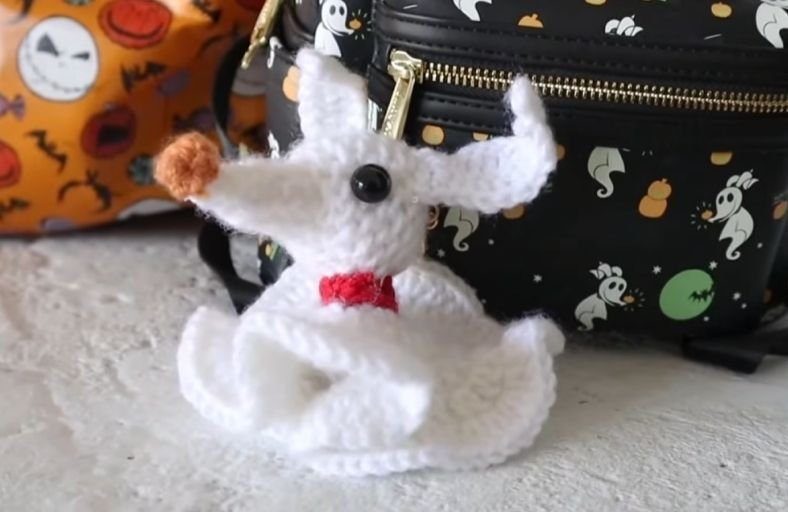
Have you ever wanted your very own spooky-cute companion floating alongside your favorite backpack or set of keys?
Disney’s The Nightmare Before Christmas brings us the most iconic ghost pup of all time, and today we are bringing him to life with yarn!
Grab your hook and join us as we craft this playful, flowy, and adorable Zero the Ghost Dog Keychain that is guaranteed to light up your spooky season.
Materials and Preparation
Materials:
- Yarn: Medium weight / Size 4 Acrylic Yarn (or DK weight) in White (main body, head, ears), Orange (jack-o’-lantern pumpkin nose), and Red (neck collar). Optional Black yarn for embroidered eyes.
- Stuffing / Scrap Yarn: Polyfill stuffing or small yarn scraps to fill the head and nose.
- Eyes: 2 small black safety eyes, eye beads, or black felt circles.
- Keychain Hardware: 1 Lobster claw clasp or key ring.
Tools:
- Crochet Hook: 5.0 mm crochet hook (or size suitable for your chosen yarn).
- Yarn Needle & Thread: Tapestry needle for sewing pieces and optional sewing needle with thread for fine assembly.
- Scissors: Craft scissors for trimming ends.
- Craft Glue: Optional fabric glue or hot glue for securing eye beads.
Preparation Notes:
- Master basic US stitches including single crochet (
sc), double crochet (dc), increase (inc), decrease (dec), and slip stitch (sl st). - Keep your tension snug when working the head and nose to prevent stuffing from popping through, while keeping a relaxed tension on the body for a fluid, wavy ghost drape.
Abbreviations and Notes
Abbreviations:
- MR: Magic Ring (or Chain 2 method)
- ch: Chain
- sc: Single Crochet
- inc: Single Crochet Increase (2 sc in the same stitch)
- dec: Single Crochet Decrease (skip stitch method or sc2tog)
- dc: Double Crochet
- dc inc: Double Crochet Increase (2 dc in the same stitch)
- sl st: Slip Stitch
- st(s): Stitch(es)
- R: Round / Row
Pattern Notes:
- The Head, Nose, and Pumpkin Nose are worked in continuous spiral rounds without joining.
- The Ghost Body begins with tight continuous rounds before transitioning to loose double crochet rounds that create natural ruffles.
- The Collar is worked directly onto the top opening of the body in joined rounds.
- The Ears are worked in flat rows, shaping from narrow ends to a wider center.
- Original design and pattern credit belongs to Krystal Everdeen.
Gauge, Approximate Size, and Pattern Notes
Gauge:
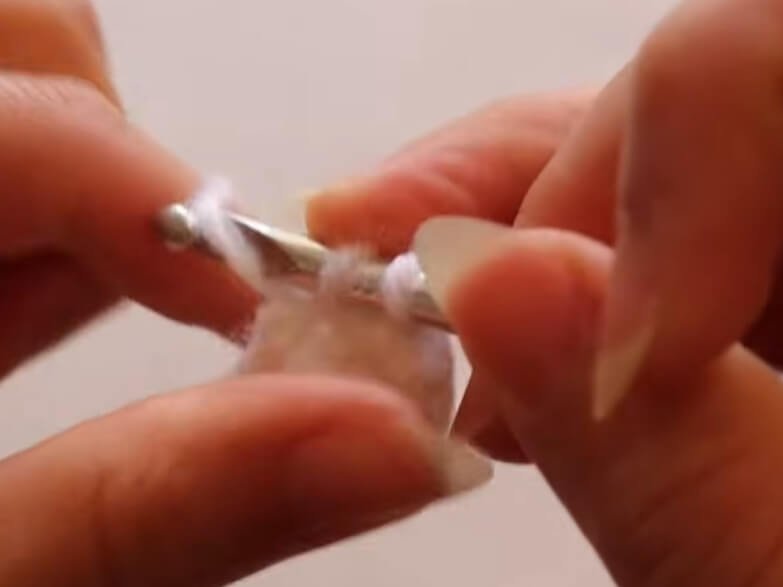
Gauge is not critical for this project. Maintain firm stitches for the 3D head to retain stuffing and loose stitches for the ruffled body cape.
Finished Size:
Approximately 3.5 in to 4 in (8.8 cm to 10.2 cm) in height, perfect for a bag charm or keychain accessory.
Special Techniques:
- Ruffle Expansion: Rapid double crochet increases (
dc inc) applied on every stitch to generate ghostly 3D waves without extra shaping wires. - Integrated Collar: Surface crocheting around the top neck opening to build a stable red collar band for attaching the head.
Step-by-Step Pattern
Part 1: Head & Pumpkin Nose
Head
Worked in White yarn in spiral rounds:
- R1: Ch 2, work 6 sc into the 1st chain (6)
- R2: 6 sc (6)
- R3: (sc, inc)*3 (9)
- R4: (2 sc, inc)*3 (12)
- R5: 12 sc (12)
- R6: (3 sc, dec)*3 (9)
- R7: 9 sc (9)
- R8: (3 sc, dec)*3 (8)
- Stuff the head firmly with stuffing or yarn scraps.
- R9–R10: 8 sc (8) (Elongate snout base)
- R11: (2 sc, dec)*2 (6)
- R12: 6 sc (6)
- R13: (sc, dec)*2 (4)
- R14: Fasten off with sl st, leave a tail for closing or securing.
Pumpkin Nose (Jack-o’-lantern Nose)
Worked in Orange yarn:
- R1: Ch 2, work 5 sc into the 1st chain (5)
- R2: 5 sc (5)
- R3: (sc, dec)*2, sc (3)
- Fasten off and pull yarn tail inside to form a tiny ball.
Part 2: Ghost Body & Collar
Ghost Body
Worked in White yarn:
- R1: Ch 2, work 6 sc into the 1st chain (6)
- R2: 6 inc (12)
- R3: 12 inc (24)
- R4: (sc, inc)*12 (36)
- R5: Switch to Double Crochet: 36 dc (36)
- R6: 36 dc inc (72)
- R7–R8: 72 dc inc (144)
- Fasten off and weave in end inside the body fold.
Red Collar
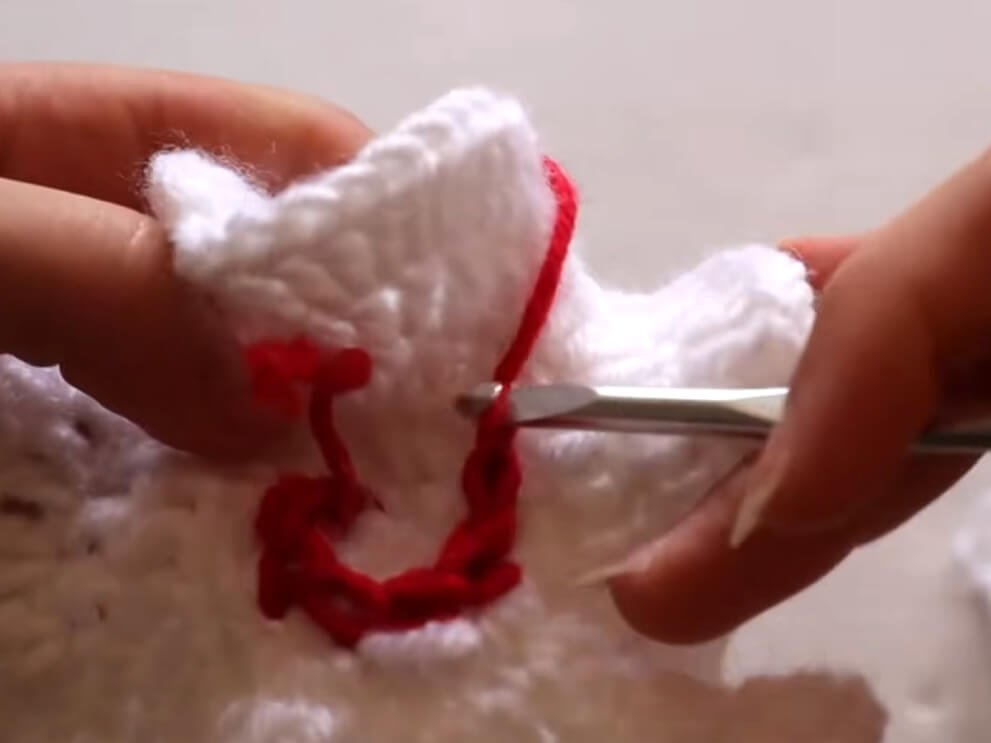
Attach Red yarn to the top opening of R1 of the Body:
- R1: Join red yarn near the top center opening, work 8 sc in a circle around the neck opening, sl st to join (8)
- R2: Ch 1, 8 sc, sl st to join (8)
- Fasten off leaving a long tail for sewing.
Part 3: Ears (Make 2)
Worked in White yarn flat in rows:
- Foundation: Ch 12
- R1: Sl st in 2nd ch from hook, sl st in next ch, 4 sc, 3 dc in next 3 chs, 2 sc, ch 1, turn (11)
- R2: 2 sc, 3 dc, 4 sc, 2 sl st (11)
- Fasten off leaving a tail for attachment.
Part 4: Edging, Assembly & Finishing
- Attach Pumpkin Nose: Sew the tiny orange pumpkin ball onto the tip of Zero’s snout using orange yarn or thread.
- Attach Eyes: Place safety eyes, eye beads, or black felt circles on both sides of the head near R5. Add craft glue for extra security.
- Attach Ears: Sew the narrow base of each ear onto the top rear portion of the head, letting them drape back smoothly.
- Attach Head to Collar: Position the bottom of the head over the red neck collar and sew firmly through both pieces using the red yarn tail.
- Add Keychain Hardware: Stitch the lobster claw clasp or key ring securely to the top of Zero’s head using a needle and thread.
Detailed Pattern Breakdown
1. Head & Snout Geometry Breakdown:
- Base Expansion (R1–R4): Starts with 6 sc in a ring, expanding up to 12 sc to form the spherical back of Zero’s skull.
- Tapering & Elongation (R6–R10): Decreases reduce the stitch count down to 8 sc, forming the elongated, slender snout characteristic of Zero’s ghost dog face.
- Tip Closure (R11–R14): Tight decreases narrow the snout to 4 sc, creating the perfect mounting point for his glowing pumpkin nose.
2. Flowing Ghost Body Breakdown:
- Neck Base (R1–R3): Quick single crochet increases establish the neck opening before expanding out to 24 sc.
- Ruffle Formation (R4–R8): Transitioning to double crochet (
dc) provides height and drape. Applying 100% double crochet increases (dc inc) on subsequent rounds multiplies the circumference rapidly (doubling from 36 to 72 and then 144 sts), generating dramatic ruffles that simulate a floating spectral sheet.
3. Collar, Ears, & Assembly Breakdown:
- Surface Collar Construction: Surface crocheting 8 sc directly into the top of the body ring creates a raised cylinder that provides structural neck support between the head and body.
- Leaf-Shaped Ear Contouring: The ear row structure uses
sl stat the tips,scin the lower sections, anddcin the middle to build a curved, teardrop profile mimicking Zero’s floppy ghost ears.
Pattern Question:
Question 1: Why is my ghost body curling inward instead of forming dramatic ruffles?
Answer: Inner curling indicates that there are not enough increases per round. To achieve the signature wavy ghost effect, make sure you perform 2 double crochets (dc inc) in every single stitch during the final body rounds. Increasing every stitch expands the perimeter faster than the height, forcing the fabric to fold into lush 3D ruffles.
Question 2: How do I make sure the eye beads don’t fall off or sink into the stitches?
Answer: Because crochet stitches can stretch, eye beads or safety eyes may slip through. Apply a small drop of fabric glue or hot glue onto the post/back of the bead before pressing it between the stitches. Alternatively, stitch a tiny black yarn circle (MR 4 sc) directly onto the head as an embroidered alternative.
Question 3: What is the best way to attach the head so it doesn’t flop over?
Answer: Ensure the red collar (R1–R2) is crocheted tightly onto the body base. When joining, pass your tapestry needle through both the top edge of the red collar and multiple stitches on the underside of Zero’s head, pulling firmly to create a wide, stable anchor point.