
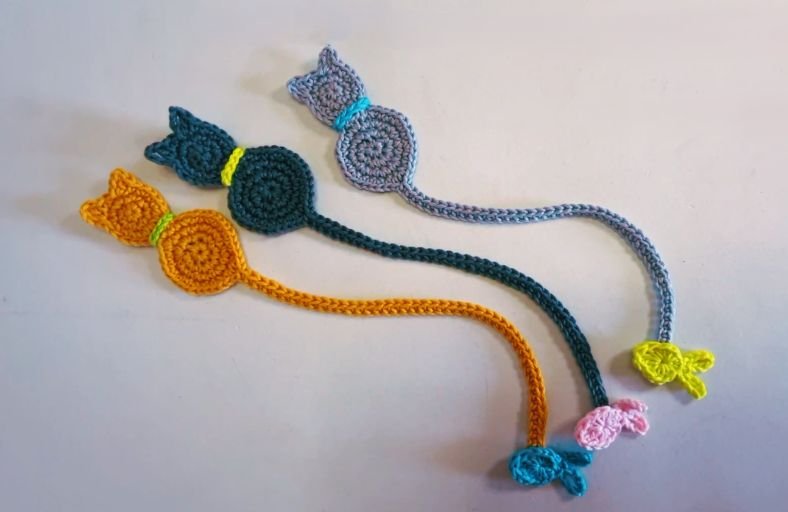
Ever lost your page in a gripping novel and wished a tiny cat could guard your spot?
Meet the Crochet Cat Bookmark, a delightful project featuring a sleek cat body, perky ears, a cute little collar, and a playful fish dangling at the end of its tail!
Perfect for using up yarn scraps, this project comes together quickly and makes an irresistible gift for bookworms and cat lovers alike.
Materials and Preparation
Materials:
- Yarn: 100% Cotton Yarn in your favorite cat colors (grey, orange, black, etc.), a accent color for the collar, and a coordinating shade for the fish.
- Stuffing: None needed (this is a flat bookmark project!).
Tools:
- Crochet Hook: 2.0 mm crochet hook (or size matching your chosen yarn).
- Yarn/Tapestry Needle: For sewing parts together and weaving in ends.
- Stitch Marker: To keep track of rounds.
- Scissors: For cutting yarn.
Preparation Notes:
- Using 100% cotton yarn helps the bookmark lay flat inside books without stretching or warping.
- Keep your tension consistent so the circular body and head stay neat and flat.
Abbreviations and Notes
Abbreviations:
- MR: Magic Ring
- ch: Chain
- sc: Single Crochet
- hdc: Half Double Crochet
- dc: Double Crochet
- tr: Treble Crochet
- sl st: Slip Stitch
- inc: Single Crochet Increase (2 sc in the same stitch)
Pattern Notes:
- The body and head pieces are worked in continuous spirals; use a stitch marker to mark the start of each round.
- The tail chain length can be easily adjusted depending on how long you want your bookmark to be.
Gauge, Approximate Size, and Pattern Notes
Gauge:
Gauge is not critical for this pattern. Work with a snug tension to keep stitches crisp and defined.
Finished Size:
- Length: Approx. 11.8 inches (30 cm) total length, including the fish.
- Width (Cat Body): Approx. 1.57 inches (4 cm).
Special Techniques:
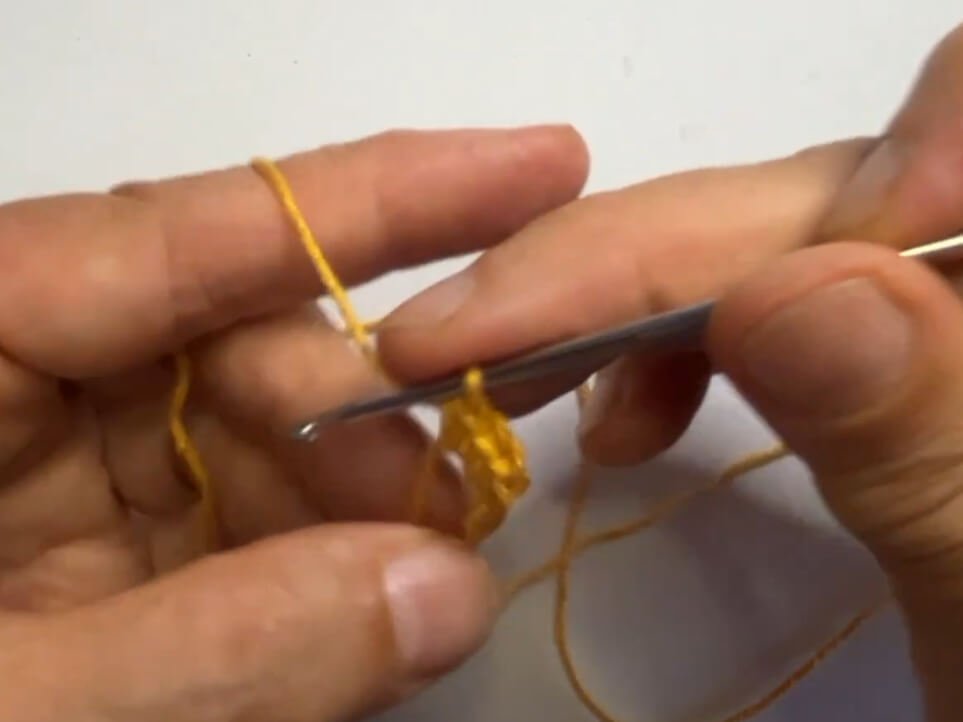
- Magic Ring (MR): Creates an adjustable loop for starting round pieces tightly.
- Ear Shaping: Built directly onto the round head using quick chain and slip stitch combinations.
Step-by-Step Pattern
Part 1: Cat Body & Tail
Worked in rounds in a continuous spiral:
- R1: MR, ch 1, 8 sc into the ring (8)
- R2: 1 sc to close the ring (place stitch marker here), 1 sc in the same stitch, 2 sc in each stitch around (16)
- R3: (2 sc in next st, 1 sc in next st) repeat around (24)
- R4: (2 sc in next st, 1 sc in next 2 sts) for 16 stitches total
- Tail: Chain 45 (or as many chains as needed for your book size). Starting from the 2nd chain from your hook, work 1 sc in each chain back up to the body.
- R4 (continued): Resume around the body: (2 sc in next st, 1 sc in next 2 sts) across the remaining 8 stitches.
- Finishing: sl st, ch 1, cut yarn leaving a tail to weave in.
Part 2: Cat Head
Worked in rounds:
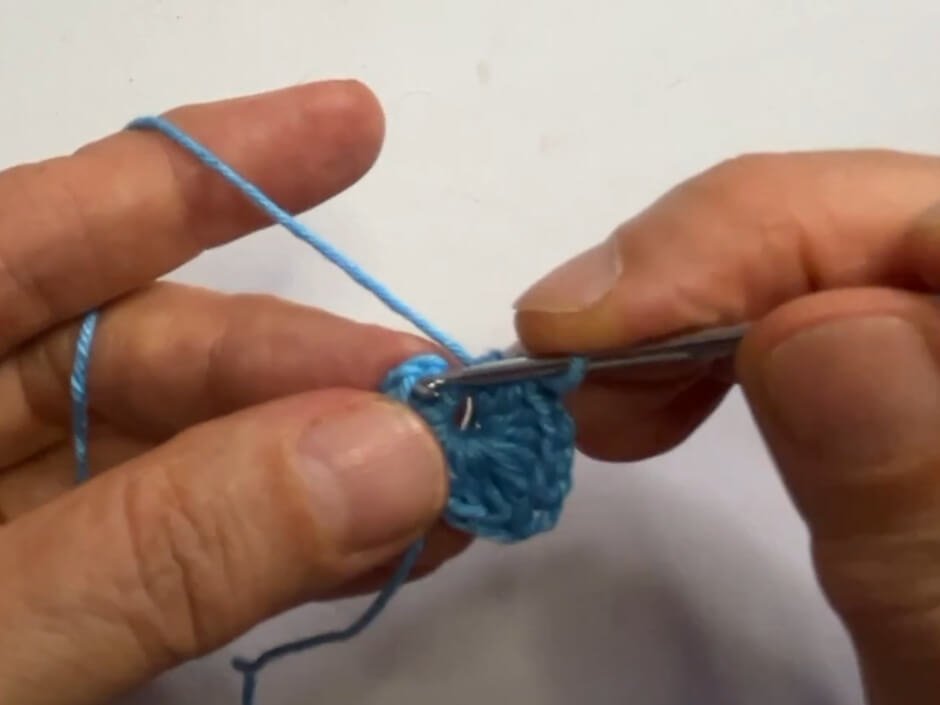
- R1: MR, ch 1, 6 sc into the ring. Work 1 sc to close the ring, 1 sc in the same st, 2 sc in each remaining st around (12).
- R2: (2 sc in next st, 1 sc in next st) repeat around (18).
- R3 (Ears & Face):
- First Ear: 1 dc, ch 3, sl st into the same stitch.
- Top of Head: 1 sc in next 2 stitches.
- Second Ear: 1 dc, ch 3, sl st into the same stitch.
- Chin: 1 sl st in each of the next 6 stitches.
- Fasten off, leaving a long tail for sewing the head to the body.
Part 3: Accessories
Collar:
- Chain 10 (or enough chains to wrap neatly around the cat’s neck). Fasten off and tie around the neck area.
Fish Attachment:
- R1: MR, ch 2 (counts as 1 hdc), 4 hdc, 1 dc, 1 tr, 1 dc, 5 hdc into the ring. sl st to top of starting ch 2.
- Tail Fin: ch 8, sl st into the same stitch; ch 8, sl st into the same stitch.
- Finishing: ch 1, fasten off and weave in ends.
Part 4: Assembly & Finishing
- Attach Head to Body: Using the long yarn tail from the head and a tapestry needle, sew the head to the top edge of the circular body. Secure with a knot on the back and weave in ends.
- Attach Collar: Tie the small chain collar around the neck connection between the head and body.
- Attach Fish: Sew or glue the fish firmly to the tip of the long crocheted tail. When sewing, carefully catch only the back layer of the fish so stitches do not show through the front.
Detailed Pattern Breakdown
1. Body & Tail Construction:
- Starts with a basic magic ring increased to 24 stitches to form a flat motif.
- Round 4 pauses midway to sprout the long tail using a single chain foundation with sc worked back up, integrating the tail seamlessly into the body circle without cutting yarn.
2. Head & Ear Shaping:
- Built from a 6-sc magic ring expanded to 18 stitches.
- The iconic pointy ears are created in Round 3 by combining a double crochet (
dc) with ach 3andsl stanchored back into the same stitch.
3. Fish Motif Mechanics:
- The tiny fish combines varying stitch heights (
hdcrightarrowdcrightarrowtrrightarrow$dcrightarrowhdc) inside a single magic ring to craft an organic fish shape in one round. - Two loops of
ch 8secured with slip stitches form the fork in the fish’s tail fin.
Pattern Question:
Question: How do I make sure the bookmark stays flat and doesn’t curl up inside a book?
Answer: Using 100% cotton yarn with a smaller hook size (such as 2.0 mm) gives the stitches firm structure. Once you finish crocheting, lightly steam block the cat and fish motifs with an iron on low heat (without touching the yarn directly) to make them lie completely flat.