
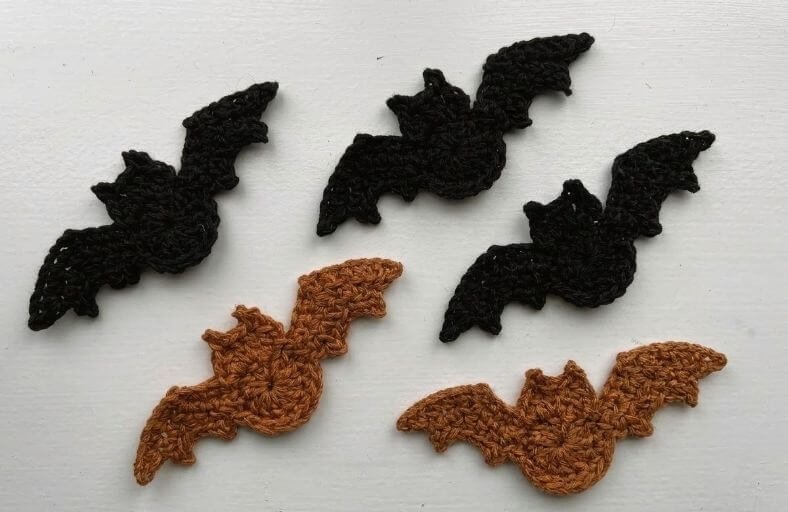
Looking to add a touch of playful spookiness to your craft projects without spending hours on a complex pattern?
Whether you want to embellish a cozy autumn sweater, jazz up a plain tote bag, or assemble a whimsical Halloween garland, this cute little bat applique is here to swoop in and save the day!
Quick to work up and completely beginner friendly, this delightful design brings endless charm to your yarn stash.
Materials and Preparation
Materials:
- Yarn: Medium weight cotton yarn (Category 4 / Worsted weight, such as Lion Brand 24/7 Cotton). Black is classic, but rich brown or cinnamon shades work wonderfully and make your stitches easier to see.
- Tapestry Needle: For weaving in yarn tails cleanly.
Tools:
- Crochet Hook: Size E-4 (3.5 mm) crochet hook.
- Scissors: For trimming your yarn ends.
- Stitch Markers: Optional, but helpful for tracking stitches along the wings.
Preparation Notes:
- Master basic stitches such as chain, single crochet, half double crochet, double crochet, and slip stitch.
- Keep an even, moderately tight tension so the bat wings hold their shape nicely without curling excessively.
Abbreviations and Notes
Abbreviations:
- MR: Magic Ring (Magic Circle)
- ch: Chain
- sl st: Slip Stitch
- sc: Single Crochet
- hdc: Half Double Crochet
- dc: Double Crochet
- Picot: Picot Stitch (ch 3, sl st into the first ch)
Pattern Notes:
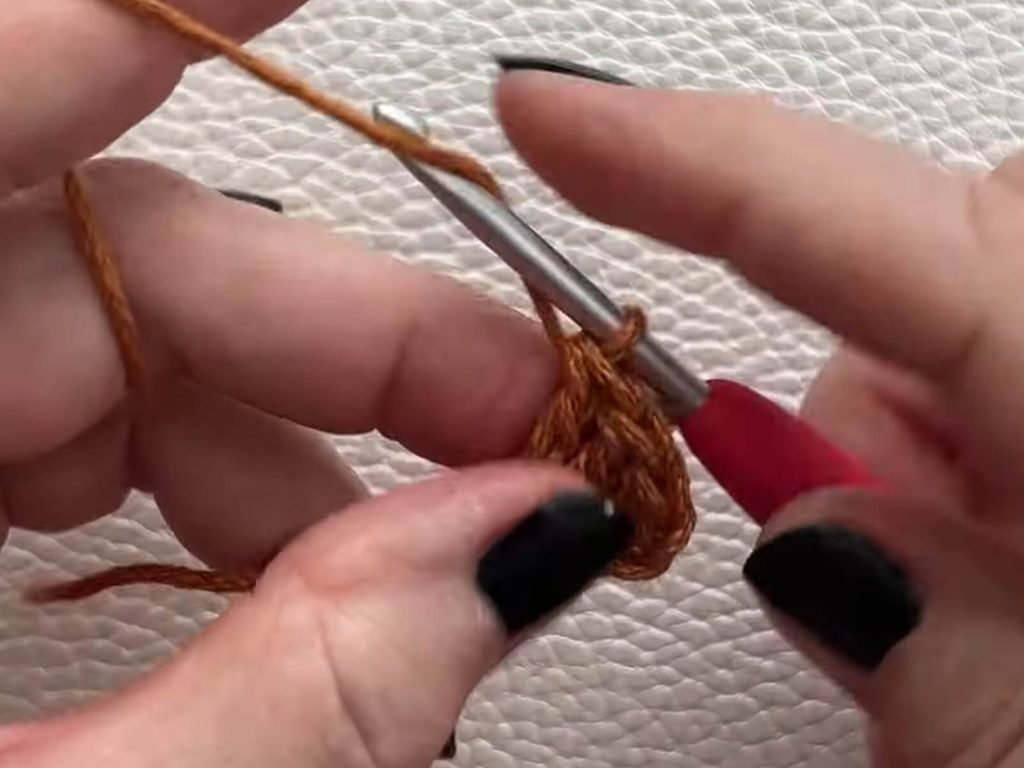
- The body begins with a central magic ring worked in the round.
- The ears are shaped directly on top of the head circle using picot stitches.
- The wings are worked outward in short rows directly attached to the body.
Gauge, Approximate Size, and Pattern Notes
Gauge:
Gauge is not critical for this applique project. Consistency in stitch tension ensures smooth wing edges.
Finished Size:
Approximately 4.5 to 5 inches (11.4 to 12.7 cm) wide and 2 inches (5.1 cm) tall.
Special Techniques:
- Picot Stitch: Chain 3, then slip stitch into the first chain to create pointed bat ears.
- Wing Shaping: Combining decreasing row skips with chain spaces creates natural scallops along the wing tips.
Step-by-Step Pattern
Part 1: Body and Ears
- R1: Start with a MR. Ch 3 (counts as first dc). Work 11 dc into the MR. Pull ring tight and join with a sl st to the top of the initial ch 3 (12 dc).
- R2 (Ears & Head Shaping): Ch 2, dc in the same stitch. Create the first ear with a Picot (ch 3, sl st into first ch). In the next stitch, work 2 dc, followed by another Picot (ch 3, sl st into first ch) for the second ear. In the next stitch, work (1 dc, 1 hdc, 1 sl st) all into the same stitch.
Part 2: First Wing
- Wing Base (Row 1): Ch 12. Starting in the second ch from hook, sl st in 1st ch, hdc in next 3 ch, sc in next 2 ch, skip 2 ch, sc in next 3 ch, sl st into the next available stitch on the main body.
- Wing Row 2: Ch 1, turn. Skip the very first stitch, sc in next 3 stitches, skip 1 stitch, sc in next 3 stitches.
- Wing Row 3 (Wing Edging): Turn, ch 1. Sl st in the next stitch (the last sc from previous row), sl st in next stitch, sc in next stitch, skip 1 stitch, sc in next stitch, ch 2, sl st in first ch (mini wing tip), sc in next stitch, sl st into the body.
Part 3: Lower Body & Second Wing
Lower Body Transition:
- Sc in the next 3 stitches along the main body ring.
- Ch 1, turn, sc in next 4 stitches along the base, sl st into the body.
Second Wing:
- Wing Base (Row 1): Turn, ch 12. Starting in second ch from hook, sl st in 1st ch, hdc in next 3 ch, sc in next 2 ch, skip 2 ch, sc in next 3 ch, sl st into the next stitch on the body.
- Wing Row 2: Ch 1, turn. Skip the first stitch, sc in next 3 stitches, skip 1 stitch, sc in next 3 stitches.
- Wing Row 3 (Wing Edging): Turn, ch 1. Sl st in next stitch, sl st in next stitch, sc in next stitch, skip 1 stitch, sc in next stitch, ch 2, sl st into first ch, sc in next stitch, sl st into the next stitch on the body.
Part 4: Edging, Assembly & Finishing
- Fasten off yarn, leaving a short tail.
- Thread the yarn tail onto your tapestry needle and weave it carefully through the back stitches.
- Block lightly with steam or water if you prefer flat, crisp edges for appliques.
Detailed Pattern Breakdown
1. Central Body and Ears Breakdown:
- The foundation uses a 12-stitch double crochet magic ring to form a sturdy, flat round base.
- Ears are built immediately on top using picot stitches (ch 3, sl st into first ch) placed between double crochets to form two distinct, sharp points on top of the head.
2. Wing Structure Breakdown:
- Wings extend outward from a foundation chain of 12.
- Graduated stitch heights (sl st to hdc to sc) create a sloped upper wing edge, while skipping stitches in the center creates the iconic bat wing curve.
- The return rows narrow down the wing thickness and add small tip scallops using miniature picots (ch 2, sl st).
3. Balance and Lower Body Breakdown:
- The bottom edge of the bat body uses short single crochet rows to create a smooth, curved lower torso before mirroring the exact wing construction on the opposite side.
Pattern Question:
Question: Why do my bat wings curl up, and how can I make the applique lie flat?
Answer: Wing curling usually happens if your chain tension is too tight or if your yarn has high springiness. To solve this, maintain relaxed tension when making the initial 12 chain stitches for each wing. Once complete, lightly steam-block your finished applique using an iron held an inch away, gently pressing the wing tips flat with your fingers while warm.