
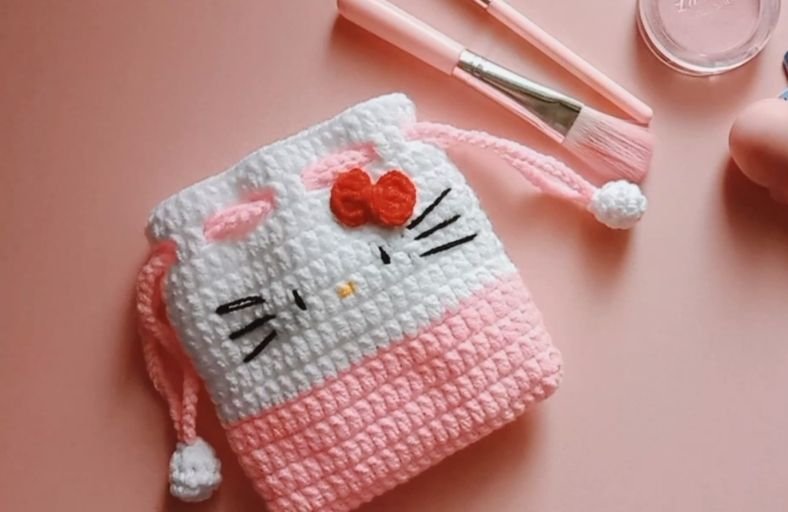
Are your everyday lipsticks, USB drives, and cards tired of getting lost in the dark abyss of your giant tote bag?
It is time to give your tiny essentials the adorable, bow-adorned home they truly deserve!
This handmade Hello Kitty Drawstring Pouch combines sweet nostalgia with practical design, featuring Hello Kitty’s iconic face, a vibrant pink bottom half, matching drawstring cords, and cute little pom-poms at the ends.
Materials and Preparation
Materials:
- Yarn (Medium weight / Cotton or Acrylic yarn):
- White yarn (for Hello Kitty’s face and drawstring pom-poms)
- Bright Pink yarn (for the lower half of the bag and drawstring cords)
- Red yarn (for the signature side bow)
- Black yarn (small amount for embroidery: eyes and whiskers)
- Yellow yarn (small amount for embroidery: nose)
Tools:
- Crochet Hook: 3.0 mm – 3.5 mm (or size suitable for your chosen yarn)
- Yarn Needle (Tapestry Needle): For embroidering facial features, sewing the bow, and weaving in ends
- Stitch Markers: To keep track of rounds
- Scissors: For trimming yarn and trimming pom-poms
Preparation Notes:
- Work with an even, medium tension so the bag retains a sturdy structure while staying soft and flexible.
- Make sure to have a tapestry needle ready for embroidering the facial features directly onto the white section before closing up or tightening the drawstring area.
Abbreviations and Notes
Abbreviations:
- ch: Chain
- sl st: Slip Stitch
- sc: Single Crochet
- hdc: Half Double Crochet
- dc: Double Crochet
- inc: Increase (2 sc in the same stitch)
- dec: Decrease (sc2tog / 2 sc worked together)
- BLO: Back Loop Only
- MR: Magic Ring
Pattern Notes:
- The bag base and main body are worked in joined rounds or continuous spirals starting from a rectangular/oval foundation base.
- The drawstring eyelets are created by working a round of chains and skipped stitches near the top rim.
- The bow is crocheted separately and stitched securely onto the upper right section of the white face area.
Gauge, Approximate Size, and Pattern Notes
Gauge:
Gauge is not strictly critical for this pouch. Working with a slightly tighter gauge ensures small items like coins or lip balms will not slip through the stitches.
Finished Size:
Approximately 4.5 inches wide by 5 inches tall (11.5 cm x 12.7 cm) when laid flat.
Special Techniques:
- Eyelet Round Creation: Combining double crochets and chain spaces to form clean slots for the drawstring cord.
- Surface Embroidery: Using simple straight stitches with black and yellow yarn to create Hello Kitty’s nose, eyes, and three whiskers on each cheek.
Step-by-Step Pattern
Part 1: Bag Base & Main Body
Start with Pink Yarn for the pouch base:
- Foundation: Ch 21.
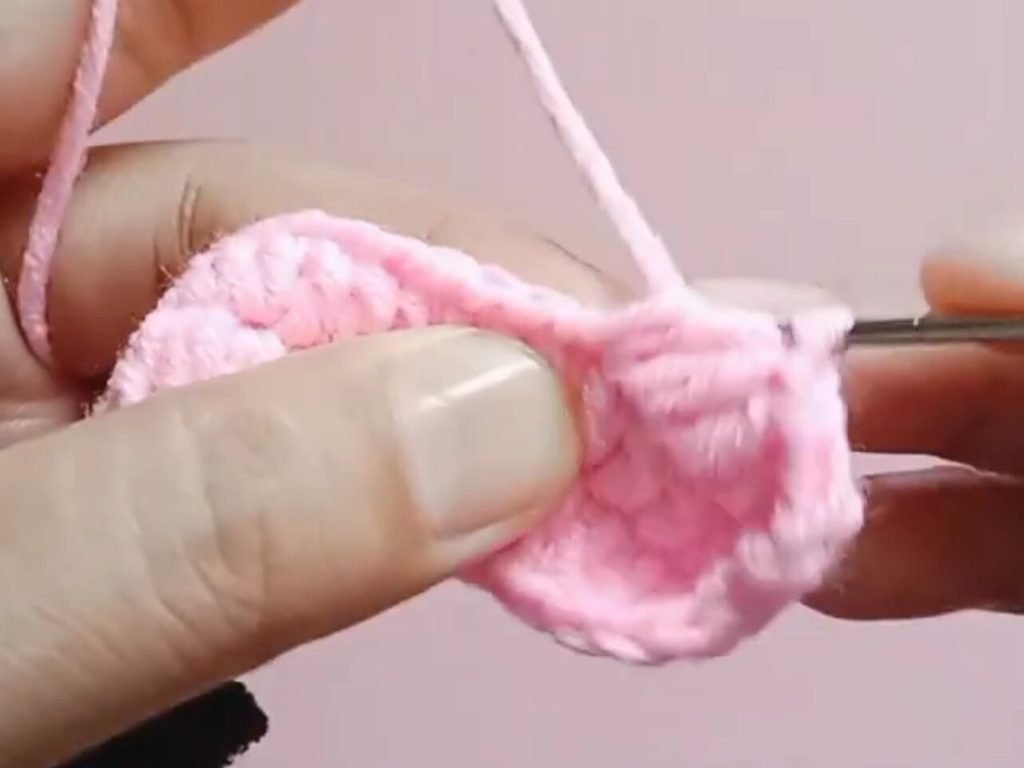
- R1: Starting in the 2nd ch from hook, 19 sc, 3 sc in the last ch (turning corner). Working along the opposite side of the chain, 18 sc, inc in the last ch. Join with a sl st to the first sc (42).
- R2: Ch 1, inc, 18 sc, 3 inc, 18 sc, 2 inc. Join with sl st (48).
- R3: Ch 1, BLO 48 sc around. Join with sl st (48).
- R4–R9: Ch 1, 48 sc around in both loops. Join with sl st (48). (6 rounds of Pink)
Switch to White Yarn at the end of R9:
- R10–R18: Ch 1, 48 sc around. Join with sl st (48). (9 rounds of White)
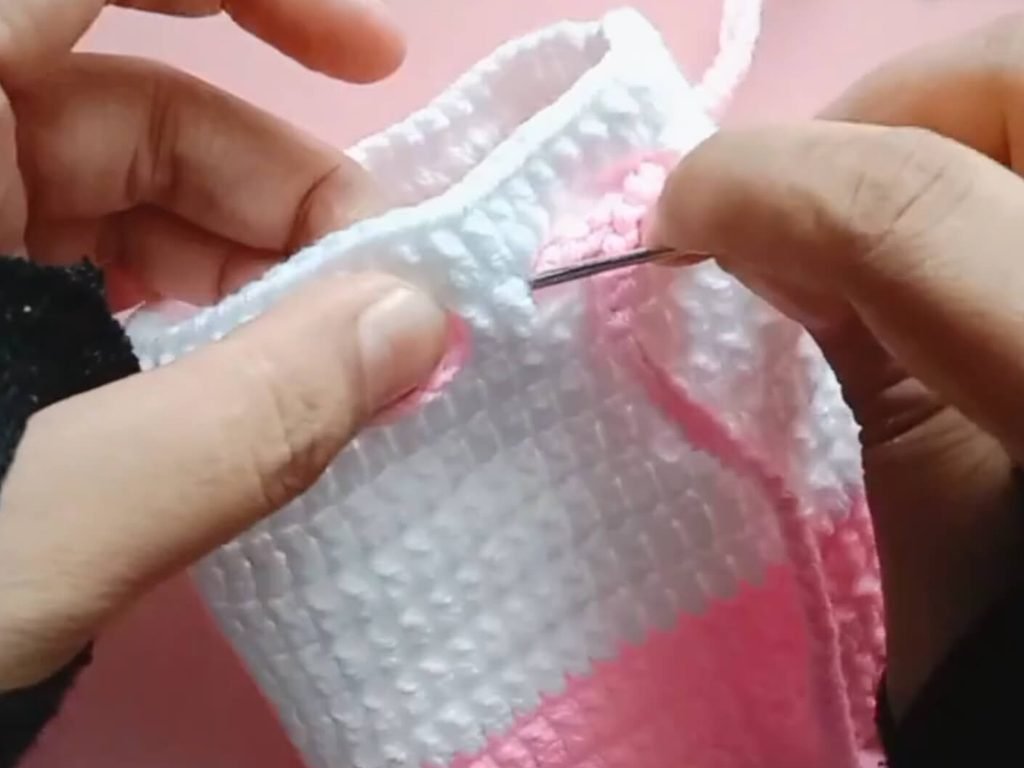
- R19 (Eyelet Round): Ch 2 (counts as hdc), *ch 1, skip 1 st, 1 hdc in next st; repeat from * around. Join with sl st to the top of starting ch-2.
- R20 (Top Rim): Ch 1, 48 sc around (1 sc in each hdc and 1 sc in each ch-1 space). Join with sl st. Fasten off and weave in ends.
Part 2: Hello Kitty Bow & Facial Details
Red Bow:
- Center Ring: In a MR, work (ch 3, 3 dc, ch 3, sl st into MR) x 2.
- Pull the ring tight. Wrap yarn around the center several times to create the middle knot of the bow. Fasten off, leaving a long tail for sewing.
Facial Embroidery:
- Nose: Using yellow yarn, embroider a small horizontal oval/stitch in the center of the white section (around R12–R13).
- Eyes: Using black yarn, embroider two vertical oval stitches on either side of the nose, spaced about 4 stitches apart.
- Whiskers: Using black yarn, embroider 3 straight diagonal lines on each cheek.
- Bow Attachment: Stitch the red bow tightly onto the top right corner of the white section (near R16–R17).
Part 3: Drawstring Cords & Pom-Poms
Drawstring Cords (Make 2):
- Cord: Using Pink yarn, make a chain of 65–70 stitches (or until cord measures approx 12 inches / 30 cm). Fasten off.
Mini Pom-Poms / Balls (Make 4):
- R1: MR 6 sc (6).
- R2: (1 sc, inc)*3 (9).
- R3: 9 sc (9).
- R4: (1 sc, dec)*3 (6).
- Fasten off, leave tail to attach to the ends of the drawstring chains.
Part 4: Edging, Assembly & Finishing
- Thread the first pink drawstring cord through the eyelet round (R19) starting from the left side, going all the way around, and exiting at the same side.
- Thread the second pink drawstring cord starting from the right side, weaving through the eyelets, and exiting on the right side.
- Attach the mini white pom-poms/balls to the ends of each cord and knot securely.
- Pull both sides to gather the pouch smoothly.
Detailed Pattern Breakdown
1. Oval Base Construction:
- The base begins with a foundation chain worked on both sides to establish a sturdy flat bottom. Tapered increases at both rounded ends prevent curling while providing ample space inside the bag.
2. Two-Tone Color Transitions & Wall Building:
- Transitioning from Pink to White creates the color-block effect where the lower half acts as the dress/base and the upper half serves as Hello Kitty’s face. Working R3 in BLO creates a sharp 90-degree ridge that allows the walls of the pouch to stand vertically.
3. Drawstring Mechanism & Facial Proportions:
- The eyelet round (R19) uses alternating half double crochets and chain spaces, providing clear channels for dual cords that pull from opposite sides. Placement of the embroidered facial features on rounds 12–14 ensures the face remains cute and undistorted even when the drawstring top is cinched tight.
Pattern Question:
Question: How can I make sure the embroidered facial features do not look lopsided or distorted when the pouch is cinched shut?
Answer: Always embroider the eyes, nose, and whiskers while the pouch is laid completely flat before threading the drawstring cords.
Place the nose directly on the midline of the white section (around R12–R13), keeping the eyes 2 to 3 stitches away from the nose on the same row level.
Because R19 (the eyelet round) sits well above the facial features, cinching the top will gather only the upper rim, leaving Hello Kitty’s face perfectly intact and adorable!