
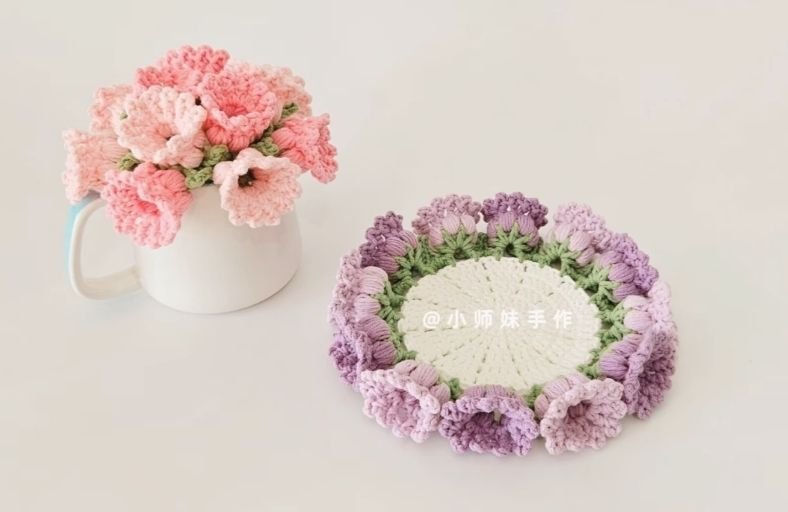
Is your coffee table looking a little plain, or are you tired of boring, flat coasters that do nothing for your desk aesthetic?
Imagine resting your morning mug inside a delicate ring of blooming bell-shaped flowers!
This Lily of the Valley Coaster combines a sturdy geometric base with a gorgeous 3D floral border, turning everyday yarn into a whimsical piece of functional art.
Whether you want to brighten up your workspace or whip up a handmade gift that will leave everyone asking, “You made that?”, this pattern is pure crochet joy.
Grab your hook, pick your favorite yarn colors, and let us bring these blooming beauties to life step by step!
Materials and Preparation
Materials:
- Yarn:
- Cream / Off-White yarn for the central coaster base.
- Green yarn for the leaf stem border.
- Pink, Purple, or White yarn for the Lily of the Valley bell blossoms.
- (Recommended: Milk Cotton yarn or standard 4-ply cotton yarn).
- Stuffing: Not required for this project, as the 3D flower petals gain structural firmness through clustered stitches.
Tools:
- Crochet Hook: 3.0 mm crochet hook.
- Yarn Needle: Tapestry needle for weaving in loose ends.
- Stitch Marker: To keep track of your rounds.
- Scissors: Sharp craft scissors.
Preparation Notes:
- Master basic US crochet stitches including double crochet (
dc), half double crochet (hdc), single crochet (sc), slip stitch (sl st), chain (ch), picot, and cluster/puff stitches. - Maintain a firm, consistent tension on the central base to ensure your mug sits completely flat without wobbling.
Abbreviations and Notes
Abbreviations:
- MR: Magic Ring (Magic Circle)
- ch: Chain stitch
- sc: Single Crochet
- hdc: Half Double Crochet
- dc: Double Crochet
- sl st: Slip Stitch
- inc: Increase (2 stitches worked into the same stitch)
- dc-inc: Double Crochet Increase (2 dc in the same stitch)
- hdc6tog-cluster: 6 Half Double Crochet Together Cluster (Puff / Bobble / Jujube stitch made of 6 unfinished hdc closed together)
- Picot: Chain 3, sl st into the first ch or top of the dc post
Pattern Notes:
- The Coaster Base is worked in flat joined rounds, starting each round with a
ch 2turning/upright chain (which does NOT count as a stitch unless specified). - The Leaf Border is worked around the outer edge of Round 5 of the base.
- The 3D Lily of the Valley Flowers are crocheted onto the leaf loops, creating a textured 3D outer ring.
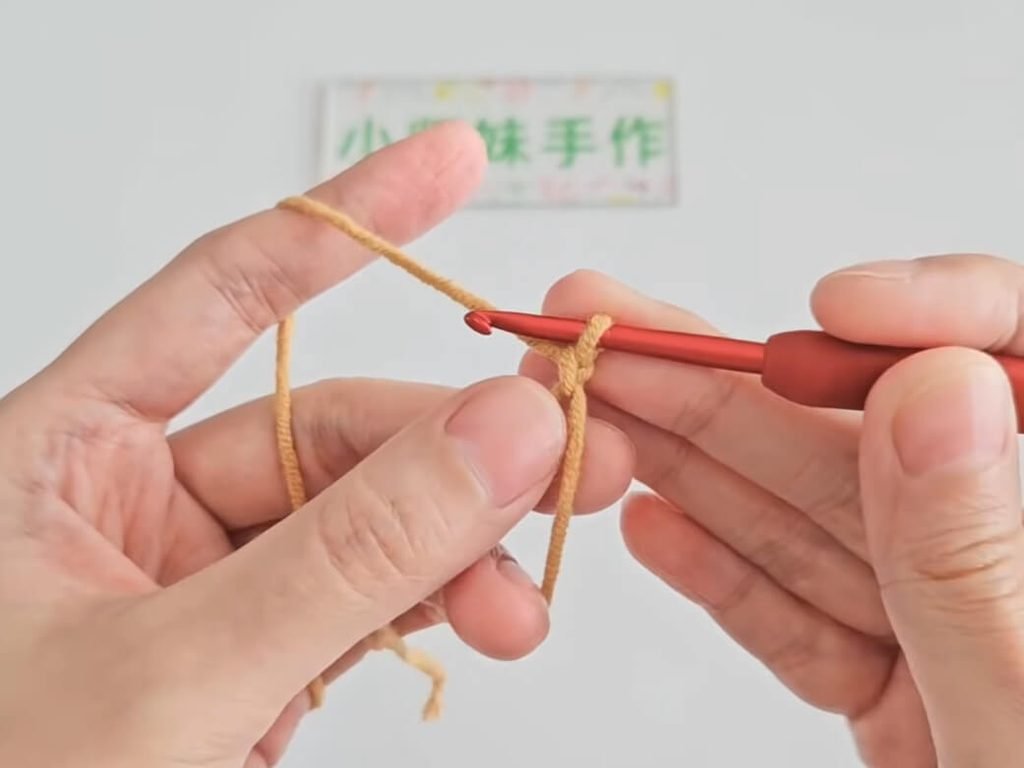
Gauge, Approximate Size, and Pattern Notes
Gauge:
- Gauge is not critical for this project. However, maintaining even tension ensures the center stays flat and the flowers stand upright neatly.
Finished Size:
- Coaster Base Diameter: Approx. 4.0 inches (10.2 cm).
- Overall Diameter with Flower Border: Approx. 5.5–6.0 inches (14.0–15.2 cm).
Special Techniques:
- 6-HDC Cluster Stitch: Yarn over, insert hook into space, pull up a loop (3 loops on hook), repeat 5 more times in the exact same space (13 loops on hook). Yarn over, pull through all 13 loops at once, ch 1 to secure.
- Picot Edging on Flower Petals: Creates the classic scalloped bell shape of the lily of the valley petals.
Step-by-Step Pattern
Part 1: Coaster Base
Work with cream/white yarn:
- R1: In MR, ch 2, work 12 dc. Pull ring tight. Sl st into the first dc to join. (12 sts)
- R2: Ch 2, [dc-inc, ch 1] * 12 times. Sl st into the first dc to join. (24 dc, 12 ch-1 spaces)
- R3: Ch 2, [1 dc, dc-inc, ch 1, skip 1 ch-space] * 12 times. Sl st into the first dc to join. (36 dc, 12 ch-1 spaces)
- R4: Ch 2, [2 dc, dc-inc, ch 1, skip 1 ch-space] * 12 times. Sl st into the first dc to join. (48 dc, 12 ch-1 spaces)
- R5: Ch 2, [3 dc, dc-inc, ch 1, skip 1 ch-space] * 12 times. Sl st into the first dc to join. (60 dc, 12 ch-1 spaces) Fasten off Cream yarn and weave in ends.
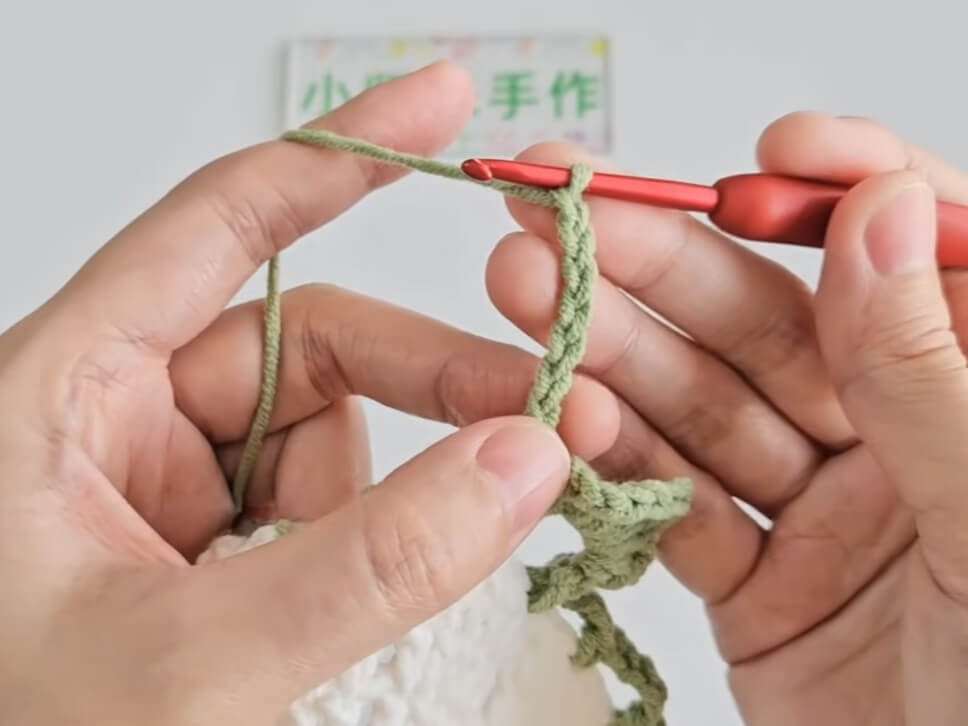
Part 2: Leaf & Vine Ring (Border Base)
Crochet using green yarn, attaching it to the outer ring R5 of the base:
- Round 1 (Leaf Mesh Base):
- Reattach Green yarn on the first dc of Round 5.
- Ch 1, 1 sc in the same st.
- [Ch 5, skip 2 sts, 1 sc in next st] * repeat around for a total of 24 chain-5 loops.
- Sl st to first sc to join.
- Round 2 (Leaf Framework & Stems):
- In the first ch-5 space: Work [1 sc, ch 3, 1 dc, ch 1, 1 dc, ch 1, 1 dc, ch 1, 1 dc, ch 3, 1 sc].
- In the next ch-5 space (Stem Anchor): Work [1 sc, ch 7, sl st in the 2nd ch from hook, ch 3, 1 sc in the same ch-5 space].
- Repeat pattern around: Alternate between 1 Leaf Framework loop and 1 Stem Anchor loop across all 24 loops (total 12 leaf clusters and 12 flower stem anchors). Fasten off Green yarn.
Part 3: Lily of the Valley 3D Flowers
Flower Petal Clusters (12 Individual Flowers Around the Border):
Reattach Pink or Purple yarn to one of the Leaf Framework loops:
- Flower Round 1 (Flower Cup Foundation):
- In the spaces between the leaf chain/dc posts, work 6 6-hdc Clusters across the leaf space:
- Work [1 hdc6tog-cluster, ch 1] in each of the 6 gaps across the leaf arch. (6 cluster petals)
- Sl st into the first cluster to form a small cup/bell shape.
- Flower Round 2 (Scalloped Petal Rim):
- Ch 3 (counts as 1 dc), work 1 dc in the first space between clusters.
- [Ch 3, sc on the side post of the dc (Picot created), 1 dc in the same space, ch 3, sc in the dc post].
- Repeat across all 5 ch-spaces around the flower cup to create 5 scalloped bell petals.
- Sl st to join, fasten off, and weave in ends.
- Repeat this flower process for all 12 leaf anchor points around the coaster circumference.
Part 4: Assembly & Finishing
- Shaping: Gently block the central coaster base using a damp cloth or steam iron on low setting to make sure it lays completely flat.
- Flower Fluffing: Use your fingers to open up each individual Lily of the Valley blossom, pushing the scalloped petals outward so they flare like real bell flowers.
- Weaving Ends: Weave in all remaining yarn tails securely on the wrong side of the coaster using a yarn needle.
Detailed Pattern Breakdown
1. Central Wheel Coaster Base Construction:
- The base utilizes a pinwheel expansion logic. Round 1 starts with a solid foundation of 12 double crochets (
12 dc). - Rounds 2 through 5 expand radially by adding 12 increases per round while inserting a
ch 1space between each set. This produces 12 distinct spokes/wedges that allow the coaster to stay perfectly flat without curling up or warping at the edges.
2. Leaf and Lattice Rim Architecture:
- Round 1 of the leaf border transitions from flat circles to structural arches by creating
ch-5spaces secured with single crochets (sc). - Round 2 builds upon these mesh loops by creating alternated anchor points: wide leaf arches using
dcandchspaces to receive the flower bases, and slender vertical chain stems usingch 7and slip stitches to simulate natural botanical vines.
3. 3D Bell Flower Volumetric Technique:
- The Lily of the Valley bells derive their 3D shape from working heavy cluster stitches (
hdc6tog-cluster). - By working 6 of these rich, puffy clusters into a tight arch and joining them in a ring, the fabric naturally bows upward into a cup shape without needing any polyfill stuffing.
- Round 2 of each flower finishes the bell with picot-edged double crochets (
dc+ picot) that flare outward to replicate delicate blooming petals.
Pattern Questions
Question 1: Why is my central coaster base curling into a bowl instead of laying flat?
Answer: Curling usually happens if your tension is too tight or if stitches were missed during increases. Make sure you strictly follow the increase formula in each round (dc-inc every wedge) and ensure you include the ch 1 space between sections.
If your personal gauge is naturally very tight, try switching to a 3.5 mm crochet hook for the central base.
Question 2: Do I have to cut the yarn after making each individual flower?
Answer: Yes, for the crispest look, each of the 12 Lily of the Valley flowers is attached and finished individually on its corresponding leaf arch. However, to save time, you can carry your yarn neatly along the back of the green leaf arches with small slip stitches instead of cutting and rejoining for every single flower.
Question 3: Can I wash this coaster, and how do I keep the flowers in shape?
Answer: Absolutely! If using cotton yarn, hand wash the coaster in cold water with mild detergent. Gently squeeze out excess water without twisting.
Reshape the central base flat on a towel, use your fingers to fluff out the flower bells, and let it air dry completely.