
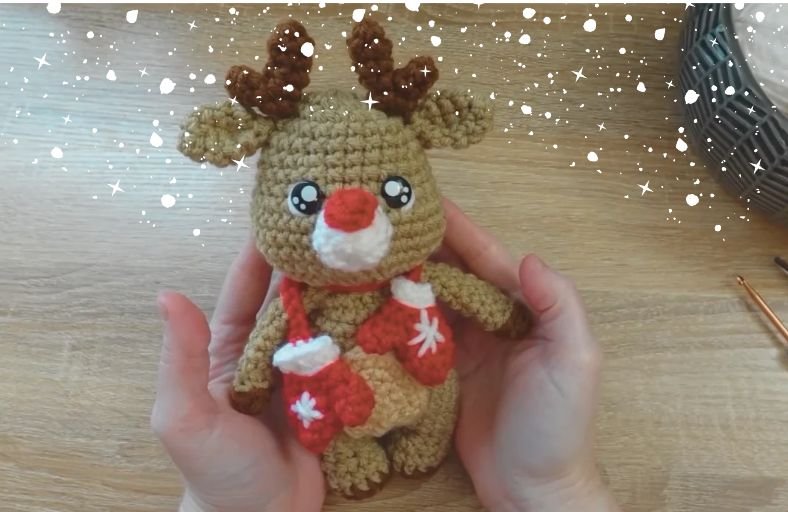
Looking for a cozy, festive project that you can complete in a single sitting?
Whether you need a last-minute handmade Christmas gift or want to add a charming doll to your holiday mantel decor, this sweet amigurumi reindeer complete with tiny festive mittens is the ultimate weekend craft.
Grab your crochet hook, turn on a favorite holiday movie, and follow this beginner-friendly step-by-step guide!
Materials and Preparation
Materials:
- Yarn (DK or Worsted weight):
- Beige yarn: ~21 g (main body, head, legs, arms, ears)
- Mastic / Light Almond yarn: ~1.5 g (belly patch)
- Red yarn: ~3.5 g (nose, mittens)
- White yarn: ~2 g (muzzle, mitten trim, eye accents)
- Light Brown yarn: ~4 g (horns/antlers)
- Safety Eyes: 1 pair of 7 mm safety eyes
- Stuffing: Polyfill / Fiberfill stuffing
Tools:
- Crochet Hook: 3.0 mm (or 4.0 mm if using worsted weight yarn)
- Yarn Needle: Tapestry needle for assembly and embroidering details
- Stitch Marker: Essential for keeping track of spiral rounds
- Scissors: Sharp craft scissors
- Straight Pins: For positioning parts prior to sewing
Preparation Notes:
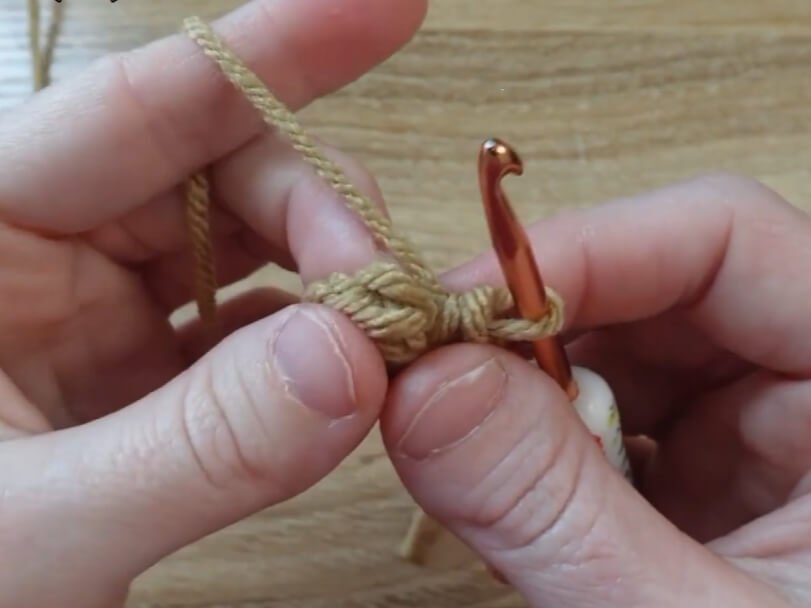
- You should be comfortable with basic stitches: magic ring (
MR), single crochet (sc), increase (inc), decrease (dec), back loop only (BLO), and slip stitch (sl st). - Keep your stitches firm and tension even so that the stuffing stays hidden inside the amigurumi shapes.
Abbreviations and Notes
Abbreviations:
- MR: Magic Ring
- ch: Chain stitch
- sc: Single Crochet
- inc: Single Crochet Increase (2 sc in the same st)
- dec: Single Crochet Decrease / sc2tog (invisible decrease recommended)
- sl st: Slip Stitch
- BLO: Back Loop Only
- FLO: Front Loop Only
- st(s): Stitch(es)
- rnd(s): Round(s)
- row(s): Row(s)
Pattern Notes:
- Most parts (head, body, horns, ears, mittens) are worked in continuous spiral rounds without joining at the end of each round unless specified.
- Use a stitch marker in the first stitch of every round to keep track of your progress.
- Color changes should be made on the final yarn-over of the previous stitch.
Gauge, Approximate Size, and Pattern Notes
Gauge:
Gauge is not strictly critical for this project. Use a hook size that creates a tight fabric with no visible gaps between stitches.
Finished Size:
Approximately 6 – 7 inches (15 – 18 cm) tall when using DK yarn with a 3.0 mm hook.
Special Techniques:
- Invisible Decrease: Insert hook into the FLO of the next 2 stitches, yarn under, draw up a loop, yarn over, and draw through both loops on hook.
- Surface French Knot / Fasten Off Knot: Used to securely fasten off yarn tails against the inner fabric wall.
- Backstitch Attachment: Used for sewing the belly patch onto the body without visible thread lines.
Step-by-Step Pattern
Part 1: Head, Muzzle & Nose
Head
Work in Beige yarn in continuous rounds:
- Rnd 1: MR 8 sc (8)
- Rnd 2: 8 inc (16)
- Rnd 3: (sc, inc)*8 (24)
- Rnd 4–5: 24 sc (24)
- Rnd 6: (5 sc, inc)*4 (28)
- Rnd 7–8: 28 sc (28)
- Rnd 9: 9 sc, 4 inc, 5 sc, 4 inc, 6 sc (36)
- Rnd 10–13: 36 sc (36)
- Attach 7 mm safety eyes between Rnds 8 and 9, spaced about 3 stitches apart, centered between the sets of increases.
- Rnd 14: (sc, dec)*12 (24)
- Rnd 15: (2 sc, dec)*6 (18)
- Fasten off with a sl st, leaving a 24-inch (60 cm) long tail for sewing. Stuff the head firmly.
Muzzle
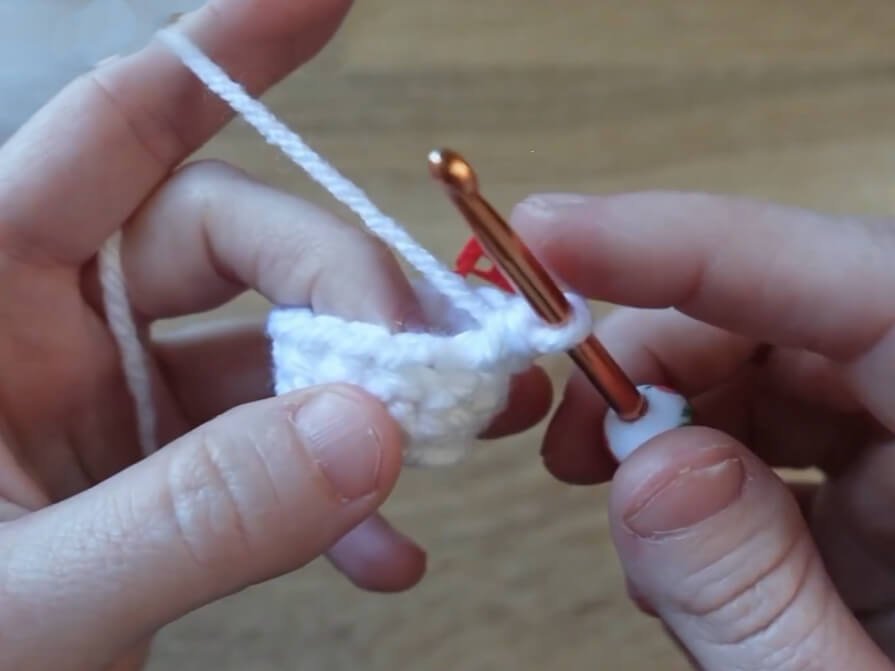
Work in White yarn:
- Rnd 1: MR 10 sc (10)
- Rnd 2: 10 sc (10)
- Rnd 3: (3 sc, dec)*2 (8)
- Fasten off with a sl st, leaving a 14-inch (35 cm) tail.
Nose
Work in Red yarn:
- Rnd 1: MR 5 sc, sl st to first st to join (5)
- Fasten off, leaving an 8-inch (20 cm) tail. Sew the nose onto the top of the muzzle.
Part 2: Antlers (Horns) & Ears
Antlers (Make 2)
Work in Light Brown yarn:
- Big Branch:
- Rnd 1: MR 5 sc (5)
- Rnd 2–3: 5 sc (5)
- Fasten off and weave in tail.
- Small Branch & Assembly:
- Rnd 1: MR 5 sc (5)
- Rnd 2: 5 sc (5)
- Rnd 3 (Joining): 5 sc across the Big Branch, then 5 sc across the Small Branch (10)
- Rnd 4: (3 sc, dec)*2 (8)
- Fasten off with a sl st, leaving a 12-inch (30 cm) tail.
Ears (Make 2)
Work in Beige yarn:
- Rnd 1: MR 6 sc (6)
- Rnd 2: (sc, inc)*3 (9)
- Rnd 3–4: 9 sc (9)
- Rnd 5: (sc, dec)*3 (6)
- Fasten off, leaving a 12-inch (30 cm) tail. Fold the base in half and stitch closed.
Part 3: Legs, Body & Arms
Legs & Body
Work in Beige yarn (starting with legs):
- Left Leg:
- Rnd 1: MR 6 sc (6)
- Rnd 2: 6 inc (12)
- Rnd 3: BLO 12 sc (12)
- Rnd 4: 12 sc (12)
- Rnd 5: 2 sc, 4 dec, 2 sc (8)
- Rnd 6: 8 sc (8)
- Rnd 7: (sc, inc)*4 (12)
- Rnd 8: 6 sc, sl st in next st, fasten off (12)
- Right Leg:
- Rnd 1–7: Repeat Left Leg Rnds 1–7.
- Rnd 8: 12 sc (12)
- Rnd 9: 3 sc (3)
- Body Joining:
- Rnd 10: ch 2 from Right Leg, 12 sc around Left Leg, 1 sc in next 2 ch, 12 sc around Right Leg, 1 sc in opposite side of 2 ch (28)
- Rnd 11: 6 sc, inc, 12 sc, inc, 8 sc (30)
- Rnd 12–15: 30 sc (30)
- Rnd 16: (8 sc, dec)*3 (27)
- Rnd 17–18: 27 sc (27)
- Rnd 19: (7 sc, dec)*3 (24)
- Rnd 20: 24 sc (24)
- Rnd 21: (6 sc, dec)*3 (21)
- Rnd 22: 21 sc (21)
- Rnd 23: (5 sc, dec)*3 (18)
- Fasten off with a sl st, leaving a long tail.
Arms (Make 2)
Work in White yarn for Rnd 1, Light Brown for Rnd 2, and Beige for Rnds 3–11:
- Rnd 1: MR 7 sc in White (7)
- Rnd 2: 7 sc in Light Brown (7)
- Rnd 3–11: 7 sc in Beige (7)
- Fasten off, leaving a 12-inch (30 cm) tail.
Belly Patch
Work in Mastic/Light Almond yarn:
- Row 1: ch 5, inc in 2nd ch from hook, 2 sc, 3 sc in last ch; working down opposite side: 2 sc, sl st to first sc, ch 1 (9)
- Row 2: 2 inc, 2 sc, 3 inc, 2 sc, 1 inc, sl st to first st, ch 1 (15)
- Row 3: (sc, inc)*2, 2 sc, (sc, inc)*3, 3 sc, inc, sl st to first st (21)
- Fasten off, leaving a 14-inch (35 cm) tail.
Part 4: Mittens & Assembly
Mittens (Make 2)
Work in Red yarn:
- Thumb/Finger:
- Rnd 1: MR 4 sc (4)
- Rnd 2: 4 sc (4), fasten off.
- Hand:
- Rnd 1: MR 6 sc (6)
- Rnd 2: (2 sc, inc)*2 (8)
- Rnd 3–4: 8 sc (8)
- Rnd 5 (Joining Thumb): 4 sc around Thumb, 8 sc around Hand (12)
- Rnd 6: (sc, dec)*4 in Red, change to White on last dec (8)
- Rnd 7: BLO 8 sl st in White (8)
- Rnd 8: BLO 8 sc in White (8)
- Fasten off. Embroider a snowflake detail on the back of each mitten using White yarn.
Connecting Cord:
- Foundation: ch 35 in Red with 6-inch (15 cm) tails on both ends. Sew each end securely to a mitten.
Detailed Pattern Breakdown
1. Head and Facial Features Construction
- Proportional Shaping (Rnds 1–13): The head starts from a standard magic ring of 8 sc and expands to 36 stitches. The consecutive increases in Round 9 create gentle cheek bulges that allow the face to look soft and rounded.
- Eye Line & Expression: Placing safety eyes between Rounds 8 and 9 aligns them right above the cheeks. Adding white yarn embroidery along the outer rim of each eye gives the doll a sweet expression.
- Muzzle & Nose Assembly: The muzzle is worked in white yarn into a tiny oval/cup shape, stuffed lightly, and sewn centered between the eyes. The red nose is stitched directly on top of the muzzle.
2. Antlers and Ears Geometry
- Multi-Branch Join: The antlers use an authentic amigurumi technique where two separate cylinder tubes (the big and small branches) are joined together in Round 3 by crocheting across all exterior stitches.
- Tapered Ears: The ears feature a quick increase/decrease curve that forms an organic leaf shape. Pinching the base in half before sewing gives them a natural cup shape.
3. Seamless Body, Legs, and Arm Integration
- Leg-to-Body Transition: The legs start from a flat base, transition into a 3D foot via Back Loop Only (
BLO) stitches, and feature rapid front-facing decreases in Round 5 to form the instep. - Center Chain Bridge: Round 10 joins both legs together using a 2-chain bridge. Crocheting around both sides of this chain creates a wide oval torso base (28 stitches).
- Belly Patch Attachment: The mastic-colored oval belly patch is backstitched onto the front torso.
Pattern Questions & Answers
Question 1: How can I make sure the safety eyes are centered properly relative to the face increases?
Answer: Look closely at Round 9 where you worked two sets of 4 consecutive increases. Those increases mark the front cheeks of your reindeer. Position the eyes between Rounds 8 and 9, placing them roughly 3 stitches apart, centered directly between those two flaring cheek areas.
Question 2: Why do my mitten thumbs twist outward instead of facing inward when attached to the cord?
Answer: Mittens are directional! Before embroidering the white snowflake pattern and sewing on the cord, lay both mittens flat side-by-side with the thumbs pointing toward each other (toward the center). Ensure you embroider the snowflake details on the outer facing sides so you end up with a left and right mitten.
Question 3: What is the best way to attach the head to the body so it does not wobble?
Answer: Both the neck opening of the body and the base opening of the head have 18 stitches. Line up the front of the toes with the nose, then whipstitch through each matching pair of stitches around the neck. Pull your thread tight after every 2 to 3 stitches, and add a final pinch of fiberfill into the neck before closing the loop completely.