
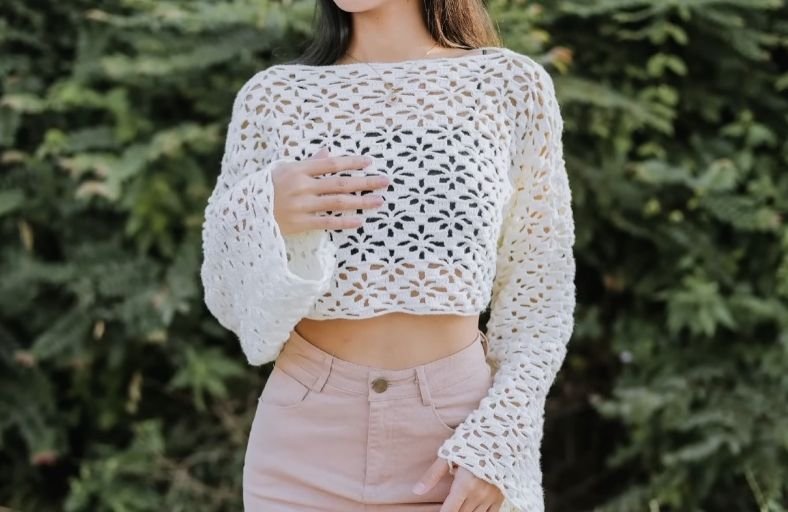
Ever looked at a breezy, romantic lace top in a boutique and thought, “I could totally make that”?
Well, get your favorite hook ready because today we are stitching up the ultimate statement piece: a gorgeous, airy floral lace sweater featuring dreamy bell sleeves and an effortless boat neck!
Built with an easy six-row repeat pattern, this lightweight pullover transforms simple chains and double crochets into stunning floral diamond motifs.
Whether you are aiming for a classic cropped fit or a cozy oversized layer, this step-by-step guide will walk you through creating your new favorite handmade garment.
Materials and Preparation
Materials:
- Yarn: Fine or Light Worsted Weight Cotton/Acrylic Blend yarn (in Cream, Off-White, or your preferred shade).
- Quantity: Approx. 350g – 500g depending on desired size and length.
Tools:
- Crochet Hook: 3.5 mm – 4.0 mm (or size needed to obtain desired gauge and drape).
- Tapestry / Yarn Needle: For seaming panels and weaving in loose ends.
- Stitch Markers: Essential for marking shoulder seams and sleeve centers.
- Scissors: For trimming yarn ends.
- Measuring Tape: To customize panel widths and lengths.
Preparation Notes:
- Sizing Flexibility: This garment is constructed from four flat rectangular panels (Front, Back, and two Sleeves). The stitch pattern relies on a multiple of 17 + 2 extra chains.
- Tension & Drape: Maintain a relaxed, soft tension so the lace openwork opens up beautifully when worn.
Abbreviations and Notes
Abbreviations:
- ch: Chain stitch
- sc: Single crochet
- dc: Double crochet
- sl st: Slip stitch
- st(s): Stitch(es)
- ch-sp: Chain space
- rep: Repeat
- yo: Yarn over
Pattern Notes:
- The turning chain 3 (
ch 3) at the beginning of rows counts as 1 double crochet (dc) throughout the pattern. - The turning chain 1 (
ch 1) at the beginning of rows does not count as a stitch. - The main body and sleeves are worked flat in rows using a 6-row repeat pattern.
- The main stitch multiple for the foundation chain is 17 + 2.
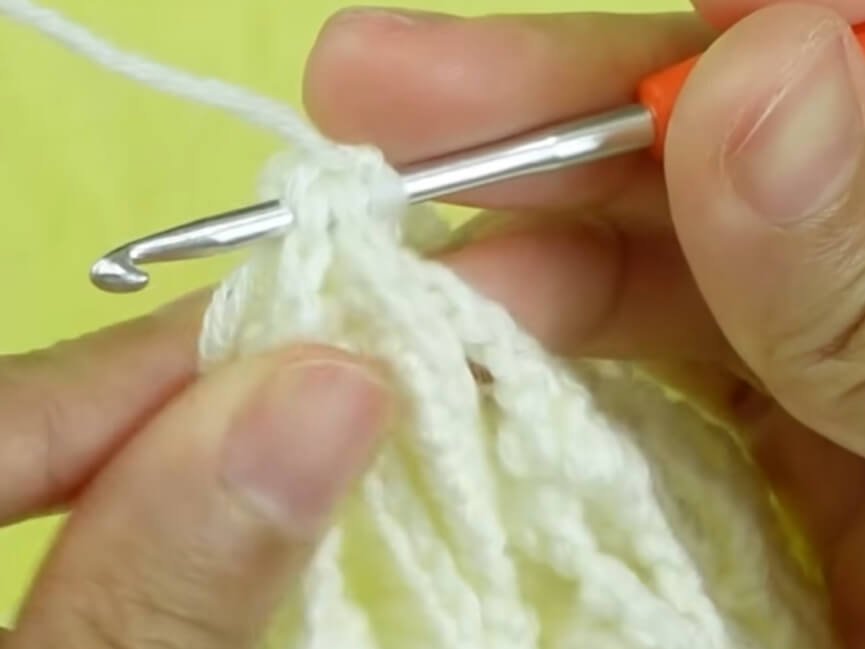
Gauge, Approximate Size, and Pattern Notes
Gauge:
- 1 floral motif (17 sts) = approx. 3.5 in (8.9 cm) wide.
- 6 rows (1 full floral motif repeat) = approx. 2.5 in (6.35 cm) tall.
Finished Size:
- Sample Size (S/M):
- Width across bust: 20 in (50.8 cm)
- Total length: 15.5 in (39.4 cm)
- Sleeve length: 22 in (55.8 cm)
- Custom Sizing:
- To make the body wider, add more chains in multiples of 17 to your foundation chain.
- To make the garment longer, add more 6-row floral repeat cycles before finishing.
Special Techniques:
- Floral Lace Openwork (6-Row Repeat): Combining groups of 4
dcpetals separated bych 4orch 5arches to construct delicate 8-petaled flower motifs. - Single Crochet Seaming: Joining shoulders, sleeves, and side seams cleanly using
scthrough matching loops on the wrong side.
Step-by-Step Pattern
Part 1: Front & Back Body Panels (Make 2)
Make two identical panels for the Front and Back:
- Foundation Row: Ch 119 (for S/M, or any multiple of 17) + 2 extra ch = 121 ch total.
- Row 1: Skip 3 ch (counts as 1 dc), 1 dc in 4th ch from hook. *Ch 5, skip 5 ch, 1 sc in next 3 ch, ch 5, skip 5 ch, 1 dc in next 4 ch; rep from * across until 7 ch rem. Ch 5, skip 5 ch, 1 dc in last 2 ch. Turn.
- Row 2: Ch 3 (counts as 1 dc), 1 dc in next dc st, 3 dc in ch-5 sp. *Ch 4, skip 1 sc, 1 sc in 2nd sc of row below, ch 4, 3 dc in ch-5 sp, 1 dc in 1st dc of row below, ch 3, 1 dc in 4th dc of row below, 3 dc in next ch-5 sp; rep from * across. After last ch-4, 3 dc in ch-5 sp, 1 dc in next dc, 1 dc in top of turning ch-3 (5 dc total at end). Turn.
- Row 3: Ch 1 (does not count as st), 1 sc in 1st dc st. *Ch 4, 1 dc in 5th dc st, 3 dc in ch-3 sp, ch 2, 3 dc in next ch-3 sp, 1 dc in 1st dc, ch 4, 1 sc in ch-4 sp; rep from * across, ending with 1 sc in 3rd ch of turning ch-3. Turn.
- Row 4: Ch 8 (counts as 1 dc + ch 5), skip 1st ch-sp and dc sts. *4 dc in ch-2 sp, ch 5, 1 sc in ch-4 sp, 1 sc in sc st of row below, 1 sc in next ch-4 sp, ch 5; rep from * across to last ch-2 sp. 4 dc in last ch-2 sp, ch 5, 1 dc in turning sc st. Turn.
- Row 5: Ch 1, 1 sc in 1st dc st. *Ch 4, 3 dc in ch-5 sp, 1 dc in 1st dc, ch 3, 1 dc in 4th dc, 3 dc in ch-5 sp, ch 4, 1 sc in 2nd sc of row below; rep from * across. End with 3 dc in ch-8 sp, 1 dc in 1st dc, ch 4, 1 sc in 3rd ch of turning ch-8. Turn.
- Row 6: Ch 3, 3 dc in ch-4 sp, 1 dc in 1st dc. *Ch 4, 1 sc in ch-3 sp, ch 4, 1 dc in 4th dc, 3 dc in ch-4 sp, ch 2, 3 dc in next ch-4 sp, 1 dc in 1st dc; rep from * across. End with 1 dc in turning sc st (5 dc total at end). Turn.
- Rows 7–37: Repeat Rows 1–6 in sequence until panel reaches Row 37 (or desired height).
- Row 38 (Top Border): Ch 1, turn. Work 1 sc in each dc st, 5 sc into each ch-5 sp, 4 sc into each ch-4 sp, and 1 sc into each sc st across entire edge to create a clean top border. Fasten off and weave in ends.
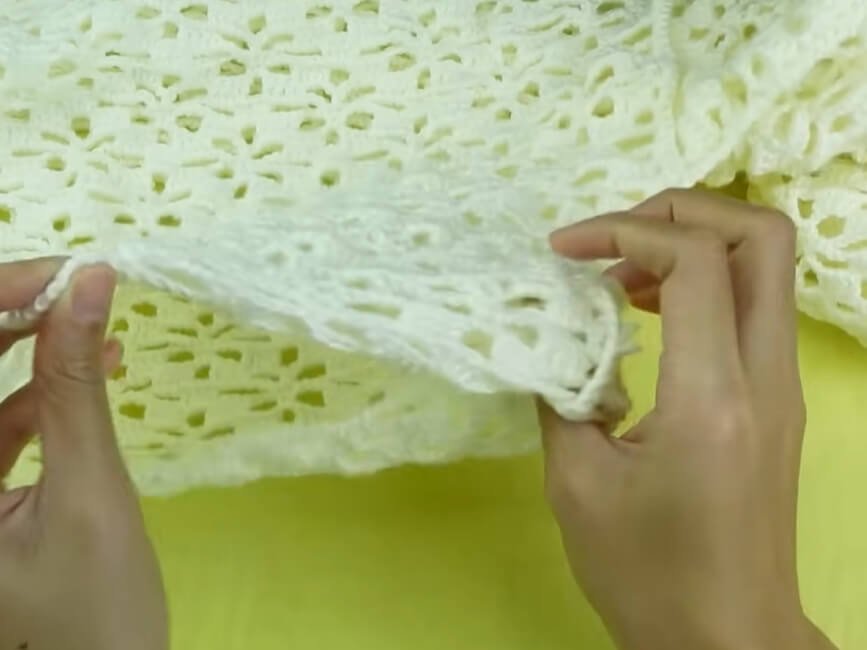
Part 2: Sleeve Panels (Make 2)
Make two identical panels for the Sleeves:
- Foundation Row: Ch 102 (multiple of 17) + 2 extra ch = 104 ch total.
- Rows 1–61: Repeat the exact 6-row pattern sequence from Part 1 (Rows 1–6) until sleeve length reaches Row 61 (approx. 22 in / 55.8 cm, or desired wrist-to-shoulder length).
- Row 62 (Sleeve Top Border): Ch 1, turn. Work 1 sc into each dc st and corresponding number of sc into each chain space across the top edge. Fasten off, leaving a long tail for assembly.
Part 3: Neckline & Shoulder Seaming
Top Shoulder Seams:
- Place Front and Back panels right sides together.
- Measure or count 24 sts inward from each outer shoulder edge toward the center, placing a stitch marker at the 25th st on both sides (leaving the middle sts open for the boat neckline).
- Attach yarn at outer shoulder corner, work
scjoining stitches through both panel layers up to the stitch marker. Fasten off. Repeat for second shoulder.
Sleeve Attachment:
- Open up the joined front and back panels flat with right sides facing up.
- Fold a sleeve panel in half lengthwise to locate its top center point; place a stitch marker at this midpoint.
- Align the sleeve center marker directly with the joined shoulder seam of the body.
- Attach yarn and work
scjoining stitches through both layers to secure the sleeve top flat onto the armhole section of the body panels. Repeat for second sleeve.
Part 4: Side Seams & Final Finishing
- Side & Underarm Seam Assembly:
- Fold front and back panels together along the shoulders with wrong sides facing out.
- Align the sleeve edges and side body edges.
- Attach yarn at the bottom hem corner of the body panel. Work
scthrough both layers continuously up the side seam, past the underarm corner, and all the way down to the sleeve cuff. - Fasten off and repeat on opposite side.
- Finishing Touches:
- Turn sweater right side out.
- Weave in all loose yarn ends securely using a tapestry needle.
- Lightly steam block your finished sweater to open up the lace flowers and accentuate the dramatic sleeve flare.
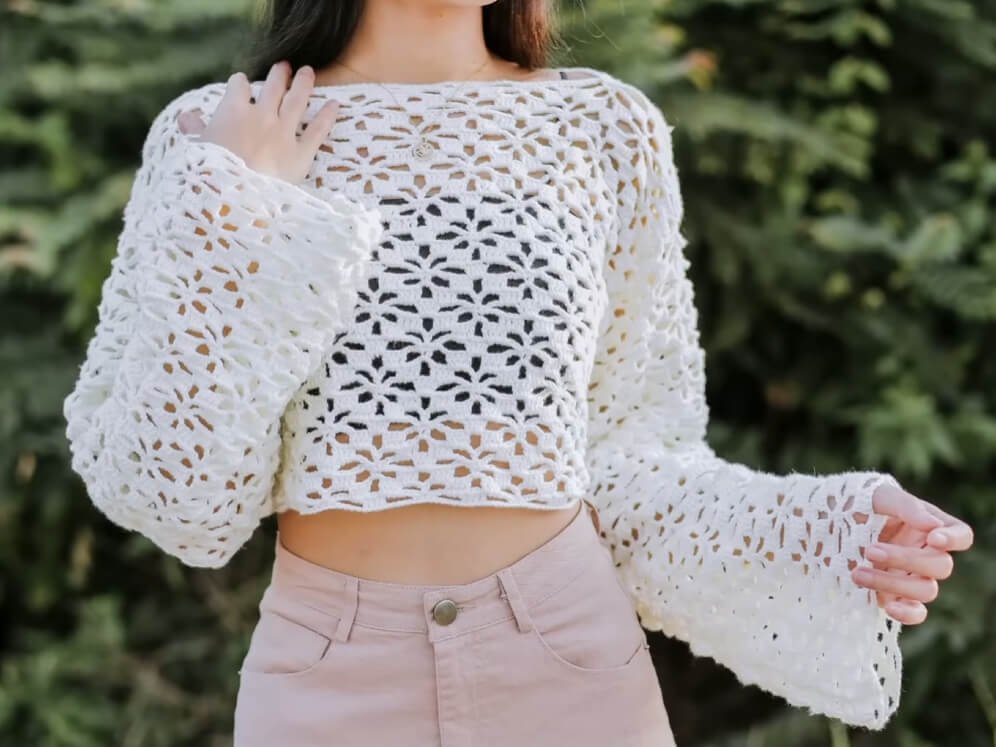
Detailed Pattern Breakdown
1. Front and Back Body Panels Breakdown:
- Foundation & Row 1: Built on a strict multiple of 17 chains + 2 extra foundation chains. Row 1 establishes the baseline geometric structure using alternating 4-dc pillars, 5-chain bridges, and 3-sc anchor bases.
- Rows 2–3 (Lower Petal Arch): Expands 3-dc blocks into adjacent chain spaces to build diagonal flower petals, pulling the center inward with
ch 4arches and centralizedscanchors. - Row 4 (Center Flower Core): Establishes the wide center heart of the flower motif using 4-dc clusters in
ch 2spaces flanked by generousch 5arches. - Rows 5–6 (Upper Petal Closure): Closes the top half of the flower motifs by reversing stitch expansions, restoring structural balance, and completing full 8-petaled floral lace diamonds.
- Row 38 Border: Converts openwork arches into solid single crochet anchor stitches across the top edge, creating a stable foundation for clean shoulder seaming.
2. Sleeve Construction Breakdown:
- Width & Flare Geometry: Starting with a 104-chain base creates a wide, fluid sleeve structure. The airy lace pattern combined with continuous straight row working gives the sleeve a dramatic, elegant bell shape without needing complex edge increases.
- Custom Length Flexibility: Adding or subtracting 6-row pattern blocks allows complete control over wrist length while maintaining perfect pattern continuity.
3. Assembly & Seaming Mechanics Breakdown:
- Boat Neckline Alignment: Seaming 24 sts on each outer shoulder leaves a wide, flattering boat neck opening across the center unjoined stitches.
- Flat Sleeve Insertion: Attaching sleeves flat prior to closing side seams ensures an even distribution of lace motifs across the armhole without bunching.
- Unified Side & Underarm Join: A continuous
scjoin running from bottom hem to sleeve cuff provides seam stability while keeping construction straightforward.
Pattern Question:
Question 1: How can I make this floral lace sweater larger or longer if I prefer an oversized or full-length fit?
Answer: To make the sweater wider across the bust, simply increase your foundation chain in increments of 17 stitches (for example: add 17, 34, or 51 chains to the base 119 chains). To make it longer, simply repeat the 6-row floral pattern cycle (Rows 1–6) as many times as desired before executing the top border row.
Question 2: Why do my floral motifs look slightly scrunched up instead of flat and open?
Answer: Lacy openwork patterns often look tight while on the hook due to natural yarn tension. Once your panels are complete, light steam blocking or wet blocking will open up the chain arches, stretch out the double crochet petals, and reveal the crisp floral diamond shapes.
Question 3: Can I substitute a different yarn weight for this pattern?
Answer: Yes! While a fine or light worsted cotton/acrylic blend offers ideal drape and stitch definition, you can use DK or Aran weight yarn. Keep in mind that using thicker yarn with a larger hook will automatically increase the overall dimensions of your garment, so be sure to measure your gauge swatch beforehand.