
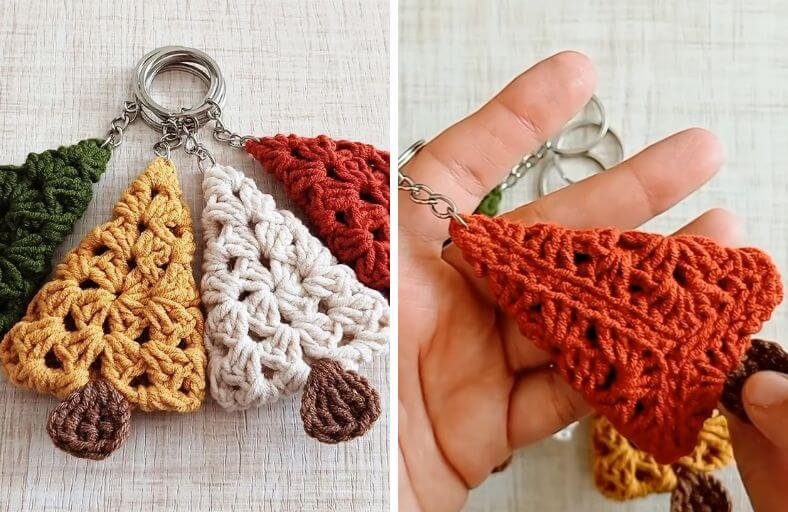
Ever caught yourself staring at your keys in early December thinking they look entirely too boring for the holiday season?
Whether you need quick stocking stuffers, cute secret Santa gifts, or a festive little charm to jazz up your winter tote bag, this quick project has you covered!
Grab your yarn stash because we are whipping up these adorable textured Christmas tree keychains in no time flat.
Materials and Preparation
Materials:
- Yarn: Medium weight acrylic yarn in festive colors (forest green, mustard yellow, winter white, brick red, and light brown for the trunk).
- Metal Keychain Ring: Standard split ring with chain loop attached.
Tools:
- Crochet Hook: 3.0 mm crochet hook.
- Yarn Needle: Tapestry needle for weaving in ends and securing the trunk.
- Stitch Marker: To keep track of your rounds if needed.
- Scissors: Sharp craft scissors.
Preparation Notes:
- Work with consistent tension to give your tree clusters crisp definition.
- This project is fantastic for using up leftover scrap yarn from bigger holiday projects.
Abbreviations and Notes
Abbreviations:
- ch: Chain
- sc: Single Crochet
- dc: Double Crochet
- tr: Treble Crochet
- sl st: Slip Stitch
- ch-sp: Chain Space
Pattern Notes:
- The tree body is worked in shell/cluster motifs starting from a central ring created by joined chains.
- The trunk is worked separately or joined at the bottom base using simple chain and stitch sequences.
Gauge, Approximate Size, and Pattern Notes
Gauge:
Gauge is not critical for this small decorative charm. Maintain a firm stitch structure so the tree stays flat and holds its shape nicely.
Finished Size:
Approximately 3.0 inches in height by 2.5 inches in width at the base (7.6 cm x 6.4 cm).
Special Techniques:
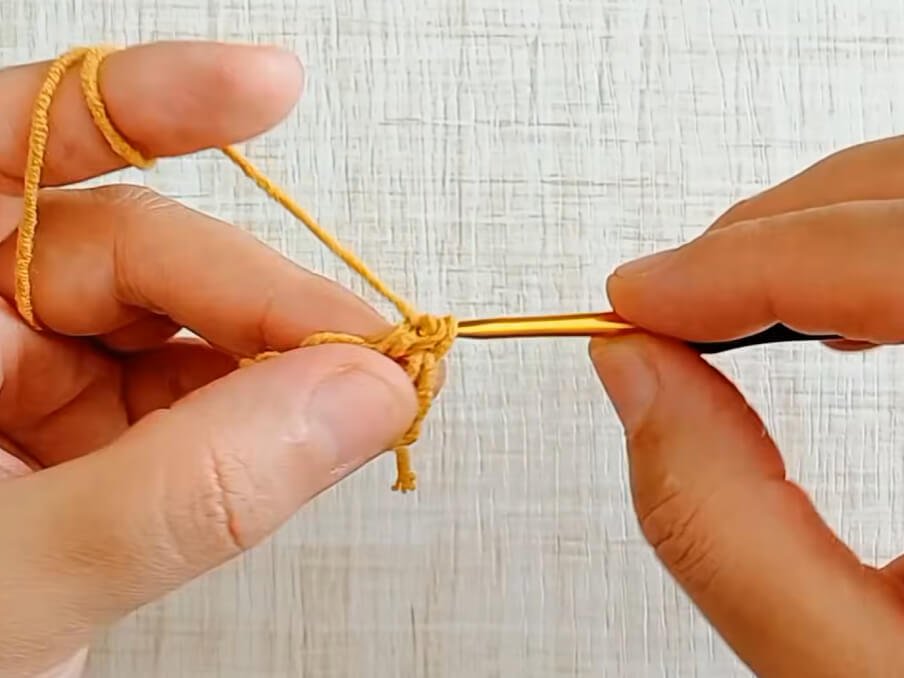
- Central Chain Ring: Starting with a small ring of chains to anchor the foundation shell clusters.
- Treble Cluster Shells: Combining treble stitches (
tr) with chain spaces to create the pointed triangular tree structure.
Step-by-Step Pattern
Part 1: Central Foundation Ring & Base Shells
Using green, red, yellow, or white yarn:
- Foundation Ring: Ch 5, sl st into the 1st ch to form a ring.
- Round 1: Ch 3 (counts as 1st dc), 2 dc into the ring, ch 1, 3 dc into the ring, ch 1, 3 dc into the ring, ch 1, sl st to top of starting ch-3 to close round.
Part 2: Tree Body Expansion & Shell Rows
Continue working into the chain spaces to shape the triangular tree form:
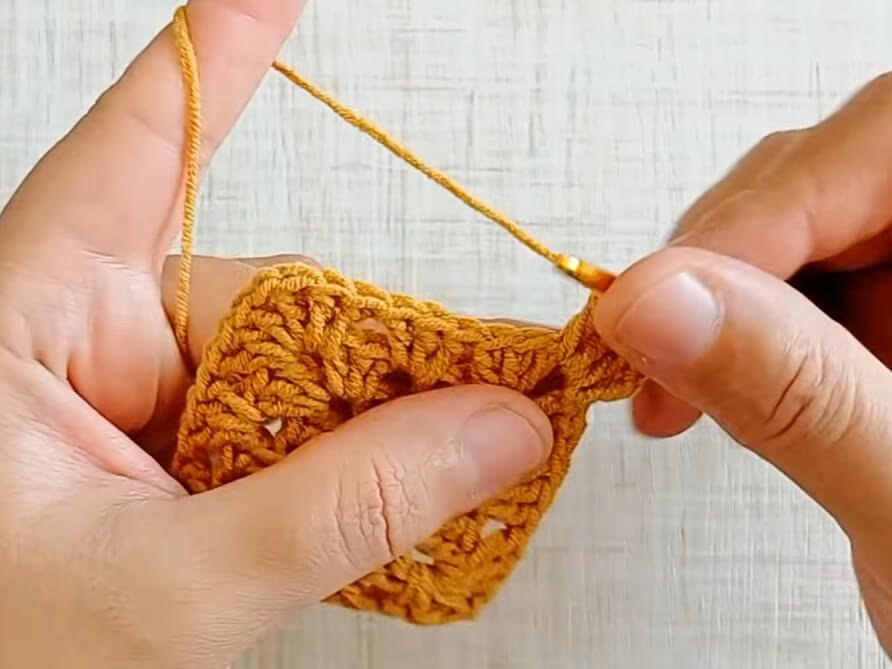
- Round 2: Sl st across to the first ch-sp. Ch 3, 2 dc into ch-sp, ch 1, 3 dc into same ch-sp.
- Row/Section 2 Continuation: Ch 4, turn. Into the next ch-sp work (3 tr, ch 1, 3 tr). Ch 4, sl st into the base of the shell cluster to lock the outer frame. Fasten off.
Part 3
Head: Tree Top Loop
- Top Loop: Attach yarn at the very top point of the tree, ch 4, sl st into the same point to create a sturdy loop for attaching the metal keychain ring. Fasten off.
Body: Tree Trunk
Using brown yarn:
- Trunk: Attach brown yarn at the center bottom ch-sp of the tree base.
- Row 1: Ch 3, 2 dc in the same space, ch 1, 3 dc in the same space. Sl st, fasten off leaving a tail to weave in securely.
Part 4: Edging, Assembly & Finishing
- Weaving Ends: Weave in all loose yarn ends thoroughly along the back of the clusters using your tapestry needle.
- Attaching Keychain: Open the jump ring of your metal keychain, attach it securely to the top loop of the tree, and close it tightly.
Detailed Pattern Breakdown
1. Central Foundation Breakdown:
- Starting with
ch 5joined into a ring provides a stable center anchor. - Working three groups of
3 dcseparated bych 1spaces builds the foundational triad shape, establishing the three corners needed to form a neat triangle.
2. Shell Expansion & Texture Breakdown:
- Escalating from
dcin Round 1 to tallertrstitches in Round 2 expands the lower base of the tree outward while maintaining distinct openwork eyelets. - Using
ch 4arches on the outer edges gives the tree distinct scalloped side borders, simulating evergreen branches without complex counting.
3. Trunk & Hardware Assembly Breakdown:
- The trunk utilizes a compact
3 dcgroup worked directly into the center bottom gap, grounding the tree visually with an organic, flared shape. - Adding a dedicated
ch 4loop at the peak ensures the keychain hardware sits flush without warping the top point of your tree.
Pattern Question:
Question 1: Why is my crocheted tree curling up at the edges instead of laying flat?
Answer: Curling usually happens when your chain spaces are too tight or your hook size is too small for your yarn weight. Try relaxing your tension when making the ch 1 and ch 4 arch spaces, or switch to a slightly larger hook (such as 3.5 mm) to give the clusters enough room to lie completely flat.
Question 2: Can I use different yarn weights, like cotton or velvet yarn?
Answer: Absolutely! Sport weight cotton yarn will yield a delicate, tiny ornament perfect for bag charms, while plush velvet yarn will make a chunky, soft keychain. Just remember to pair your yarn with its recommended hook size to maintain clean stitch definition.
Question 3: How do I keep the keychain ring from pulling out the yarn at the top point?
Answer: Rather than attaching the metal ring directly into a single strand of yarn, create the ch 4 loop at the top during your crochet process and weave the yarn tail through surrounding stitches twice before knotting. Attaching the metal jump ring around the entire crocheted loop distributes the pull evenly.