
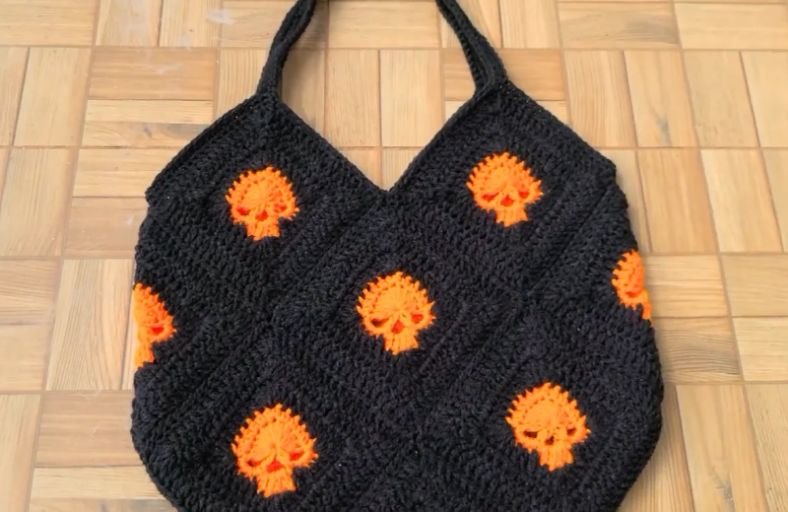
Ready to add a spooky yet super chic statement piece to your handmade wardrobe?
Whether you are gearing up for Halloween season or simply love year-round goth and alternative style, this Skull Granny Square Tote Bag is the ultimate everyday accessory.
Built from 13 diagonally joined skull motif squares, this bag features a structured geometric shape, sturdy integrated shoulder straps, and an eye-catching textured focal point that is sure to turn heads everywhere you go.
Materials and Preparation
Materials:
- Yarn (Medium / Worsted Weight – Category 4):
- Focal Accent / Skull Color: Hot Pink or Bright Orange (approx. 150-200 yards)
- Boundary / Background Color: Charcoal Black or Contrast Color (approx. 350-450 yards)
- Stuffing: None required (this project is a functional flat granny square construct).
Tools:
- Crochet Hook: Size 4.5 mm (US G+/7) or size needed to obtain gauge.
- Yarn Needle (Darning Needle): For seaming the squares and weaving in ends.
- Stitch Markers: 4 locking stitch markers (essential for placing corner coordinates on the skull).
- Scissors: Sharp craft scissors.
Preparation Notes:
- Before starting, make sure you are comfortable with basic stitches like single crochet, half double crochet, double crochet, and triple crochet.
- Maintain a firm and even tension so that your granny squares lay flat and uniform.
- If you prefer working with dark yarns like black, make sure to work in a well-lit space or consider using a lighted crochet hook.
Abbreviations and Notes
Abbreviations:
- MR: Magic Ring
- ch: Chain
- sc: Single Crochet
- hdc: Half Double Crochet
- dc: Double Crochet
- tr: Triple Crochet (Treble Crochet – yarn over twice)
- sl st: Slip Stitch
- BLO: Back Loop Only
Pattern Notes:
- The initial skull center is worked in joined rounds.
- The starting
ch 2at the beginning of rounds does NOT count as a stitch throughout this pattern. - After Round 3 of the square boundary, subsequent rounds are worked by turning the piece after each round to work in opposite directions. This prevents the square from twisting and keeps the final round facing the right side.
- The final tote assembly uses a 13-square diagonal layout (3D origami-style joining).
- Original design and pattern credit belongs to Shyler crochets.
Gauge, Approximate Size, and Pattern Notes
Gauge:
- Each completed 3-round boundary granny square measures approximately 5.2 inches x 5.2 inches (13.2 cm x 13.2 cm).
Finished Size:
- Width: Approx. 15.5 inches (39.4 cm) at the widest point across.
- Height (excluding straps): Approx. 15.5 inches (39.4 cm).
- Strap Drop: Approx. 11 inches (28 cm) vertical drop (with a 60-chain base).
Special Techniques:
- Eye Socket & Jaw Shaping: Formed using chain spaces, single crochets, and short rows of double crochet clusters.
- Corner Transformation: Transforming a contoured motif into a flat square using mixed stitch heights (
dc,tr,dc) into marked anchor points. - Diagonal Assembly: Joining squares along 45-degree angles to create a slouched, diamond-lattice tote body.
Step-by-Step Pattern
Part 1: Skull Center Motif
Using Skull Color (Hot Pink or Orange) and 4.5 mm hook:
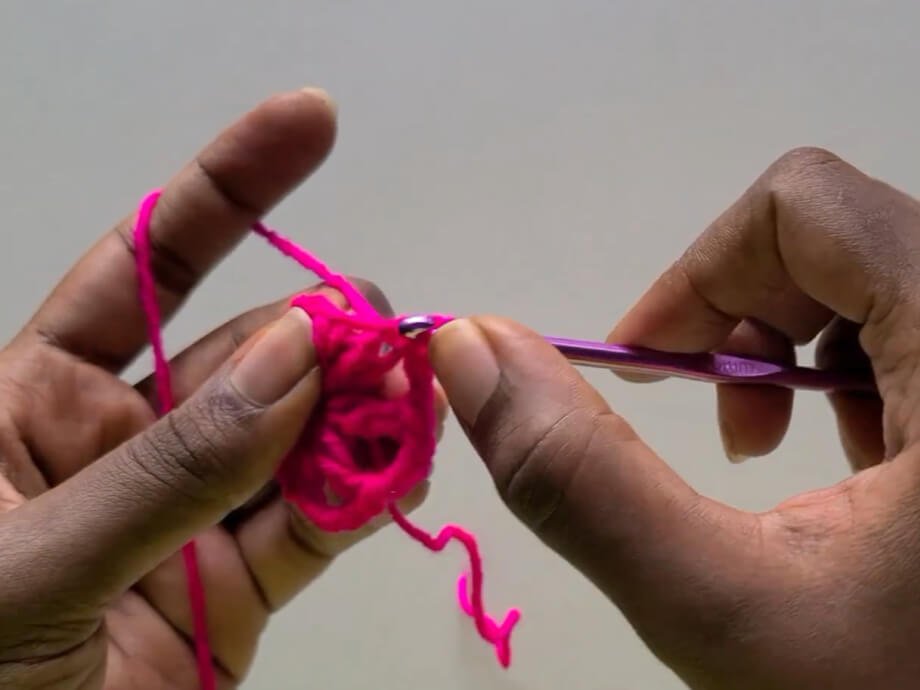
- R1: Create a MR. Ch 2 (does not count as st). Work 10 dc into MR. Ch 3, 1 dc into MR, ch 3, 1 dc into MR, ch 3. Pull tail tight to close ring. Sl st into top of the very first dc (10 dc + 3 ch-3 spaces).
- R2: Ch 1, 1 hdc in same st as sl st. Work 1 hdc in each of next 4 sts. Work (1 hdc, 1 dc) into next st. Work 1 hdc in each of next 5 sts (11 hdc + 1 dc = 12 sts on top forehead).
- First Eye Socket: Work 5 sc directly into the first ch-3 space.
- Jawline: Sl st into second ch-3 space, ch 2, work 3 dc into same space, ch 2, sl st into same space.
- Second Eye Socket: Work 5 sc into third ch-3 space.
- Finish: Sl st into top of first hdc of R2. Fasten off and weave in ends.
Part 2: Squaring the Skull (Boundary Conversion)
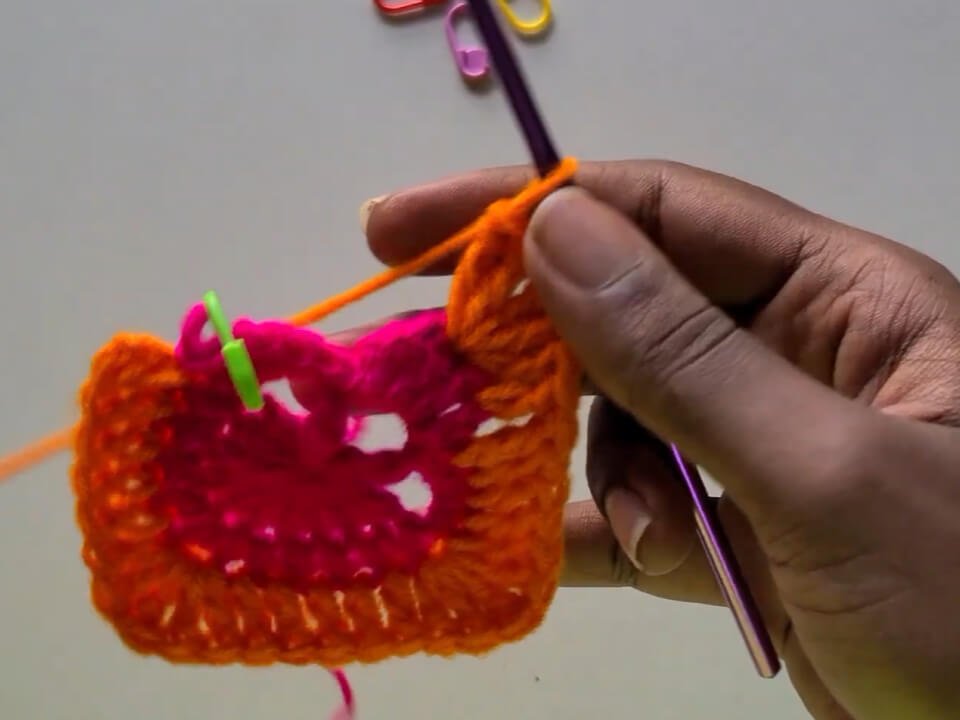
Mark your 4 Corner Stitch Locations with Stitch Markers:
- Marker 1 (Bottom): Center dc of the 3-dc jawline.
- Marker 2 (Top Right): Topmost sc of the right eye socket (5th sc).
- Marker 3 (Top Left): Topmost sc of the left eye socket (1st sc).
- Marker 4 (Top Center): 6th hdc among the 11 hdc on top of the head.
Attach Boundary Color (Black or Orange) at the same st where R2 ended:
- R1 (Corner Round): Ch 2 (does not count as st), 1 dc in same st, 1 dc in each of next 4 sts.
- Corner 1: In marked st, work (2 dc, 1 tr, 2 dc). Remove marker.
- Work 1 dc in each of next 5 sts.
- Corner 2: In marked st, work (2 dc, 1 tr, 2 dc). Remove marker.
- Work 1 dc in each of next 3 sts, 1 tr in next st. Skip ch-2 of jaw, 1 dc into first dc of jaw.
- Corner 3 (Bottom Jaw): In marked st, work (2 dc, 1 tr, 2 dc). Remove marker.
- Work 1 dc into next dc of jaw. Skip ch-2 of jaw, 1 tr into first sc of eye socket space, 1 dc in each of next 3 sts.
- Corner 4: In marked st, work (2 dc, 1 tr, 2 dc). Remove marker.
- Sl st into first dc to join.
- R2 (Expansion Round 1): Ch 2, TURN work to face opposite direction. Work 1 dc into each st along side until reaching corner tr st. Into corner tr st, work (2 dc, 1 tr, 2 dc). Repeat 1 dc in each st along each side and (2 dc, 1 tr, 2 dc) in each corner tr st around. Sl st into first dc to join.
- R3 (Expansion Round 2): Ch 2, TURN work back to right side. Work 1 dc into each st along side and (2 dc, 1 tr, 2 dc) into each corner tr st around. Sl st to first dc. Fasten off leaving a tail.
Make a total of 13 completed Skull Granny Squares.
Part 3: Bag Body Assembly & Layout
Layout Mapping:
- Arrange 13 squares diagonally (diamond position) with all skulls facing right side up.
- Front Panel: 3 full central squares + 2 side-folding half squares.
- Base Panel: 1 bottom square folding across the bag bottom.
- Back Panel: 5 corresponding squares joined symmetrically.
Seaming Instructions:
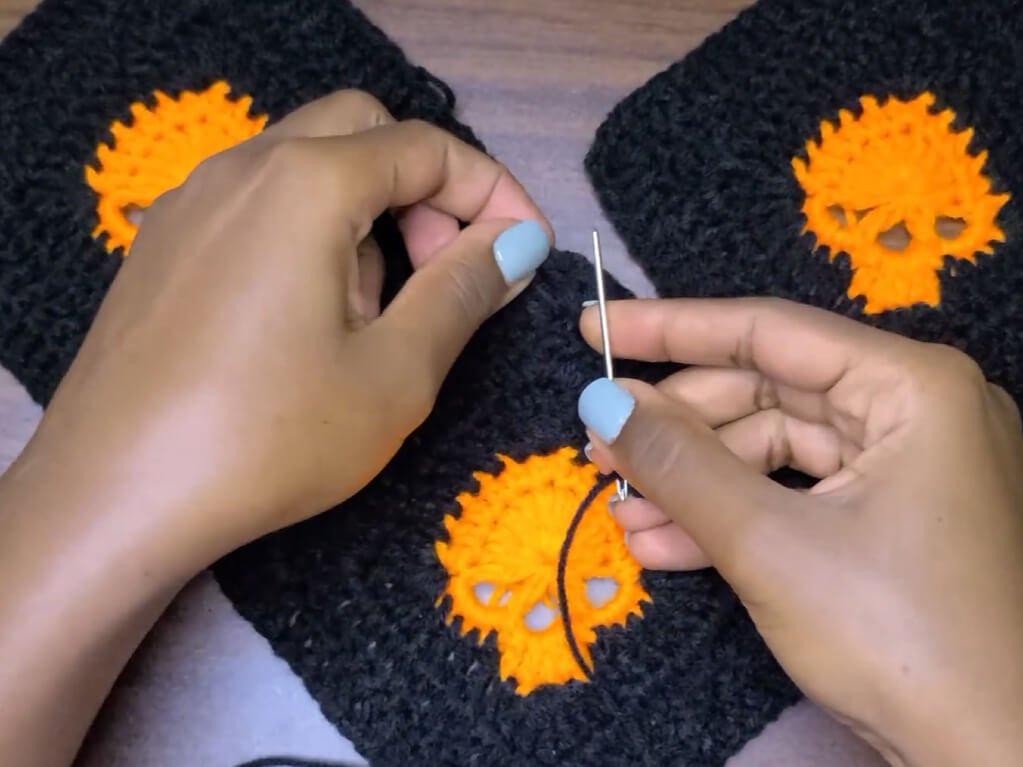
- Thread yarn needle with boundary color yarn.
- Align two squares right sides together, matching stitch for stitch starting at the corner tr stitch.
- Whip stitch or mattress stitch through outer loops only from corner tr to opposite corner tr. Double stitch at corner tr points for extra strength.
- Join front 5 squares, attach base square, fold sides, and attach 5 back squares to form a seamless 3D bag body. Leave top diagonal edges open.
Part 4: Edging & Shoulder Straps
Attach boundary yarn at top right corner tr stitch of one upper square edge:
- Outer Edge & Strap Round 1:
- Work 1 sc in each st along diagonal edge up to the peak corner tr st.
- Ch 60 (or desired strap length).
- Being careful not to twist chain, bridge across opening and work 1 sc into peak corner tr st of adjacent upper square.
- Work 1 sc in each st down side to valley center. Work 1 sc in valley tr, then 1 sc into tr of next square.
- Work 1 sc in each st up to next peak corner tr st.
- Ch 60 for second shoulder strap. Bridge across to opposite peak tr st and sc down remaining side. Sl st to start.
- Outer Edge & Strap Round 2:
- Ch 1, work 1 sc in each st along bag edge.
- Work 1 sc into each of the 60 strap chains.
- Work 1 sc in each st around perimeter and across second strap chains. Sl st to start.
- Inner Opening Reinforcement (Repeat for both handle openings):
- Attach yarn at inner valley junction of bag opening.
- Work 1 sc in each st up inner side of square, 1 sc in each unused loop along underside of strap chain, and 1 sc in each st down opposite inner edge.
- Sl st to join, ch 1, fasten off and weave in all yarn tails securely.
Detailed Pattern Breakdown
1. Skull Center Structure & Eye/Jaw Contouring:
- Round 1 (Foundation Ring): Begins with 10 double crochets into a magic ring separated by three distinct
ch 3arches. These chain arches serve as negative space anchors for the facial features. - Round 2 (Facial Geometry): Uses half double crochets along top edge to create a flat, widened forehead structure. Eye sockets are constructed by filling the lateral
ch 3arches with 5 dense single crochets each, forcing the edge to curve inward. The mouth and jawline are extruded downward from the central bottomch 3arch using a stepped stitch sequence (sl st,ch 2,3 dc,ch 2,sl st), producing a protruding 3D chin.
2. Geometry Transformation (Circle to Square):
- Stitch Height Compensation: The perimeter of a skull is highly irregular. To flatten the sides into straight square edges, variable stitch heights are employed across Round 1 of the boundary color.
- Corner Placement: Four precise anchor points (chin, forehead center, and outer eye sockets) receive a heavy corner shell consisting of
(2 dc, 1 tr, 2 dc)in a single stitch. The higher triple crochet (tr) reaches outward to form sharp 90-degree corners. - Valley Filling: Triple crochets (
tr) are deliberately placed in deep valleys adjacent to the jawline to match the elevation of neighboring double crochets, creating perfectly straight outer edges.
3. Structural Reversibility & Assembly Logic:
- Directional Turning (R2 & R3): Turning the work after each boundary round counteracts the natural bias/slant of spiraled stitches. This keeps the granny square perfectly square and symmetrical while ensuring the final round finishes on the right side of the fabric.
- 3D Origami Construction: Joining 13 diamond-oriented squares allows the flat motifs to wrap seamlessly around the sides and bottom. The single bottom square acts as a gusset, creating interior volume without requiring separate side panel strips.
- Integrated Strap Reinforcement: Straps are anchored directly into the high-stress peak corner stitches. Working both outer and inner single crochet passes across the chain foundation doubles the strap width, preventing stretch and reinforcing load-bearing points.
Pattern Questions & Answers
Question 1: Why are my skull granny squares curling or bowing inward instead of laying flat?
Answer: Curling usually happens if your tension is too tight around the corner stitches or if a stitch was missed during the boundary transformation round. Double check that every corner contains the full (2 dc, 1 tr, 2 dc) sequence into the exact marked stitch. If tension is the issue, try switching to a 5.0 mm hook for the boundary color rounds, or steam block your completed squares before seaming them together.
Question 2: Can I adjust the length of the shoulder straps to make this a crossbody bag?
Answer: Absolutely! To convert this tote into a crossbody bag, simply increase the initial chain count for each strap in Part 4 from 60 chains to 100-120 chains (depending on your height and preferred hang). Make sure both straps receive the exact same chain count and add an extra round of single crochet around the straps for added durability.
Question 3: Do I have to use black and orange yarn for this pattern?
Answer: Not at all! While black and orange or hot pink offer a bold contrast that makes the skull pop, this pattern looks fantastic in any high-contrast color scheme. Try pastel goth combinations like lavender and cream, eerie tones like lime green and deep purple, or a chic monochrome look using cream and dark gray. Just make sure your two colors have enough visual contrast so the detailed skull motif remains clearly defined.