
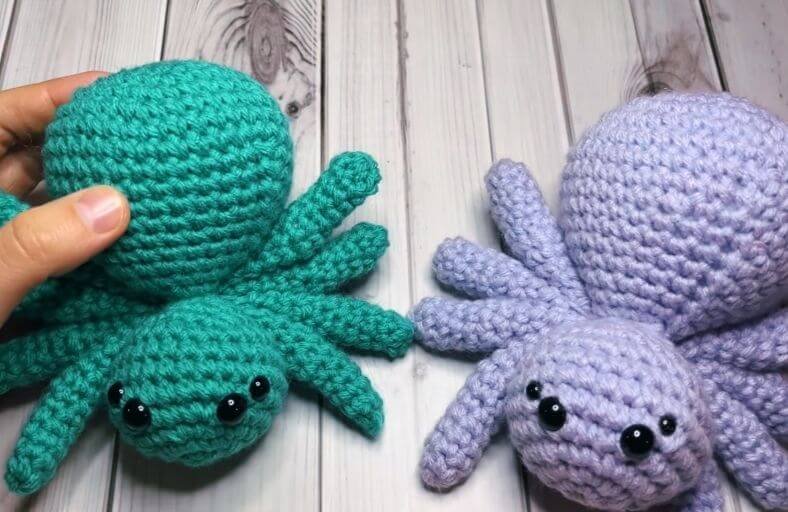
Ever wondered how to make spiders look absolutely adorable instead of terrifying?
Whether you are gearing up for Halloween decorating or simply making a charming plushie companion for a creepy-crawly enthusiast, this low-sew crochet spider amigurumi is here to steal your heart!
This project features cute mismatched safety eyes, a perfectly proportioned round body, and clever low-sew legs that assemble seamlessly.
Materials and Preparation
Materials:
- Yarn: Worsted weight yarn (Category 4) in your color of choice (teal, purple, classic black, or spooktacular orange).
- Safety Eyes: 2 pairs of safety eyes in two different sizes (for example, 12 mm for the front pair and 10 mm for the accent pair; sizes between 8 mm and 16 mm work wonderfully).
- Stuffing: Premium polyester fiberfill (polyfill).
Tools:
- Crochet Hook: 5.0 mm (H-8 US) crochet hook.
- Yarn Needle: Tapestry/yarn needle for sewing parts together and weaving in ends.
- Stitch Marker: To keep track of continuous rounds.
- Scissors: Sharp scissors for trimming yarn tails.
Preparation Notes:
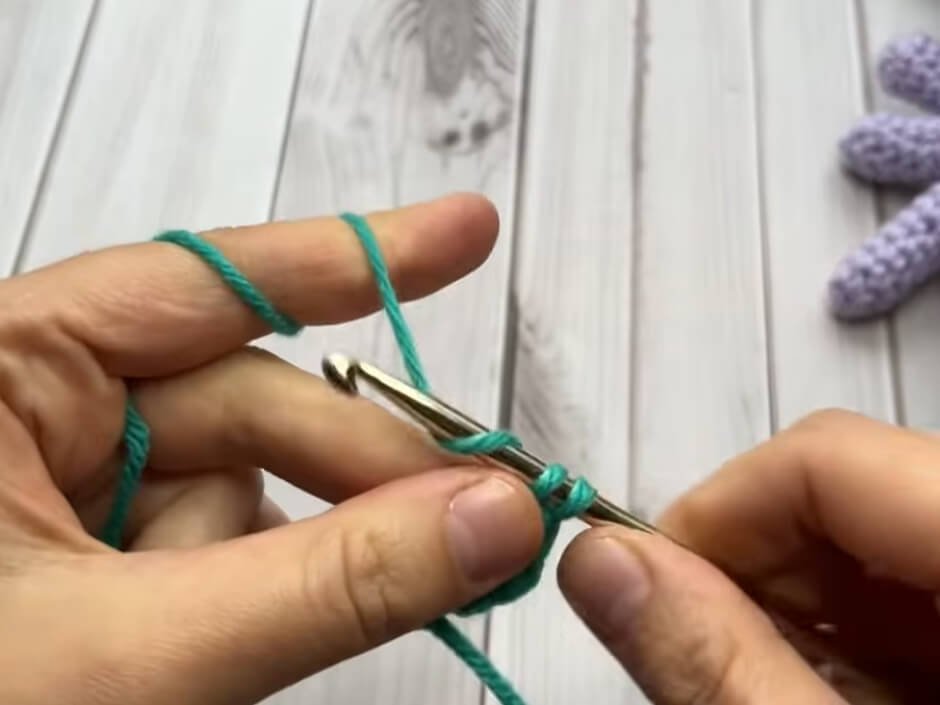
- You should be familiar with basic amigurumi stitches including the magic ring, single crochet, increases, and invisible decreases.
- Keep your tension firm throughout to ensure the polyfill stuffing does not show through the stitches.
Abbreviations and Notes
Abbreviations:
- MR: Magic Ring (or Magic Circle)
- ch: Chain stitch
- sc: Single crochet
- inc: Single crochet increase (2 sc in the same stitch)
- dec: Single crochet decrease (sc2tog)
- sl st: Slip stitch
- st(s): Stitch(es)
- rnd(s): Round(s)
Pattern Notes:
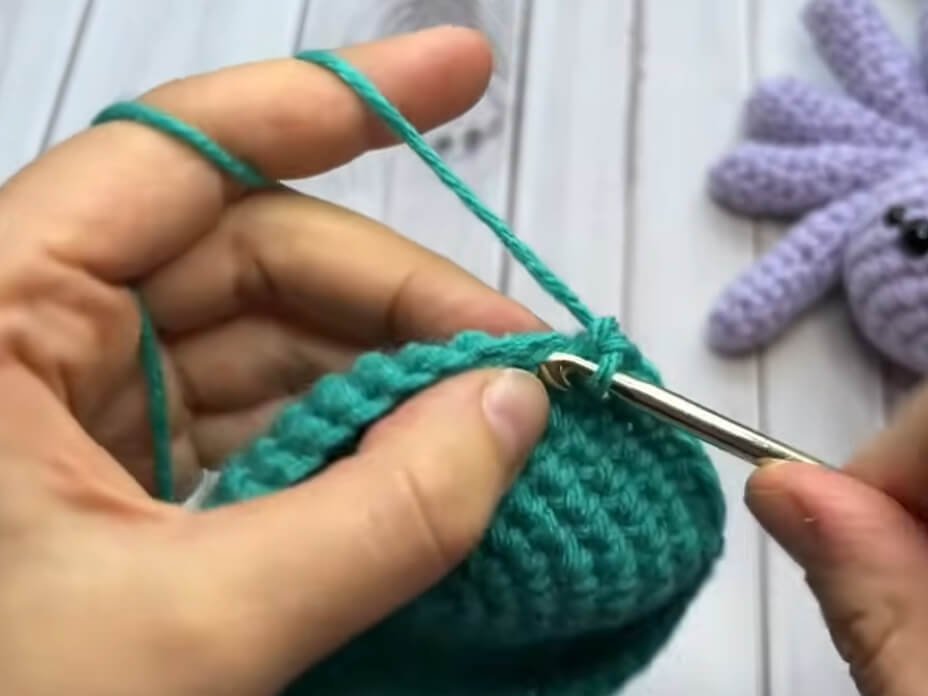
- The head, body, and legs are worked in continuous spiral rounds without joining at the end of each round unless specified.
- To avoid fiddly individual leg attachments, four legs are sewn together at the top first and then attached as a single unit to each side of the body.
- Designed by Kimberly from The Caffeinated Snail.
Gauge, Approximate Size, and Pattern Notes
Gauge:
Gauge is not critical for this project. Maintain a tight stitch tension so that the stuffing remains securely inside.
Finished Size:
Approximately 5–6 inches (12.7–15.2 cm) long when made with worsted weight yarn and a 5.0 mm hook.
Special Techniques:
- Low-Sew Leg Assembly: Pre-joining four leg pieces into a unified strip before securing them directly into the seam between the head and body.
- Shaped Leg Curve: An clever sequence of an increase followed immediately by a decrease to create a natural, bent “knuckle” effect on each spider leg.
Step-by-Step Pattern
Part 1: Head
Worked from front to back in continuous rounds using main yarn color:
- Rnd 1: MR 6 sc (6)
- Rnd 2: 6 inc (12)
- Rnd 3: (inc, sc)*6 (18)
- Rnd 4: (inc, 2 sc)*6 (24)
- Rnd 5: (inc, 3 sc)*6 (30)
- Rnd 6–8: 30 sc (30) (3 rounds total)
- Eye Insertion Note: Insert the larger safety eyes (e.g., 12 mm) between Rnds 4 and 5, about 3 stitches apart. Place the smaller safety eyes (e.g., 10 mm) 1 round higher and 1 stitch wider than the main eyes to create an angled multi-eye effect.
- Rnd 9: (dec, 3 sc)*6 (24)
- Rnd 10: (dec, 2 sc)*6 (18)
- Rnd 11: (dec, sc)*6 (12)
- Stuff the head firmly with polyfill at this stage.
- Rnd 12: 6 dec (6) Fasten off, weave the tail through the front loops of the remaining 6 stitches, pull tight to close, and weave in the end.
Part 2: Body
Worked in continuous rounds starting from the back base:
- Rnd 1: MR 6 sc (6)
- Rnd 2: 6 inc (12)
- Rnd 3: (inc, sc)*6 (18)
- Rnd 4: (inc, 2 sc)*6 (24)
- Rnd 5: (inc, 3 sc)*6 (30)
- Rnd 6: (inc, 4 sc)*6 (36)
- Rnd 7: (inc, 5 sc)*6 (42)
- Rnd 8–9: 42 sc (42) (2 rounds total)
- Rnd 10: (dec, 12 sc)*3 (39)
- Rnd 11: (dec, 11 sc)*3 (36)
- Rnd 12: (dec, 10 sc)*3 (33)
- Rnd 13: (dec, 9 sc)*3 (30)
- Rnd 14: (dec, 8 sc)*3 (27)
- Rnd 15: (dec, 7 sc)*3 (24)
- Rnd 16: (dec, 6 sc)*3 (21)
- Rnd 17: (dec, 5 sc)*3 (18)
- Rnd 18: (dec, 4 sc)*3 (15)
- Fasten off, leaving a long tail for sewing. Stuff the body firmly with polyfill.
Part 3: Legs
Short Legs (Make 4):
Placed on the inner positions of each side:
- Rnd 1: MR 6 sc (6)
- Rnd 2–5: 6 sc (6) (4 rounds total; turn inside-out after Rnd 3 for easier handling)
- Rnd 6: (inc, 2 sc)*2 (8)
- Rnd 7: (dec, 2 sc)*2 (6)
- Rnd 8–11: 6 sc (6) (4 rounds total)
- Fasten off. Stuff lightly only up to Rnd 7, then pinch the top flat.
Long Legs (Make 4):
Placed on the outer positions (front and back) of each side:
- Rnd 1: MR 6 sc (6)
- Rnd 2–6: 6 sc (6) (5 rounds total)
- Rnd 7: (inc, 2 sc)*2 (8)
- Rnd 8: (dec, 2 sc)*2 (6)
- Rnd 9–13: 6 sc (6) (5 rounds total)
- Fasten off. Stuff lightly only up to Rnd 8, then pinch the top flat.
Part 4: Assembly and Finishing
- Attaching Head to Body: Take the long yarn tail left on the body and sew the open 15-stitch opening of the body directly onto the back of the finished head until fully secure and closed.
- Pre-Assembling Legs:
- Arrange 4 legs in a row (1 Long, 2 Short, 1 Long).
- Thread a yarn needle and pass back and forth through the tops of all four legs to bind them into a single connected leg block. Repeat for the second group of 4 legs.
- Attaching Legs to Body:
- Place one 4-leg unit into the crevice between the head and body on one side.
- Pass the yarn needle through the neck/body area and through each leg repeatedly (at least 4 passes, one per leg) until firmly attached.
- Repeat the process on the opposite side with the second leg block.
- Secure all yarn tails and weave them inside the body.
Detailed Pattern Breakdown
1. Head and Multi-Eye Placement Breakdown:
- Volumetric Construction: The head starts with a standard 6-sc circle expansion (
MR 6 sc→6 inc→30 sc) to create a round dome shape. Maintaining 30 sc across Rnds 6–8 provides the depth required for facial feature placement. - Expression Geometry: Placing two distinct sizes of safety eyes (such as 12 mm and 10 mm) offset by 1 round and 1 stitch creates a character-filled, whimsical spider expression instead of a flat symmetrical layout.
- Spherical Tapering: The rapid decrease sequence (
30 sc→24→18→12→6) neatly seals the back of the head into a rounded form.
2. Tapered Body Geometry Breakdown:
- Gradual Base Expansion: Expands up to 42 stitches at Rnd 7, ensuring the body has a slightly larger, fuller volume than the 30-stitch head for natural proportions.
- 3-Point Triangular Decrease: Unlike traditional 6-point amigurumi decreases, Rnds 10–18 utilize a 3-point reduction strategy (decreasing by 3 stitches per round: 42 → 39 → 36 → … → 15). This forms a subtle, smooth tapered slope resembling an arachnid abdomen, which rounds out nicely once stuffed.
3. Low-Sew Leg Assembly & Curving Technique Breakdown:
- Shaped Knuckle Formation: Rnd 6 (or Rnd 7 on long legs) increases from 6 to 8 sts (
inc, 2 sc), followed immediately by a reduction back from 8 to 6 sts (dec, 2 sc). This localized expanding and contracting section naturally bends the thin tube without requiring internal wire framing. - Low-Sew Modular Join: Grouping four flattened leg tops together and running a single yarn tail through all four pieces unifies them into a sturdy block. Sewing this block into the neck seam significantly reduces assembly time and strengthens the legs against wear and tear.
Pattern Questions
Question 1: Why are my spider legs twisting or sticking up awkwardly after being attached to the body?
Answer: Make sure you only stuff the legs up to the increase/decrease knuckle section, leaving the upper portion unstuffed and pinched flat. When pre-sewing the four legs together, ensure they lay flat in a straight row. When attaching the leg block into the neck crease, pass your needle directly through the center of each individual leg top to anchor it flush against the body.
Question 2: Can I make this spider using thicker blanket or chenille yarn?
Answer: Absolutely! Using bulky or super bulky plush yarn with an appropriately sized hook (such as an 8.0 mm or 10.0 mm hook) yields an extra-large, super squishy spider. The low-sew construction works wonderfully with plush yarn, and larger safety eyes (such as 20 mm and 16 mm) pair perfectly with bulky yarn sizes.
Question 3: How do I secure the magic ring on the thin leg pieces so it does not unravel?
Answer: When starting tiny 6-sc rounds, weave the initial magic ring tail along the inside of your stitches during Rnd 2 for a few stitches. Before flipping the leg right-side out, pull the tail firmly and tie a tiny knot inside the tip of the leg to keep the ring locked tight permanently.