
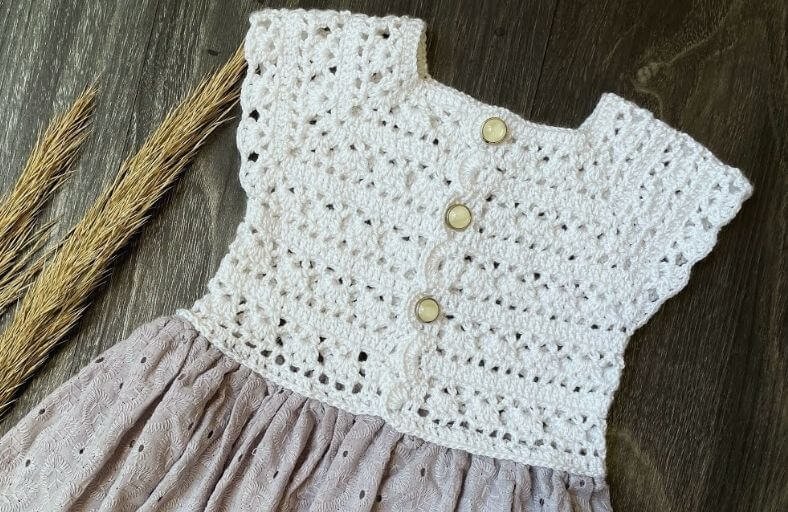
Ever looked at a plain fabric skirt or an unfinished little dress and thought, “This needs a charming, handmade touch”?
A crochet yoke is the ultimate secret weapon for creating sweet heirloom clothing, converting basic fabric into a boutique-worthy dress for a little girl!
Featuring delicate lace stitch patterns, cute button closures, and a scalloped edging, this project is as fun to stitch as it is adorable to wear.
Materials and Preparation
Materials:
- Yarn: Alize Cotton Gold (or fine/sport weight cotton blend yarn) in Cream/White.
- Buttons: 3 to 4 small decorative buttons (approx. 12 mm to 15 mm).
- Fabric Skirt (Optional): Pre-gathered cotton fabric skirt if attaching to complete a full dress.
Tools:
- Crochet Hook: 2.5 mm crochet hook.
- Tapestry Needle: For weaving in yarn ends and sewing on buttons.
- Scissors: For trimming yarn.
- Stitch Markers: To mark corner spaces during increases.
Preparation Notes:
- Maintain a light and even tension so the delicate lace pattern drapes softly against a child’s chest.
- If you wish to scale this pattern up for an older toddler, you can switch to a DK or Worsted weight yarn with a 3.5 mm or 4.0 mm hook.
Abbreviations and Notes
Abbreviations:
- ch: Chain
- sc: Single Crochet
- dc: Double Crochet
- sl st: Slip Stitch
- sk: Skip
- sp: Space
- st / sts: Stitch / Stitches
- V-st (V-stitch): (1 dc, ch 2, 1 dc) in the same stitch/space
- 2-dc cluster: 2 Double Crochet Cluster (Yarn over, insert hook, yarn over, pull through, yarn over, pull through 2 loops; yarn over, insert hook in same space, yarn over, pull through, yarn over, pull through 2 loops; yarn over, pull through all 3 loops on hook)
Pattern Notes:
- The yoke is worked from the neck down in turned rows (back and forth).
- Chain 3 at the start of a row counts as 1 double crochet throughout.
- The button placket is built directly into the ends of each row (3 dc on each edge).
Gauge, Approximate Size, and Pattern Notes
Gauge:
- 24 dc x 12 rows = 4 inches (10 cm) in solid dc stitch using a 2.5 mm hook.
Finished Size:
- Age: 6 Months to 1 Year Old.
- Yoke Width (Chest): Approx. 9.5 inches (24 cm) flat.
- Armhole Depth: Approx. 4.5 inches (11.5 cm).
- Total Yoke Length: Approx. 7.0 inches (17.8 cm).
Special Techniques:
- Raglan Increases: Working corners with (1 dc, ch 1, 1 dc) or (2 dc, ch 2, 2 dc) to expand the front, back, and shoulders symmetrically.
- Underarm Sleeve Joining: Skipping shoulder sections and chaining across underarms to seamlessly separate armholes from the lower body.
Step-by-Step Pattern
Part 1: Raglan Foundation Neckline
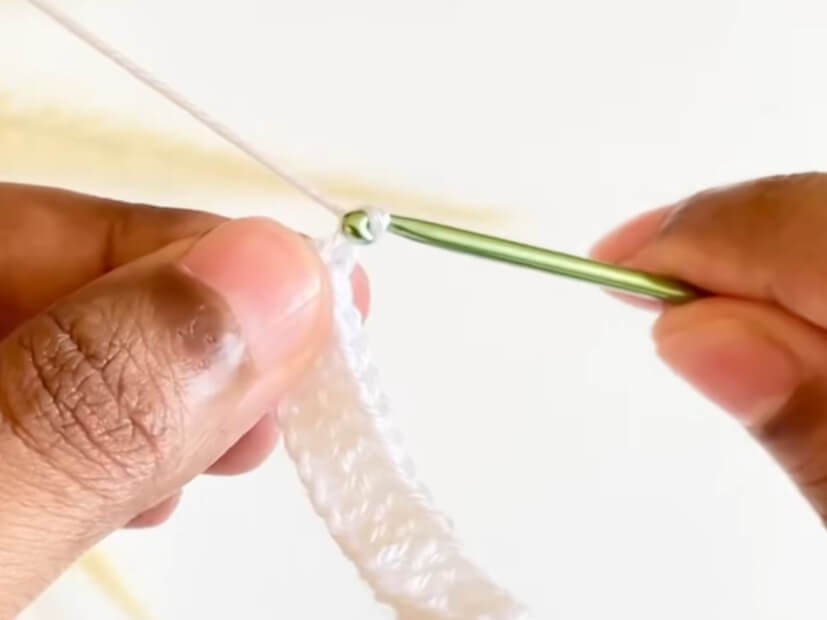
Start by chaining 85 stitches using a 2.5 mm hook.
- Row 1: Dc in 4th ch from hook (counts as 2 dc), dc in next ch, dc in next 13 ch (Total 15 dc for First Back), ch 2, 1 dc in same ch space. Dc in next 17 ch (Total 18 dc for First Sleeve), ch 2, 1 dc in same ch space. Dc in next 23 ch (Total 24 dc for Front), ch 2, 1 dc in same ch space. Dc in next 17 ch (Total 18 dc for Second Sleeve), ch 2, 1 dc in same ch space. Dc in next 14 ch (Total 15 dc for Second Back). Turn. (Total 90 dc + 4 ch-2 corner spaces)
Part 2: Lace Body Pattern
Row 2 (V-Stitch Row):
- Ch 3, dc in next 2 sts (Button placket completed: 3 dc).
- Ch 2, sk 2 sts, V-st (1 dc, ch 2, 1 dc) in next st, ch 2, sk 2 sts, 1 sc in next st. Repeat across the row.
- At each corner ch-2 space: Work a V-st into the corner space.
- Continue pattern across all sections.
- End row with ch 2, sk 2 sts, 1 dc in each of the last 3 sts. Turn.
Row 3 (Cluster Row):
- Ch 3, dc in next 2 sts.
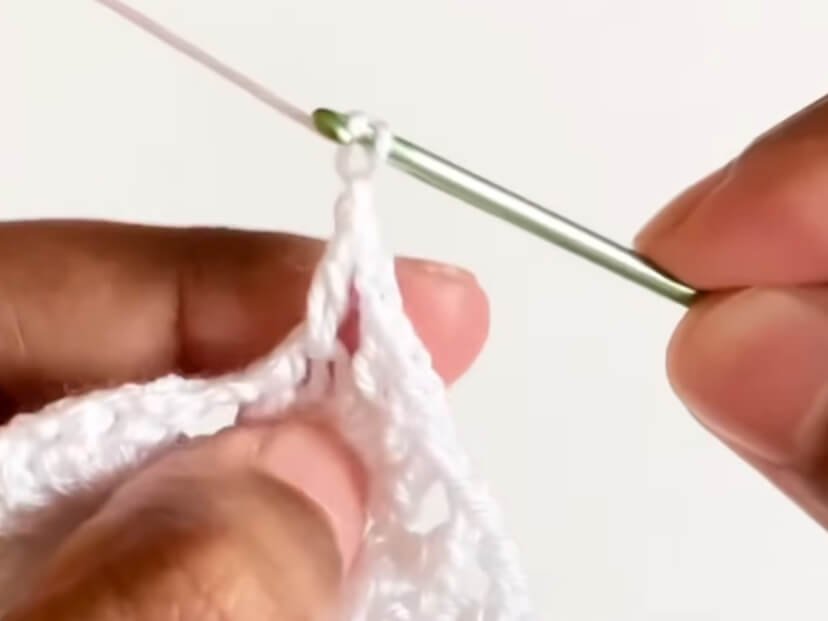
- Ch 2, work 3 Clusters inside the ch-2 space of the V-st (Cluster, ch 2, Cluster, ch 2, Cluster). Repeat across all V-stitches.
- Ch 2 between V-stitch groups. Continue around corners as established.
- End row with ch 2, 1 dc in each of the last 3 sts. Turn.
Row 4 (Mesh Bridge Row):
- Ch 3, dc in next 2 sts.
- Ch 1, 1 dc between first two clusters, ch 1, 1 dc in next ch-space, ch 1, 1 dc between second and third clusters.
- At Raglan Corner Spaces: Work (1 dc, ch 1, 1 dc) into corner space, ch 2, and (1 dc, ch 1, 1 dc) into next corner space.
- Continue across row, ending with ch 1, 1 dc in each of the last 3 sts. Turn.
Row 5 (Solid DC Increase Row):
- Ch 3, dc in next 2 sts.
- Work 1 dc in every st and ch-1 space across.
- At Corner ch-2 Spaces: Work (2 dc, ch 2, 2 dc) in the corner space to expand the raglan.
- End row with 1 dc in each of the last 3 sts. Turn.
Repeat Rows 2 to 5 two more times until sleeve armholes reach 4.5 inches (11.5 cm).
Part 3: Sleeve Joining & Lower Yoke
Row 14 (Sleeve Joining Row):
- Ch 3, dc in next 2 sts.
- Work 1 dc in each st across Back section to the first corner space.
- Work 1 dc into the first corner ch-2 space.
- Join Sleeve: Skip the entire sleeve section, fold corner to corner, and work 1 dc into the second corner ch-2 space.
- Work 1 dc in each st across Front section to the third corner space.
- Work 1 dc into the third corner space.
- Join Sleeve: Skip the second sleeve section and work 1 dc into the fourth corner ch-2 space.
- Work 1 dc in each st across Second Back section to end. Turn.
Rows 15 to 22 (Lower Yoke Expansion):
- Repeat the 4-row pattern repeat (V-stitch row, Cluster row, Mesh Bridge row, Solid DC row) for 2 additional full sets across the combined body.
- Continue until total length from shoulder to lower hem measures 7 inches (17.8 cm).
Part 4: Edging, Assembly & Finishing
Buttonhole & Scallop Placket:
- Do not fasten off. Work down the back placket edge to create button loops and scalloped edging.
- Scallop Edging: Sk 1 st space, work 8 dc in next st space, sl st in next st space. Repeat along the back opening edge.
- Fasten off yarn and weave in all loose ends using a tapestry needle.
- Sew 3 or 4 small decorative buttons along the opposite side of the back placket, aligning them with the gaps between the scalloped loops.
Detailed Pattern Breakdown
1. Neckline Base & Raglan Geometry:
- The base chain of 85 stitches is precisely calculated to divide the yoke into 5 distinct structural sections: 15 sts for the left back placket, 18 sts for the left shoulder, 24 sts for the front chest, 18 sts for the right shoulder, and 15 sts for the right back placket.
- The 4 ch-2 spaces serve as diagonal expansion lines. Adding stitches into these corners on every row creates a natural 3D square-neck shape that fits smoothly over a child’s shoulders without puckering.
2. Lace Texture & Openwork Dynamics:
- The combination of V-stitches (1 dc, ch 2, 1 dc) and 3-Cluster groups creates a vintage floral lattice look.
- The Mesh Bridge row (ch-1, dc) resets the stitch count and stabilizes the lace before applying a solid row of double crochet stitches.
- The 3-dc edges on both sides act as built-in placket borders, ensuring the back closure stays flat and rigid enough to support buttons.
3. Armhole Division & Scallop Hem:
- Joining the sleeves at Row 14 converts a 4-corner open raglan into a single tubular body section while isolating the sleeve loops.
- The final 8-dc scallop shells create a soft finish along the closure edges, doubling as decorative loops to hold buttons securely without needing sewn buttonhole slits.
Pattern Question:
Question: How can I adjust this yoke pattern to fit a larger toddler (2 to 3 years old) without messing up the lace repeat?
Answer: To resize this pattern for a larger child, you can increase the starting chain in multiples of 6 stitches (to keep the V-stitch lace repeat aligned).
Add 2 chains to each sleeve section and 2 chains to both the front and back sections. Alternatively, keep the same stitch counts and use a thicker DK weight yarn with a 3.5 mm crochet hook.
Make sure to add 1 or 2 extra 4-row pattern repeats before joining the sleeves at Row 14 so the armholes are deep enough for comfortable wear.