
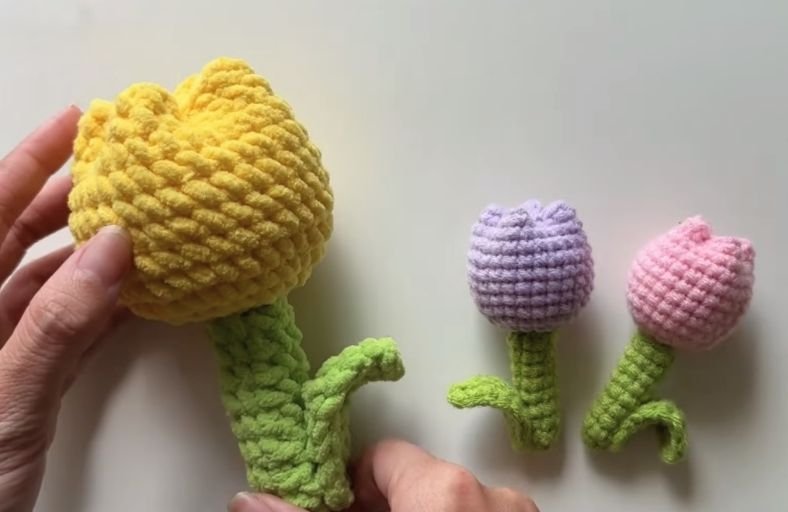
Ever wished you could keep a fresh bouquet of spring flowers on your desk all year long without ever worrying about watering them? These adorable crochet mini tulips are the ultimate solution!
Whether you want to make a dainty keychain version using classic cotton yarn or a squishy plushie using cozy velvet yarn, this versatile pattern is beginner-friendly and utterly charming.
Materials and Preparation
Materials:
- Yarn:
- Milk Cotton Yarn in Light Purple, Pink, or Yellow (for the mini keychain version) OR 4.0 mm Velvet Yarn (for the jumbo plushie version).
- Green Milk Cotton or Velvet Yarn (for the stem and leaf).
- Stuffing: Fiberfill / Polyfill stuffing for shaping the flower head.
- Glue: Hot glue gun and glue sticks (for attaching the stem and leaf).
Tools:
- Crochet Hook: 2.5 mm – 3.0 mm hook for Milk Cotton yarn OR 4.0 mm – 4.5 mm hook for Velvet yarn.
- Yarn Needle: Tapestry needle for shaping the top petals and weaving in ends.
- Stitch Marker: To keep track of rounds.
- Scissors: Basic craft scissors.
Preparation Notes:
- Practice your basic stitches (single crochet, half double crochet, and double crochet) before starting.
- Keep your tension moderately tight when crocheting the tulip head so the fiberfill stuffing does not peek through the stitches.
Abbreviations and Notes
Abbreviations:
- MR: Magic Ring
- ch: Chain
- sc: Single Crochet
- inc: Single Crochet Increase (2 sc in the same stitch)
- hdc: Half Double Crochet
- dc: Double Crochet
- sl st: Slip Stitch
- sk: Skip
- st(s): Stitch(es)
Pattern Notes:
- The Tulip Flower and Stem are worked in continuous rounds. Join each round with a slip stitch (
sl st) and chain 1 (ch 1) as indicated to transition smoothly. - The Leaf is worked on both sides of a foundation chain (oval technique).
- Use hot glue for assembly to secure the stem and leaf quickly and cleanly.
- Original design and pattern credit belongs to Mayy Crochet.
Gauge, Approximate Size, and Pattern Notes
Gauge:
Gauge is not critical for this project. Focus on maintaining consistent tension throughout all pieces.
Finished Size:
- Keychain Version (Milk Cotton): Approx. 3.0–3.5 inches (7.5–9 cm) in height.
- Plushie Version (Velvet Yarn): Approx. 6.0–7.0 inches (15–18 cm) in height.
Special Techniques:
- Tulip Petal Folding/Pinching: After lightly stuffing the tulip head, use a yarn needle to fold the top opening inward in an “X” shape (four-point cross fold) to form four distinct tulip petals.
- Foundation Chain Oval: Crocheting around both sides of a chain to create a symmetrical leaf structure.
Step-by-Step Pattern
Part 1: Tulip Flower Head
Worked in light purple, pink, or yellow yarn:
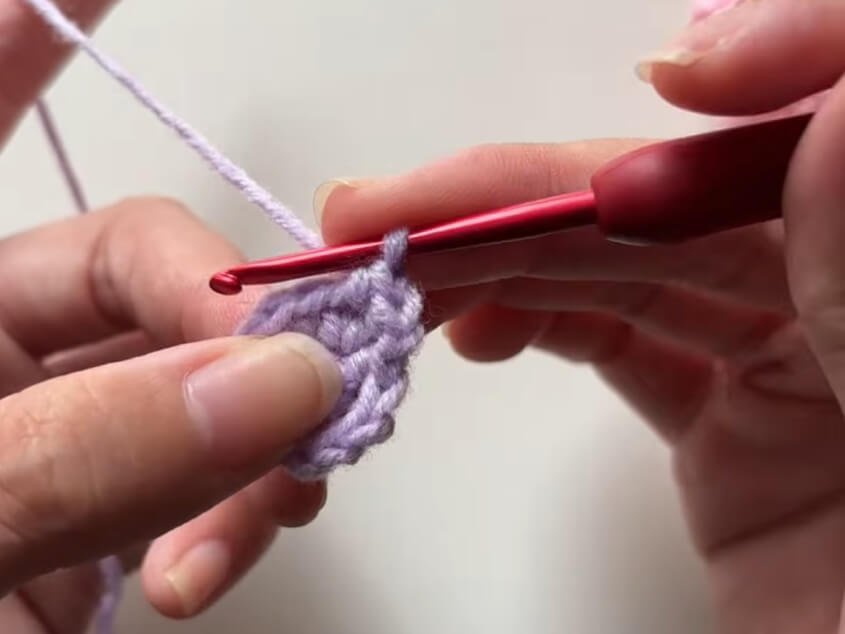
- R1: MR 6 sc, sl st to join (6)
- R2: 6 inc, sl st to join (12)
- R3: (1 sc, inc)*6, sl st to join (18)
- R4: (1 sc, inc, 1 sc)*6, sl st to join (24)
- R5–R12: 24 sc, sl st to join (24) (8 rounds total of 24 sc)Fasten off, leaving a long tail for shaping and sealing the flower head. Lightly stuff with fiberfill.
Part 2: Stem
Worked in green yarn:
- R1: MR 8 sc, sl st to join (8)
- R2–R9: 8 sc, sl st to join (8) (8 rounds total of 8 sc)Fasten off, leave a short tail, and weave in loose ends using a yarn needle.
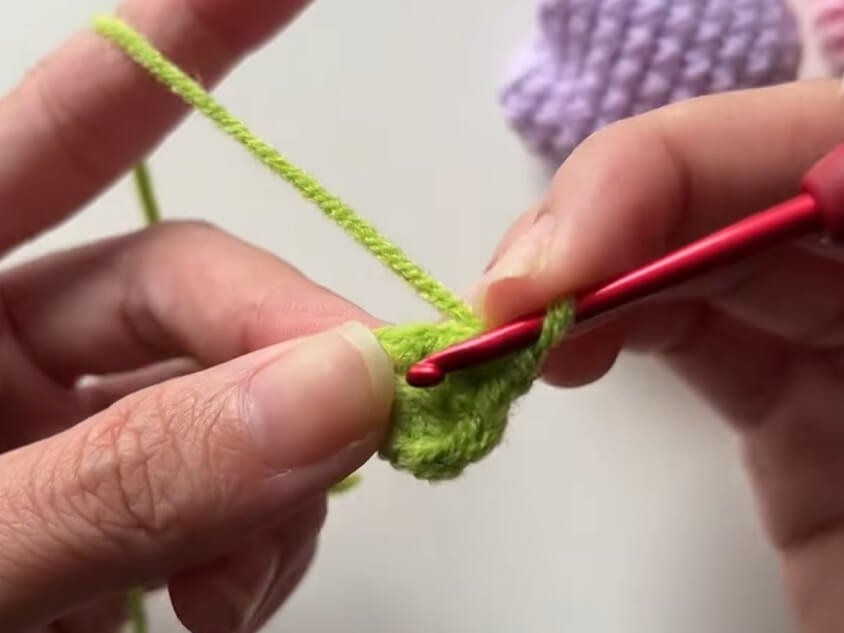
Part 3: Leaf
Worked in green yarn:
- Foundation: Ch 9, sk 1st ch from hook.
- Side 1: 1 sc, 1 hdc, 3 dc, 1 hdc, 1 sc.
- Tip: In the last chain st, crochet (1 sc, ch 1, 1 sc) to turn around to the opposite side of the chain.
- Side 2: 1 sc, 1 hdc, 3 dc, 1 hdc, 1 inc (2 sc in the last st), sl st to join.Fasten off and hide loose ends.
Part 4: Assembly & Finishing
- Shape the Tulip Petals:
- Thread the long yarn tail left on the flower head onto a yarn needle.
- Pass the needle through the middle of opposite inner loops across the top opening to pinch the circle in half.
- Pass the needle through the remaining opposite sides to pinch the opening into a 4-cornered cross fold (X shape).
- Pull tight to form the 3D tulip petals, knot securely, and hide the tail inside the flower.
- Attach the Stem:
- Apply hot glue to the top edge of the green stem tube.
- Press the stem firmly onto the bottom center of the tulip flower head (the MR starting point) and hold until set.
- Attach the Leaf:
- Apply a dab of hot glue to the lower end of the green leaf.
- Wrap and attach it neatly around the lower portion of the stem.
Detailed Pattern Breakdown
1. Flower Head Breakdown:
- R1 – R4 (Spherical Expansion): Starts with a standard 6-sc Magic Ring and expands evenly across 4 rounds up to 24 stitches, creating a flat, sturdy base.
- R5 – R12 (Cylindrical Body): Maintaining 24 sc across 8 straight rounds builds the height of the tulip bulb.
- Four-Point Pinch Technique: Instead of traditional round decreases, the open cylindrical top is pinched and stitched together across opposite sides to transform a simple tube into an iconic 4-petal tulip blossom.
2. Stem Breakdown:
- R1 – R9 (Slender Tube Structure): Simple 8-sc rounds repeated for 9 rounds create a clean, sturdy tube that holds its shape without requiring wire.
3. Leaf Breakdown:
- Centering and Tapering: Working down the foundation chain with ascending stitch heights (
sc→hdc→dc) creates natural tapering from the narrow ends to the wider middle section. - Oval Turn: The
(1 sc, ch 1, 1 sc)cluster at the chain tip allows a smooth transition to the opposite side of the chain, producing a symmetrical leaf outline.
Pattern Question:
Q1: Do I need to insert wire inside the stem to make it stand up?
Answer: For the mini keychain size made with Milk Cotton yarn, the tight 8-sc structure is sturdy enough on its own without wire. For the larger velvet yarn plushie version, you can insert a chenille stem (pipe cleaner) inside the green stem tube before gluing if you want extra rigidity or bendability.
Q2: How do I ensure the top of the tulip looks symmetrical when folding?
Answer: Before sewing, use stitch markers or pins to divide the top round of 24 stitches into 4 equal quarters (6 stitches apart). Pass your needle through these exact quarter marks to ensure all four petal folds are even and balanced.
Q3: Can I attach a keychain ring to this pattern?
Answer: Yes! Simply loop a jump ring through one of the top center pinched stitches of the tulip flower, or crochet a chain loop (ch 12–15) directly from the top center before finishing off.