
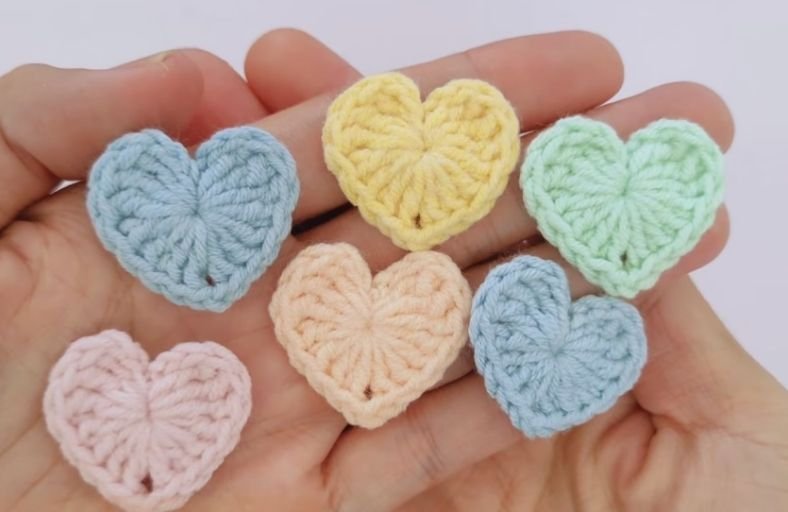
Looking for a quick stash-buster project that brings an instant dose of sweetness to your day?
Whether you need a last-minute Valentine’s Day gift, a cute charm for your headphones, or a pop of color for your greeting cards, this tiny crochet heart is about to become your ultimate go-to pattern!
It takes less than five minutes, works up in just one magical round, and is completely beginner-friendly. Grab your hook and favorite scrap yarn, and let’s craft some love!
Materials and Preparation
Materials:
- Yarn: Any scrap yarn of your choice (cotton, acrylic, or soft milk yarn in red, pink, pastel blue, or yellow).
- Optional Decor: Keychain rings, wooden skewers/sticks (for decorative heart toppers), or greeting card bases.
Tools:
- Crochet Hook: Size matching your yarn weight (a 2.5 mm – 3.5 mm hook works wonderfully for small, crisp hearts).
- Yarn Needle: Tapestry needle for weaving in ends neatly.
- Scissors: Sharp scissors to trim your yarn tail.
Preparation Notes:
- Master the basics of starting with a Magic Ring (
MR) and working multiple tall stitches into a single center loop. - Maintain an even, firm tension so the center hole closes seamlessly when you pull the Magic Ring tail tight.
Abbreviations and Notes
Abbreviations:
- MR: Magic Ring
- ch: Chain stitch
- tr: Treble Crochet (Yarn over twice, insert hook, pull up a loop, [yarn over, pull through 2 loops] 3 times)
- dc: Double Crochet
- sl st: Slip Stitch
Pattern Notes:
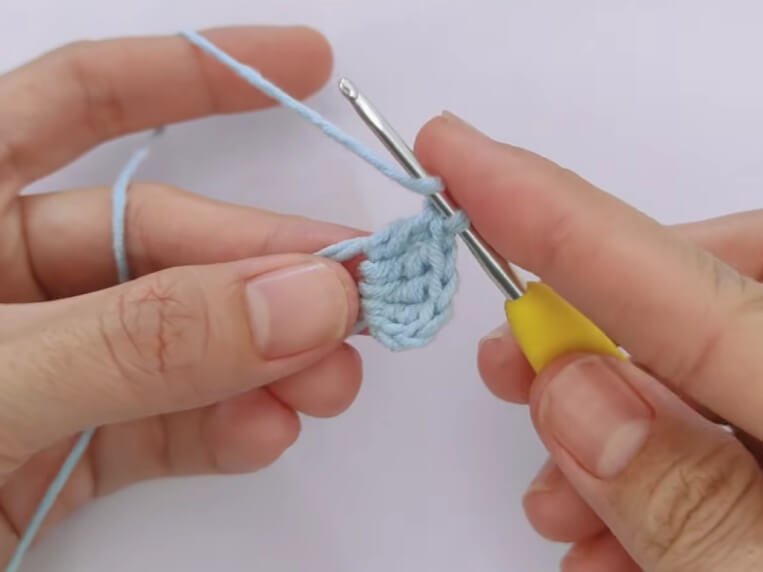
- The entire heart is worked in a single round directly into one Magic Ring.
- The pattern relies on tapering stitch heights (from tall
trstitches down todcandchspaces) to form the lobes and bottom point of the heart automatically.
Gauge, Approximate Size, and Pattern Notes
Gauge:
Gauge is not critical for this motif. Using a smaller hook than recommended on your yarn label will create a firmer, tighter heart.
Finished Size:
Approximately 1 to 1.5 inches (2.5 to 3.8 cm) in width and height, depending on yarn weight and hook size.
Special Techniques:
- Magic Ring Center Closure: Pulling the short yarn tail tightly closes the center hole completely, leaving a clean, solid center.
- Symmetrical Height Contouring: Working ch 3, 3 tr, 4 dc, ch 2, 4 dc, 3 tr, and , ch 3 into the ring creates perfectly symmetrical heart lobes.
Step-by-Step Pattern
Part 1: The Magic Ring Foundation
- Start with your chosen yarn color:
- Foundation: Form a MR (Magic Ring).
- Setup: Ch 3 (counts as turning/height chain for the first lobe).
Part 2: First Heart Lobe & Side
Work all stitches directly into the ring loop:
- Step 1: Work 3 tr (Treble Crochet) into the MR.
- Step 2: Work 4 dc (Double Crochet) into the MR.
Part 3: Heart Point & Second Lobe
Bottom Point:
- Step 3: Ch 2 (creates the sharp bottom tip of the heart).
Second Heart Lobe:
- Step 4: Work 4 dc into the MR.
- Step 5: Work 3 tr into the MR.
- Step 6: Ch 3, then sl st into the center of the MR.
Part 4: Edging, Assembly & Finishing
- Closing the Center: Fasten off leaving a 4-inch tail. Pull the initial MR tail firmly until the center hole completely disappears.
- Finishing: Knot the two tails together at the back of the heart to secure the ring. Use a yarn needle to weave in the remaining ends securely or leave them long to tie onto keychains, cards, or headphone cables.
Detailed Pattern Breakdown
1. Magic Ring & Lobe Height Architecture:
- Starting with
MRandch 3provides the initial lift required for tall stitches. - The 3
trstitches form the highest curve of the left lobe. - Stepping down to 4
dcstitches gradually lowers the height as the motif moves toward the bottom point.
2. Bottom Tip Precision:
- The
ch 2space placed right between the two sets of 4dcstitches acts as an anchor point that forms a crisp, pointy bottom corner.
3. Mirroring & Center Dip:
- The second side mirrors the first: 4
dc, followed by 3trto build up the right lobe. - Finishing with
ch 3and asl stdirectly into the ring pulls the top edge straight down into the center, forming the classic heart dip (Cupid’s bow).
Pattern Question:
Question 1: Why is my heart center showing a visible hole even after pulling the tail? Answer: Ensure you hold the stitches firmly between your fingers while pulling the starting tail of the Magic Ring. Pull with steady pressure until the loop collapses fully. Securing a tight double knot with the working tail at the back will keep it from loosening over time.
Question 2: How can I make these hearts bigger or smaller for different projects? Answer: To adjust size without altering the pattern, simply change your yarn weight and hook size! Use embroidery floss with a 1.5 mm hook for miniature charms, or bulky plush yarn with a 6.0 mm hook for a chunky, soft heart cushion.
Question 3: How do I turn this tiny heart into a flower stem topper or stick decor? Answer: Dip the top end of a wooden skewer or lollipop stick into craft glue and insert it through the bottom point into the central knot at the back of the heart. Let it dry completely for an adorable bouquet accent!