
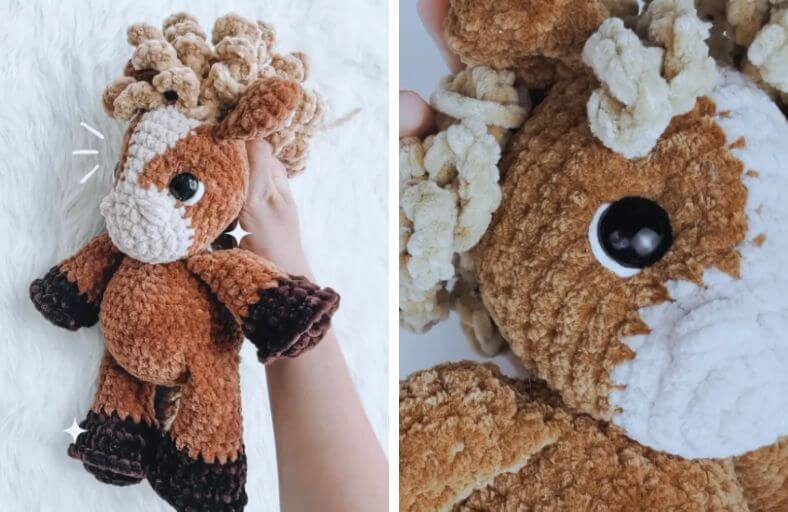
Looking for your next adorable plushie project that will not leave you with endless sewing nightmares? Say hello to this delightfully squishy, curly-maned friend!
This low-sew crochet horse is an absolute joy to craft, featuring seamless limbs crocheted directly into the body and a fabulous curly mane that gives it tons of personality.
Grab your favorite plush yarn and let’s bring this sweet pony to life step by step!
Materials and Preparation
Materials:
- Yarn:
- Velvet or plush yarn in Light Brown / Camel (Main Body & Head color)
- Plush yarn in Cream / Tan / Mushroom (Muzzle & Facial Stripe accent)
- Plush yarn in Dark Brown / Chocolate (Hooves)
- Velvet or plush yarn in Golden Tan / Mustard (Mane & Tail braid)
- Scrap white plush yarn (Eye accent details)
- Stuffing: Premium Polyfill stuffing
- Safety Eyes: 20 mm safety eyes (1 pair)
Tools:
- Crochet Hook: 5.0 mm crochet hook
- Yarn Needle / Embroidery Needle: For facial detailing and sewing on ears/head
- Stitch Marker: Essential for tracking rounds
- Scissors: Sharp craft scissors
Preparation Notes:
- If you are new to Amigurumi, make sure you are comfortable with the Magic Ring (
MR), working in front/back loops (FLO/BLO), color switching mid-round, and invisible decreases (dec). - Keep a firm, consistent tension so the plush yarn stays dense enough to prevent polyfill from showing through.
Abbreviations and Notes
Abbreviations:
- MR: Magic Ring
- ch: Chain stitch
- sc: Single crochet
- inc: Single crochet increase (2 sc in the same stitch)
- dec: Single crochet decrease (sc2tog)
- sl st: Slip stitch
- FLO: Front Loop Only
- BLO: Back Loop Only
Pattern Notes:
- The entire project is worked in continuous spiral rounds (do not join at the end of rounds unless specified).
- Place your stitch marker in the last stitch of each round to track your progress easily.
- The arms and legs are crocheted flat at the top and joined directly into the body during body rounds, making this pattern almost entirely low-sew!
- Original design and pattern credit belongs to Crochet with Kyra.
Gauge, Approximate Size, and Pattern Notes
Gauge:
Gauge is not critical for this plushie, but work tightly enough so stuffing does not peek through the stitches.
Finished Size:
Approximately 12 inches (30.5 cm) tall when made with bulky plush yarn and a 5.0 mm hook.
Special Techniques:
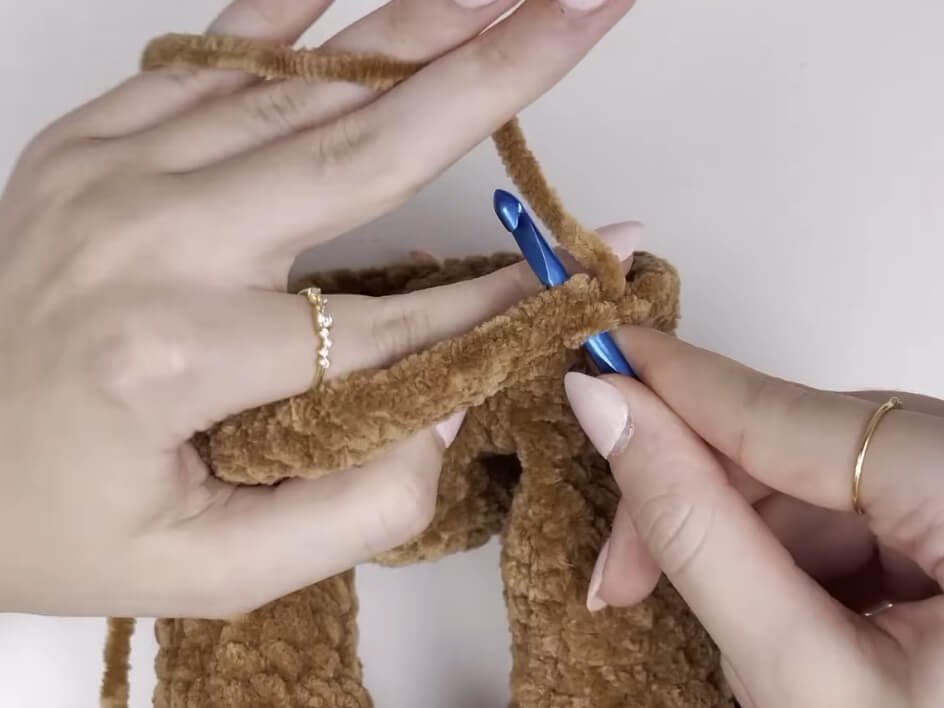
- Low-Sew Assembly: Arms and legs are closed with flat sc stitches and seamlessly crocheted into the body round-by-round.
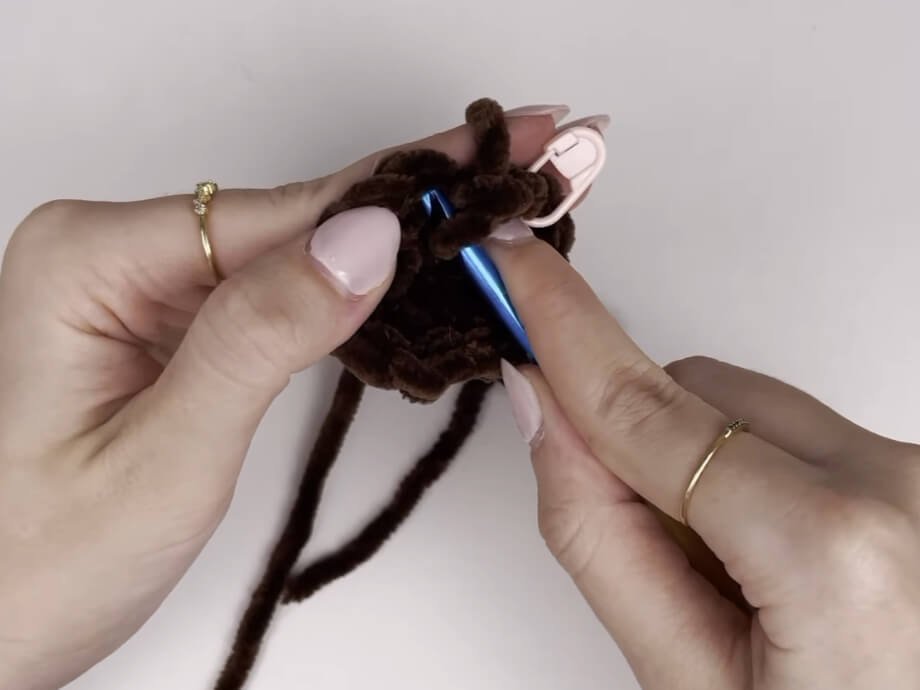
- Ridge Detailing (FLO/BLO): Hooves are formed using FLO in one round followed by BLO in the unworked loops of the previous round to create a crisp 3D hoof rim.
- Curled Mane Strands: Created by working 3 single crochets into every chain stitch to create spiral curls.
Step-by-Step Pattern
Part 1: Arms (Make 2)
Start with Dark Brown (Hoof color):
- R1: MR 6 sc (6)
- R2: 6 inc (12)
- R3: (sc, inc)*6 (18)
- R4: FLO 18 sc (18)
- R5: Work in the unworked BLO from R3: 18 sc (18)
- R6: (4 sc, dec)*3 (15) (Change to Light Brown yarn on the last stitch of R6)
- R7: (3 sc, dec)*3 (12)
- R8–R13: 12 sc (12) (6 rounds total)Stuff the bottom of the arm lightly. Flatten the top opening together.
- Row 14: 5 sc through both sides to seal the arm (5)Fasten off. Do not leave a long tail; arms will be crocheted into the body.
Part 2: Legs (Make 2)
Start with Dark Brown (Hoof color):
- R1: MR 6 sc (6)
- R2: 6 inc (12)
- R3: (sc, inc)*6 (18)
- R4: (2 sc, inc)*6 (24)
- R5: FLO 24 sc (24)
- R6: Work in the unworked BLO from R4: 24 sc (24)
- R7: 24 sc (24)
- R8: 3 dec, 1 sc, 3 dec, 1 sc, 3 dec, 1 sc, 1 dec, 1 sc (14) (Change to Light Brown yarn on the last stitch)
- R9–R15: 14 sc (14) (7 rounds total)
- R16: (2 sc, dec)*3, 2 sc (11)Stuff the leg firmly at the hoof and lighter near the top. Flatten top opening.
- Row 17: 6 sc through both sides to seal (6)Fasten off. No sewing tail needed.
Part 3: Ears (Make 2)
Work with Light Brown yarn:
- R1: MR 6 sc (6)
- R2: (sc, inc)*3 (9)
- R3: (2 sc, inc)*3 (12)
- R4: (3 sc, inc)*3 (15)
- R5: 15 sc (15)
- R6: (3 sc, dec)*3 (12)
- R7: (2 sc, dec)*3 (9)Flatten the opening.
- Row 8: 4 sc through both sides (4)Fasten off, leaving a tail for sewing.
Part 4: Body
Start with Light Brown yarn:
- R1: MR 6 sc (6)
- R2: 6 inc (12)
- R3: (sc, inc)*6 (18)
- R4: (2 sc, inc)*6 (24)
- R5: (3 sc, inc)*6 (30)
- R6: (4 sc, inc)*6 (36)
- R7: (5 sc, inc)*6 (42)
- R8: 7 sc, 6 sc joining the first Leg, 15 sc, 6 sc joining the second Leg, 8 sc (42)
- R9–R12: 42 sc (42) (4 rounds total)
- R13: (5 sc, dec)*6 (36)
- R14: (4 sc, dec)*6 (30)
- R15: (3 sc, dec)*6 (24)
- R16–R17: 24 sc (24) (2 rounds total)
- R18: 5 sc, 5 sc joining the first Arm, 7 sc, 5 sc joining the second Arm, 2 sc (24)Stuff the body firmly.
- R19: 12 dec (12)Fasten off, leaving a long tail for sewing the head.
Part 5: Head
Start with Tan/Cream yarn (Muzzle color):
- R1: MR 6 sc (6)
- R2: 6 inc (12)
- R3: (sc, inc)*6 (18)
- R4: (2 sc, inc)*6 (24)
- R5: 24 sc (24) (Change to Light Brown yarn on the last stitch)
- R6: With Light Brown: 22 sc; with Tan: 2 sc (24)
- R7: With Light Brown: (sc, inc)*3, 10 sc, (inc, sc)*3; with Tan: 2 sc (30)
- R8: With Light Brown: (2 sc, inc)*2, 5 sc, 3 dec, 5 sc, (inc, 2 sc)*2; with Tan: 2 inc (31)
- R9: With Light Brown: (3 sc, inc)*2, 13 sc, (inc, 3 sc)*2; with Tan: 4 sc (35)
- R10: With Light Brown: (5 sc, inc)*5, 3 sc; with Tan: 2 sc, inc, 1 sc (41)
- R11: With Light Brown: 8 sc, (2 sc, dec)*5, 10 sc; with Tan: 5 sc (36)
- R12: With Light Brown: 14 sc, 2 dec, 15 sc; with Tan: 2 sc, dec, 1 sc (33)
- R13–R14: 35 sc with Light Brown yarn only (35) (Fasten off Tan yarn)
- R15: (4 sc, dec)*5, 3 sc, dec (29)
- R16: (3 sc, dec)*5, 2 sc, dec (23)Stuff head gently and insert 20 mm safety eyes between R7 and R8, about 7 stitches apart.
- R17: (2 sc, dec)*5, 1 sc, dec (17)
- R18: (1 sc, dec)*5, dec (11)
- R19: 5 dec, 1 sc (6)Fasten off, weave tail through FLO to pull hole tightly closed.
Part 6: Mane, Tail, and Assembly
1. Facial Detailing & Eye Shaping:
- Thread a needle with Light Brown yarn, enter from bottom inside corner of one eye to the other, tie ends tightly to pull eyes closer together for an adorable expression.
- Thread white plush yarn around the outer/bottom edge of each eye for a bright look.
- Using Tan yarn, wrap stitches 5–6 times near the top of the muzzle to form two raised 3D nostrils.
2. Curly Mane:
- Attach Golden Tan yarn between the ears.
- Strand 1 (Bang): Ch 10, turn, 3 sc in each ch from 2nd ch from hook back to head (27 sc). Sl st to head.
- Strands 2–12 (Back Mane): Repeat down the back of the head, chaining 15–30 for varied length curls.
3. Braided Tail:
- Cut several lengths of Golden Tan yarn, fold in half, attach to lower back, and weave into a thick 3-strand braid. Secure end with a knot.
4. Final Assembly:
- Sew the ears to either side of the head near R12.
- Sew the head onto the top of the body using the long tail left on R19 of the body.
Detailed Pattern Breakdown
1. Low-Sew Limb Integration
- Hoof Structure: The arms and legs start with a circular base. Working in
FLOon one round creates a decorative edge, while immediately picking up the unworkedBLOfrom the prior round builds the vertical wall of the hoof without adding extra seams. - Direct Body Attachment: The tops of the legs and arms are flattened and closed with simple
scstitches across both layers. In Body R8 (legs) and R18 (arms), these stitches are worked directly alongside the body stitches, securing the limbs completely seamless as you crochet.
2. Facial Contour & Stripe Color Work
- Muzzle & Stripe Transition: The head begins in Tan to form the soft nose. Color changes in R6–R12 strategically carry 2 to 5 stitches of Tan up the front center of the face, forming a continuous blaze/stripe up to the forehead while the main body color frames the eyes and cheeks.
- Cheek & Eye Socket Shaping: Increases in R7 and R9 expand the cheek areas, while central decreases in R8 form a subtle slope for the eye placement.
3. Curly Hair Mechanics
- 3-in-1 Spiral Logic: Working 3
scinto every single chain link creates localized tension, causing the crocheted chain to automatically curl into a bouncy ringlet.
Pattern Question:
Question: How do I ensure the arms and legs are aligned straight when crocheting them directly into the body?
Answer: Because crochet stitches naturally tilt slightly in continuous spiral rounds, your stitch marker position may vary based on yarn thickness or personal gauge. Before completing Body R8 (for legs) or Body R18 (for arms), fold your body piece flat and check the placement visually. If the limbs sit too far forward or backward, simply add or subtract 1–2 single crochets before picking up the limb to ensure perfect symmetry on both sides!