
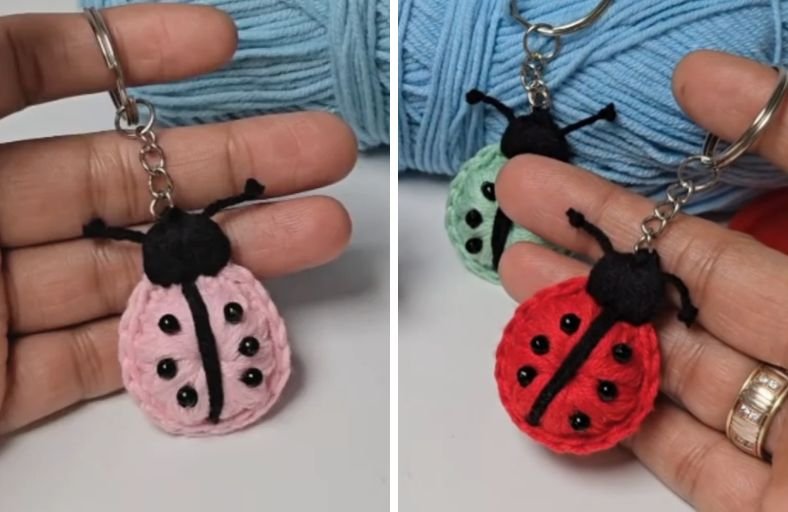
Ever wondered how to transform a few scraps of yarn into the most charming accessory on your bag?
This sweet and simple crochet ladybug keychain is here to add a delightful pop of color to your keys, backpack, or purse.
Crafted by making two flat textured circles with rich puff stitches and joining them together into a puffed motif, this project comes together surprisingly fast.
Complete with black bead spots and tiny knotted antennas, this charming ladybug is perfect for handmade gifts or craft fair bestsellers.
Materials and Preparation
Materials:
- Yarn: 5-ply medium-weight yarn (50% cotton, 50% acrylic blend) in Red (or your favorite ladybug color such as Green or Blue) and Black.
- Beads: 6 to 8 small black beads for the spots.
- Keychain Hardware: 1 keychain ring/clip with chain attachment.
- Sewing Thread: Black thread to sew on the beads (or use fine black yarn/embroidery floss).
Tools:
- Crochet Hook: 2.5 mm (US Size B-1) hook.
- Yarn Needle: Tapestry/yarn needle for joining and weaving in ends.
- Scissors: Craft scissors.
Preparation Notes:
- Master the basics of creating a magic ring, pulling up loops for puff stitches, working in front/back loops, and making neat knots.
- Maintain an even gauge so the textured puff stitches remain plump and uniform across both circular pieces.
Abbreviations and Notes
Abbreviations:
- MR: Magic Ring
- ch: Chain stitch
- sl st: Slip stitch
- sc: Single crochet
- Puff Stitch (5-loop puff): Pull up 5 loops from the center ring, yarn over, and pull through all loops on hook to close.
- FLO: Front Loop Only
- BLO: Back Loop Only
Pattern Notes:
- The body consists of two identical circular motifs worked with puff stitches in the round.
- The two pieces are aligned wrong sides together (“crochet sandwich”) and joined along the outer edge using single crochet stitches (hooking through the FLO of the front piece and BLO of the back piece).
- The head and antenna details are worked with double-stranded black yarn for a bold, clean finish.
- Original design and pattern credit belongs to Crochet Craftsman.
Gauge, Approximate Size, and Pattern Notes
Gauge:
Gauge is not critical for this project. Keep your stitches firm and uniform so the circles lay flat and match in size when joined.
Finished Size:
Approximately 2.0 inches (5.0 cm) in diameter, excluding the keychain clip and antennas.
Special Techniques:
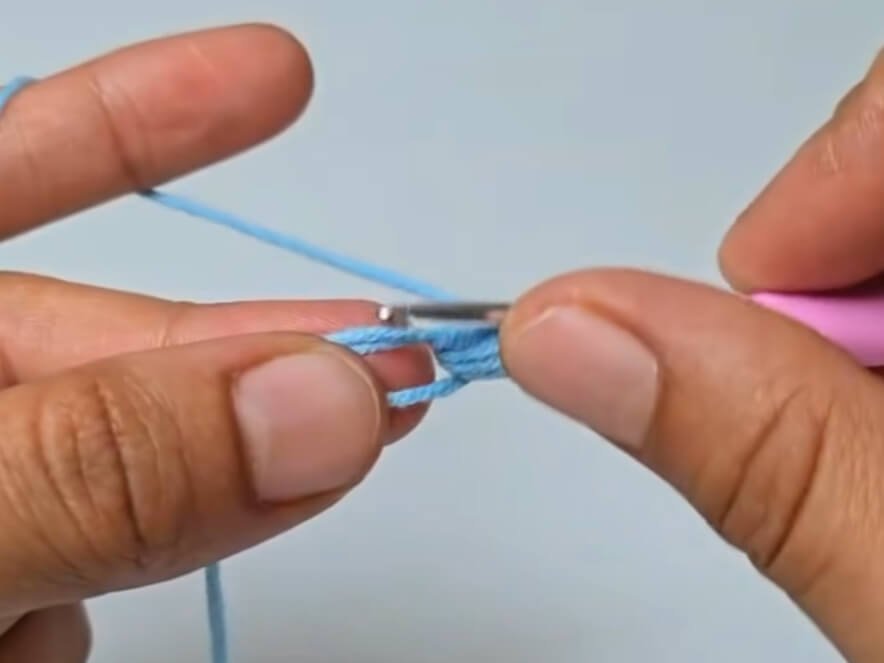
- 5-Loop Puff Stitch: Insert hook into the magic ring, yarn over, and pull up a loop to the height of a half double crochet. Repeat until you have 5 loops on the hook, yarn over, and pull through all 5 loops.
- Invisible Join: Cut the yarn tail, pull it through the last stitch, and thread it under both loops of the first stitch of the round and back through the center of the last stitch to create an invisible seamless edge.
- Layered Front Loop / Back Loop Joining: Join two motifs seamlessly by inserting the hook into the front loop of the facing motif and the back loop of the rear motif.
Step-by-Step Pattern
Part 1: Circular Body Motifs (Make 2)
Make 1 in Red (or custom color) and cut yarn. Make 1 more in Red, but DO NOT cut yarn on the second piece.
- R1: In a Magic Ring, [work 1 Puff Stitch (5 loops), ch 1] 10 times into the ring. Sl st to the top of the first Puff Stitch to join. (10 puff stitches, 10 ch-1 spaces)
For the first piece: Cut yarn, pull ring tail tight, and weave in ends.
For the second piece: Pull ring tail tight, leave the working yarn attached to continue.
Part 2: Body Assembly & Edging
Place the two circles wrong sides facing each other like a sandwich, with the second piece facing you at the back.
- R1: Insert hook through the FLO of the front piece and the BLO of the back piece. Ch 1, then work sc into each stitch around to join both pieces together securely. Sl st to the first sc to close. Fasten off using an invisible join and weave in the end.
Part 3: Head, Divider Line, and Antennas
Head:
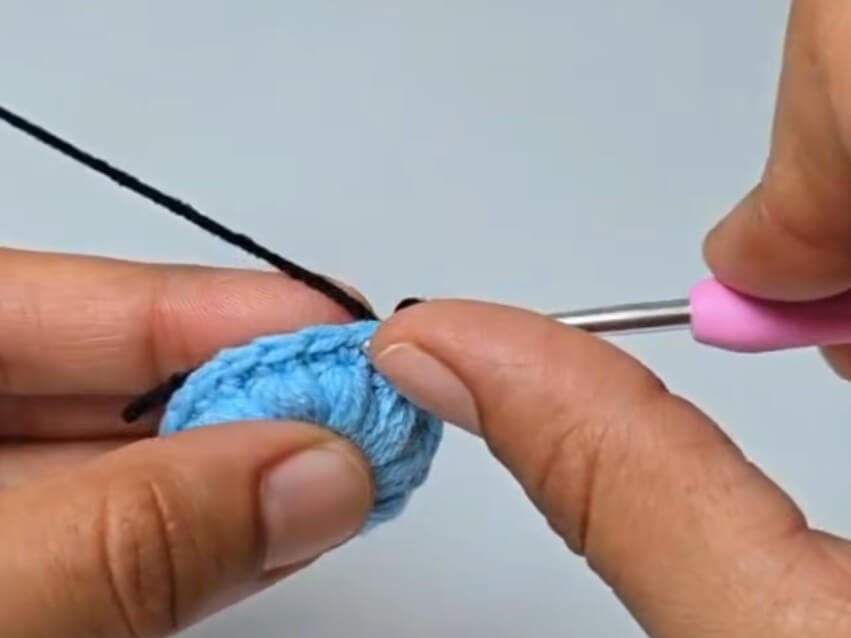
Attach Black yarn to the top edge over 3 single crochet stitches:
- Step 1: Reattach Black yarn to the top of any sc on the edge, ch 1.
- Step 2: Pull up 4 loops from the same stitch, 4 loops from the next stitch, and 4 loops from the third stitch (12 loops total on hook).
- Step 3: Yarn over and pull through all 12 loops on hook to close the cluster. Ch 1 to lock in place.
- Step 4: Fasten off, leaving a long tail for securing the keychain clip.
Divider Line & Antennas:
- Step 1: Take a length of Black yarn and fold it in half to double the thickness.
- Step 2: Thread the doubled yarn vertically through the center of the top three puff stitches, extending a straight line across both the front and back of the body.
- Step 3: Bring the needle down through one of the bottom edge single crochet stitches to lock the line in place. Anchor at the back center and tie a secure knot.
- Step 4: Bring the remaining yarn tails out through both upper corners of the head cluster to form the antennas. Adjust to desired length, tie a small knot on each end, and trim the excess yarn.
Part 4: Assembly & Finishing
- Attaching Hardware: Secure the keychain clip to the top center of the black head cluster using the yarn tail from the head piece. Knot tightly and weave the end inside the body.
- Adding Spots: Thread a needle with fine black thread/yarn, slide on small black beads, and sew 3 to 4 beads onto each wing half (6 to 8 beads total). Knot securely on the interior layers and hide all remaining thread tails inside the puff stitches.
Detailed Pattern Breakdown
1. Flower-like Textured Body Base:
- The base of each ladybug wing uses 10 puff stitches worked directly into a Magic Ring with ch-1 spaces between them.
- Using 5 loops per puff stitch provides a plush, 3D textured cushion that mimics a plump beetle shell without needing polyfill stuffing.
2. Sandwich Join Technique:
- Instead of traditional seam sewing, the front and back body discs are locked together with a single crochet border.
- Mating the Front Loop Only (FLO) of the front motif to the Back Loop Only (BLO) of the back motif preserves a clean outer ridge while securely closing the motif edge.
3. Integrated Head & Center Details:
- The head is formed by working a multi-stitch cluster across three edge stitches simultaneously, creating a compact domed cap at the top.
- Doubling up the black yarn for the center division line gives a bold, defined contrast that splits the shell into two realistic wings.
Pattern Questions
Question 1: Why are my puff stitches coming out uneven or flat?
Answer: When pulling up loops for the 5-loop puff stitch, make sure to lift each loop up to the height of a half double crochet before pulling up the next loop. Keeping consistent tension while holding the loops on your hook ensures all 10 puff stitches look plump and uniform.
Question 2: Do I need to stuff the ladybug body with polyfill?
Answer: No stuffing is needed! The dual layer of 5-loop puff stitches naturally creates a soft, raised 3D volume once the two circular motifs are joined back-to-back.
Question 3: Can I use safety eyes or embroider the spots instead of using beads?
Answer: Absolutely! If you are making this keychain for young children, embroidering French knots with black yarn or stitching flat felt circles onto the wings is a fantastic, child-safe alternative to glass or plastic beads.