

Ever caught yourself blindly reaching around the passenger seat during a sneezefest, only to pull out a crushed, sad tissue box from under the seat?
Say goodbye to road-trip chaos and give your car interior an instant handmade upgrade with this vibrant, wave-textured Car Tissue Pouch!
Designed to hang neatly right on your car headrest, this project turns a daily necessity into a charming automotive accessory adorned with cheerful ripple waves and playful tassels.
Materials and Preparation
Materials:
- Yarn: Medium weight worsted yarn (100% Cotton or Acrylic recommended for durability) in three contrasting colors:
- Light Blue / Sky Blue (Top band, accent wave, and tassel accent)
- Dark Navy Blue (Main body wave pattern)
- Bright Yellow (Lower body wave pattern)
- Stuffing: None required (pouch design).
Tools:
- Crochet Hook: 3.5 mm – 4.0 mm (US size E/4 or G/6) depending on your tension.
- Yarn Needle: Tapestry needle with a wide eye for weaving in ends and attaching hanging ties.
- Stitch Markers: To keep track of row ends and wave repeats.
- Scissors: Sharp craft scissors.
- Cardboard Piece: 4 inch (10 cm) width guide for wrapping yarn tassels.
Preparation Notes:
- Practice the double crochet cluster variations (such as 4-double crochet decreases and 8-double crochet decreases) on a small swatch before starting the main body.
- Keep a consistent tension across color transitions so the wave ripples stay uniform and lay flat without puckering.
Abbreviations and Notes
Abbreviations:
- ch: Chain
- sc: Single Crochet
- dc: Double Crochet
- sl st: Slip Stitch
- st(s): Stitch(es)
- dc4tog: Double Crochet 4 Together (Decrease 4 double crochets into 1 stitch)
- dc8tog: Double Crochet 8 Together (Decrease 8 double crochets into 1 stitch)
- rep: Repeat
Pattern Notes:
- The pouch main body is crocheted as a structured wavy rectangle in rows, featuring a center horizontal slit on the front panel for smooth tissue dispensing.
- The wave pattern is created using a classic ripple technique combining double crochet clusters and chain spaces.
- Color changes are made at the end of designated pattern rows to create bold horizontal color blocks.
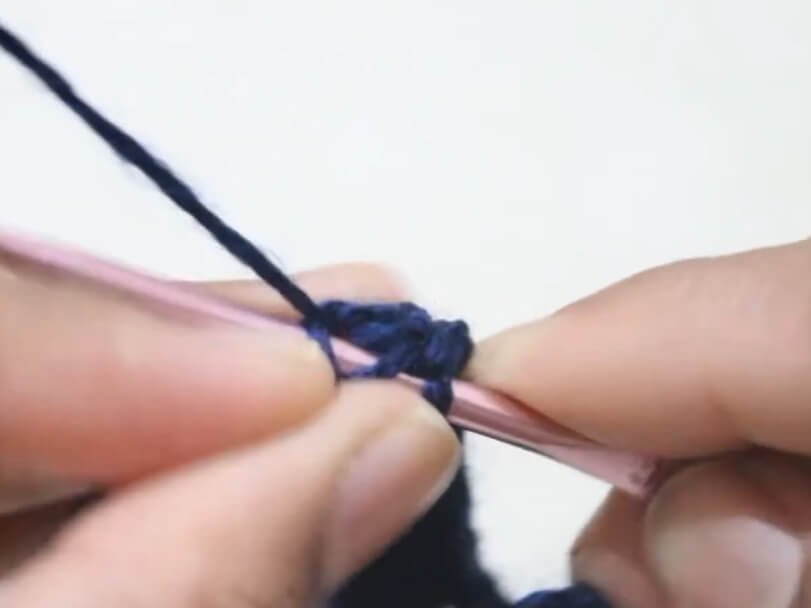
Gauge, Approximate Size, and Pattern Notes
Gauge:
18 stitches and 9 rows in wave pattern = 4 inches (10 cm).
Finished Size:
- Length: 9.5 in (24 cm)
- Height: 5.5 in (14 cm)
- Hanging Tie Length: Adjustable, approx. 12 in (30.5 cm) loops
Special Techniques:
- Wave / Ripple Stitch: Combining multiple double crochet decreases (
dc4tog/dc8tog) in valley points with double crochet shell increases in peak points creates a distinct 3D wave texture. - Tissue Slit Opening: Created by chaining across the central section of a row while skipping underlying stitches, then resuming the pattern on the following row.
Step-by-Step Pattern
Part 1: Main Wavy Body Panel (Yellow & Navy Waves)
Start with Bright Yellow Yarn to create the lower section:
- Foundation Row: Ch 50 (or any multiple of 12 + 2 for desired width).
- Row 1: Sc in 2nd ch from hook and in each ch across, turn (49 sc).
- Row 2: Ch 3 (counts as dc), dc in same st, dc4tog over next 4 sts, ch 1, (dc, ch 1) in next 4 sts, dc8tog over next 8 sts, rep from * to * across to last 5 sts, dc4tog over next 4 sts, 2 dc in last st, turn.
- Row 3: Ch 3, dc in same st, dc4tog, ch 1, (dc, ch 1) in next 4 sts, dc8tog, rep across to last 5 sts, dc4tog, 2 dc in last st, turn.
- Row 4–5: Switch to Dark Navy Blue yarn. Rep Row 3 twice.
- Row 6–7: Switch to Bright Yellow yarn. Rep Row 3 twice.
- Row 8–9: Switch to Dark Navy Blue yarn. Rep Row 3 twice.

Part 2: Tissue Dispensing Slit & Upper Body
Continuing with Dark Navy Blue yarn to form the center tissue opening:
- Row 10 (Slit Row): Work pattern as established over first 12 sts, ch 25 (skipping next 25 sts to create the tissue dispensing opening), resume pattern in remaining 12 sts, turn.
- Row 11: Work pattern across first 12 sts, work wave stitch pattern into the ch-25 space, work remaining 12 sts in pattern, turn.
- Row 12–13: Switch to Light Blue yarn. Rep Row 3 twice.
- Row 14: Ch 1, sc in each st and ch-1 space across to create a clean top edge, turn.
- Row 15: Sl st across top edge for a firm finish. Fasten off and weave in ends.
Part 3: Back Panel & Edging
Main Back Panel:
Crochet using dark navy blue yarn to create a uniform back cover:
- Foundation: Ch 50.
- Row 1–18: Ch 1, 49 sc across each row (or work dc rows to match front panel height). Fasten off, leaving a long tail for assembly.
Part 4: Assembly, Straps & Tassels
- Seaming Panels: Place Front and Back panels together with right sides facing out. Using a yarn needle and Navy yarn, whipstitch sides and bottom edges securely together, leaving the top opening accessible or joining top corners.
- Headrest Hanging Straps:
- Join Light Blue yarn at top left corner of the pouch.
- Ch 50 (or desired length to loop over car headrest poles), sl st back into top left corner. Fasten off.
- Repeat on top right corner with Navy yarn.
- Side Decorative Tassels (Make 2):
- Wrap Navy, Light Blue, and Yellow yarn around a 4-inch cardboard template 20 times.
- Tie top with a 10-inch strand, cut bottom loops, and wrap a strand 0.5 inches below top to form tassel head.
- Attach one tassel to each bottom corner of the tissue pouch.
Detailed Pattern Breakdown
1. Front Panel Wave Pattern Breakdown:
- The base foundation establishes a flexible chain base that accommodates standard tissue refill packs.
- Rows 2 through 9 construct a classic ripple structure:
dc4togat row edges stabilizes borders, whiledc8togforms deep valley points. - Shell peak points consist of alternating
(dc, ch 1)repeats, providing ventilation and texture across color transitions.
2. Tissue Opening Mechanics:
- Row 10 strategically skips 25 center stitches while bridging with
ch 25to form an elastic horizontal slot. - Row 11 reconstructs wave peaks and valleys directly over the chain space, preserving structural integrity without sagging during tissue extraction.
3. Structural Assembly & Finishing Breakdown:
- The solid back panel prevents tissue packs from crumpling inside.
- Dual-corner hanging straps distribute weight evenly across headrest posts during car movement.
- Bottom corner tassels act as decorative anchors that keep the pouch hanging straight while driving.
Pattern Question:
Question: How can I adjust the tissue pouch size to fit larger tissue boxes or compact travel packs?
Answer: To modify the width, adjust your foundation chain by adding or subtracting multiples of 12 stitches (1 wave repeat = 12 stitches).
For height adjustments, simply add or remove pairs of wave rows before and after the tissue slit row (Row 10). Keep the tissue slit opening spanned across roughly half of your total width stitches so tissues pull out smoothly without tearing.