
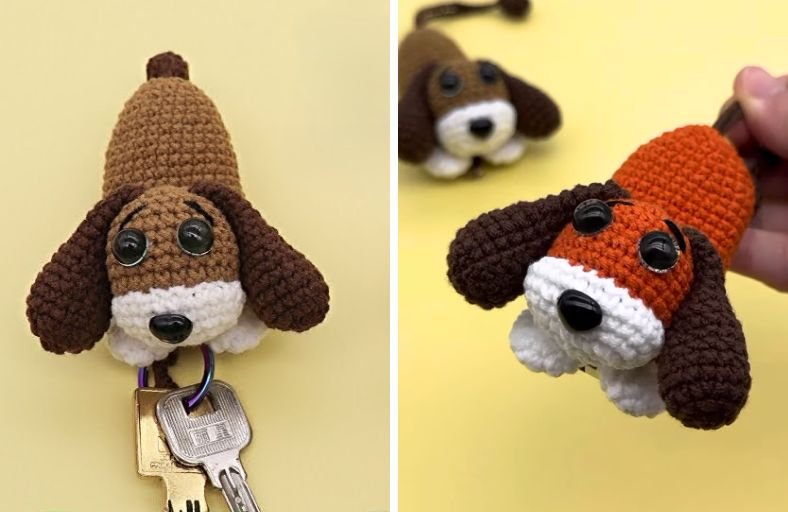
Tired of digging around your bag only to have your keys scratch your phone screen or get tangled in everything else? This adorable 3D dachshund dog key cover is here to save the day!
Combining cute amigurumi features with a smart drawstring pouch design, this clever accessory keeps your car FOB or house keys neatly tucked inside a cozy, handmade puppy body.
Materials and Preparation
Materials:
- Light Brown Yarn: 4-ply yarn for the head and main body pouch.
- White Yarn: 4-ply yarn for the muzzle and front paws.
- Dark Brown Yarn: 4-ply yarn for the floppy ears, tail, and drawstring cord.
- Safety Eyes & Nose: 1 pair of black safety eyes and 1 small safety nose (or dark thread to embroider).
- Polyfill Stuffing: Synthetic fiberfill for shaping the head, paws, and tail tip.
- Key Ring / Carabiner: To attach your keys inside the drawstring cord.
Tools:
- Crochet Hook: 2.5 mm to 3.0 mm hook (recommended size to maintain tight stitches so stuffing does not peek through).
- Yarn Needle: Tapestry needle for sewing parts together and closing rounds.
- Stitch Marker: To keep track of rounds.
- Scissors: Sharp craft scissors.
Preparation Notes:
- All pieces are worked in standard US Crochet Terms.
- Keep your tension firm when crocheting the stuffed parts (head, paws, and tail ball) to ensure a neat, durable finish.
- The main body is hollow and unstuffed so it can act as a pouch to hold your keys securely inside.
Abbreviations and Notes
Abbreviations:
- MR: Magic Ring
- ch: Chain stitch
- sc: Single Crochet
- inc: Single Crochet Increase (2 sc in the same stitch)
- dec: Single Crochet Decrease / sc2tog (2 sc worked together)
- sl st: Slip Stitch
- st(s): Stitch(es)
Pattern Notes:
- The head, ears, paws, and tail are worked in continuous spiral rounds without joining.
- Use a stitch marker at the start of each round to avoid losing your place.
- Fasten off invisibly where instructed to give a smooth, seamless finish.
Gauge, Approximate Size, and Pattern Notes
Gauge:
Gauge is not critical for this project, but your stitches should be snug enough to keep fiberfill safely inside the stuffed parts.
Finished Size:
- Length: Approx. 4.5–5.0 inches (11.5–12.5 cm) excluding the tail pull.
- Width: Approx. 2.0–2.5 inches (5.0–6.5 cm) fits most standard car key fobs and house key clusters.
Special Techniques:
- Seamless Join Finish: Pulling the yarn tail through the first st and back into the center of the last st for an invisible edge.
- Drawstring Integration: Threading the tail cord through the hollow body so pulling the tail closes the pouch and exposes the keys when pushed up.
Step-by-Step Pattern
Part 1: Dog Head (Light Brown Yarn)
Work in continuous spiral rounds:
- R1: MR 6 sc (6)
- R2: 6 inc (12)
- R3: (1 sc, inc)*6 (18)
- R4: (1 sc, inc, 1 sc)*6 (24)
- R5–R11: 24 sc (24) (7 rounds total)
- R12: (1 sc, dec, 1 sc)*6 (18)
- R13: (1 sc, dec)*6 (12)
- R14: 6 dec (6) Stuff the head firmly with polyfill. Cut yarn leaving a tail, weave through remaining 6 sts with a yarn needle, pull tight to close, and hide thread inside.
Part 2: Main Body Pouch (Light Brown Yarn)
Worked in rounds to create a hollow key cover tube:
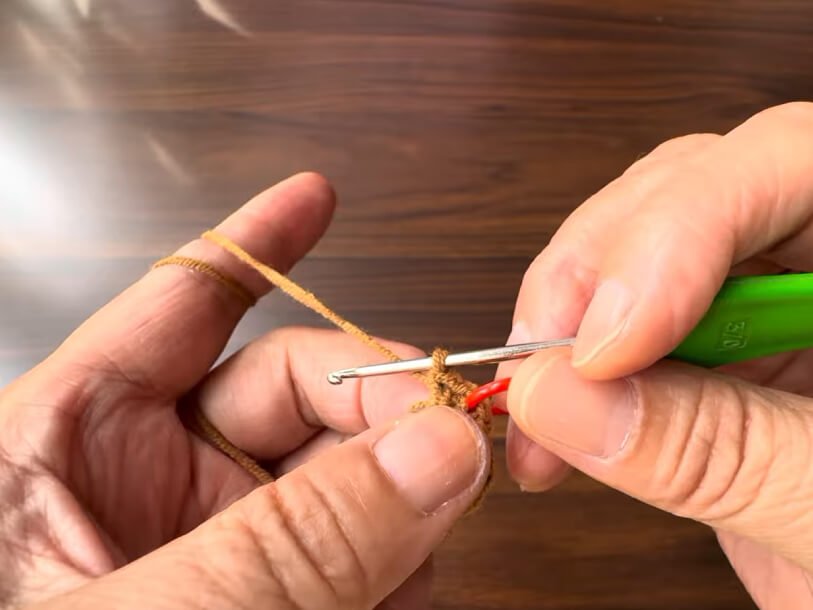
- Foundation: Ch 4, sl st into 1st ch to form a ring, ch 1.
- R1: Work 8 sc directly into the center ring, sl st to join, ch 1 (8).
- R2: 8 inc, sl st to join, ch 1 (16).
- R3: 16 sc, sl st to join, ch 1 (16).
- R4: (1 sc, inc)*8, sl st to join, ch 1 (24).
- R5–R6: 24 sc, sl st to join, ch 1 (24).
- R7: (5 sc, inc)*4, sl st to join, ch 1 (28).
- R8–R23: 28 sc, sl st to join, ch 1 (28) (16 rounds total).
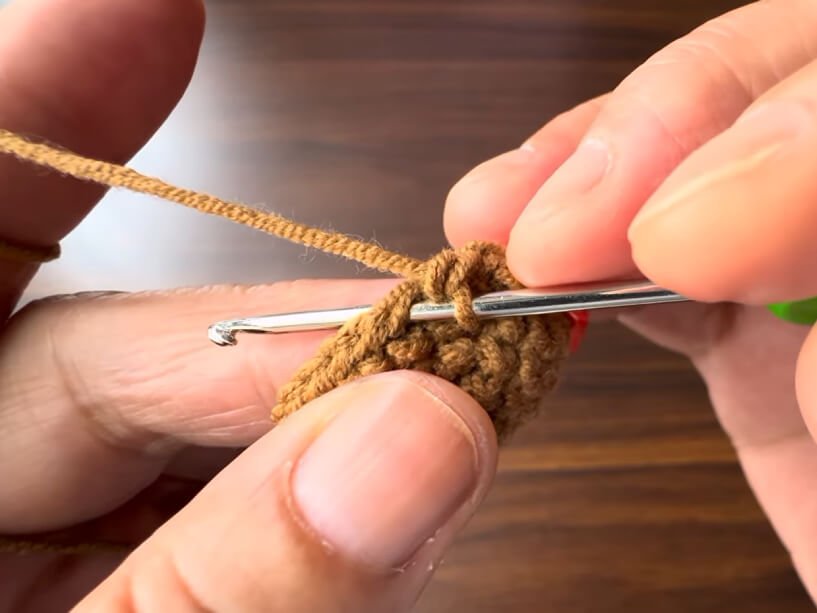
- R24: 28 sc (28). Fasten off invisibly using the seamless join technique. Do NOT stuff the body.
Part 3: Features & Accessories
Head: Muzzle (White Yarn)
- Foundation: Ch 7.
- R1: Skip 1st ch, inc in 2nd ch from hook, 4 sc, 5 sc in last ch. Working along the opposite side of chain: 4 sc, 3 sc in last ch loop, sl st to join, ch 1 (18).
- R2: inc in 1st st, 6 sc, 3 inc, 6 sc, 2 inc, sl st to join, ch 1 (24).
- R3–R4: 24 sc (24). Fasten off invisibly leaving a long tail for sewing. Attach safety nose in center.
Head: Ears (Dark Brown Yarn – Make 2)
- R1: MR 6 sc (6)
- R2: 6 inc (12)
- R3: (1 sc, inc)*6 (18)
- R4–R5: 18 sc (18)
- R6: (4 sc, dec)*3 (15)
- R7: 15 sc (15)
- R8: (3 sc, dec)*3 (12)
- R9: 12 sc (12)
- R10: (2 sc, dec)*3 (9)
- R11–R15: 9 sc (9) Fasten off leaving a long tail. Do NOT stuff ears.
Body: Front Paws (White Yarn – Make 2)
- R1: MR 6 sc (6)
- R2: 6 inc (12)
- R3–R4: 12 sc (12) Fasten off leaving a long tail for sewing, stuff lightly.
Accessories: Tail & Cord (Dark Brown Yarn)
- Tail Bulb (R1–R4): MR 5 sc (5) rightarrow R2: 5 inc (10) rightarrow R3: 10 sc (10) rightarrow R4: 5 dec (5).
- Drawstring Cord: Ch 66. Starting from 5th ch from hook, sl st in next 5 ch sts to form a small loop end (for key ring). Stuff tail bulb. Insert the ends of the cord into the open 5 sts of the tail bulb, cinch closed with yarn needle, and secure tightly.
Part 4: Assembly & Finishing
- Facial Features: Sew the white muzzle to the front lower section of the head. Attach safety eyes above the muzzle. Sew ears onto both sides of the upper head.
- Head to Body: Sew the completed head onto the closed top-front end of the main body pouch.
- Paws: Sew the two white front paws underneath the head on the bottom side of the pouch.
- Drawstring Installation: Insert the free loop end of the drawstring cord through the top opening (R1 ring) of the body pouch, routing it down through the hollow inside.
- Key Attachment: Attach your key fob/keys to the key ring on the inner loop of the cord. Pulling the tail tucks the keys safely inside the dog body!
Detailed Pattern Breakdown
1. Head & Muzzle Shaping
The head uses standard Amigurumi spherical increases (6 rightarrow 12 rightarrow 18 rightarrow 24) to create a smooth round dome. The white muzzle is constructed around a central chain foundation to create an elongated oval shape that fits perfectly on the lower front of the face, capturing that classic dachshund look.
2. Main Body Hollow Construction
Unlike normal amigurumi which are stuffed full, the body pouch starts with an open ring (ch 4 joined). It increases gradually up to 28 stitches to allow comfortable clearance for modern car key fobs. The lack of internal stuffing keeps the pouch hollow so keys glide in and out smoothly.
3. Drawstring Functional Mechanism
The cord serves a double purpose: the top loop holds your keys securely on the inside, while the outer stuffed tail bulb acts as a stopper on the outside. When pulled, the tail draws your keys completely up into the dog body, preventing scratches in your pocket or purse.
Pattern Question:
Question: How do I adjust the body size if my car key fob is larger than average?
Answer: You can easily customize the pouch size! To make the pouch wider, add another increase round after R7 (e.g., (6 sc, inc)*4 for 32 stitches) and work remaining body rounds at that count. To make it longer for larger key sets, simply repeat the 28 sc rounds (R8–R23) for a few extra rows until it covers the full length of your key set.