
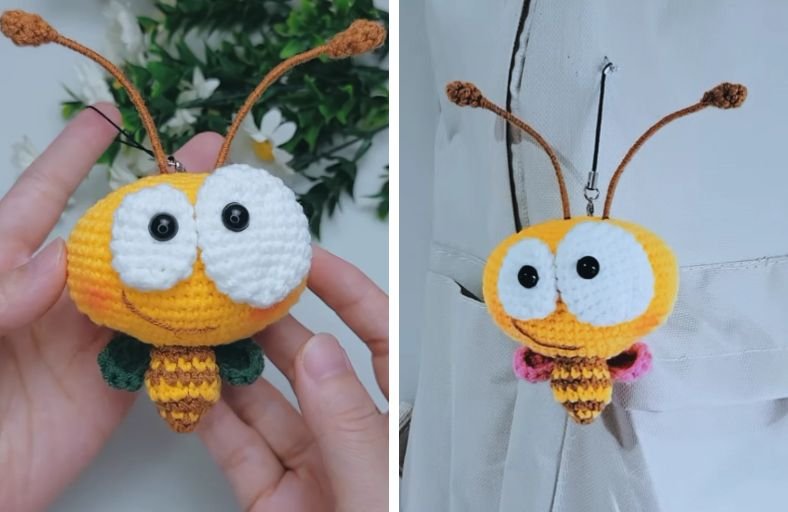
Ever wondered what happens when an adorable little honeybee decides to grow an oversized, huggable head with mismatched cartoon eyes?
You get the most charming, quirky little bee keychain that is guaranteed to bring a smile to anyone’s face!
Featuring a chunky oval head, asymmetrical eyes, tiny wings, and slender poseable antennae, this project is designed to be fast, fun, and beginner-friendly.
Grab your hook, turn on your favorite craft playlist, and let’s bring this buzz-worthy friend to life!
Materials and Preparation
Materials:
- Yarn (4-ply Milk Cotton):
- Yellow yarn for the oversized head and body stripes.
- White yarn for the big cartoon eyes.
- Pink yarn (or Green/Dark Green depending on preference) for the wings.
- Brown/Black yarn for the body stripes, mouth embroidery, and antennae tips.
- Stuffing: Premium polyester fiberfill (Polyfill).
- Safety Eyes: 2 pieces of 8 mm black plastic safety eyes/beads.
- Craft Wire: Approx. 9.5 cm (3.7 in) flexible craft wire or pipe cleaner for shaping antennae.
- Keyring Attachment: 1 lobster clasp or keychain ring.
Tools:
- Crochet Hook: 2.0 mm size (using a smaller hook ensures dense stitches so fiberfill stays hidden).
- Yarn Needle: Tapestry needle for sewing parts together and embroidering details.
- Stitch Marker / Waste Thread: Essential for tracking continuous rounds.
- Scissors: Sharp craft scissors.
Preparation Notes:
- Basic amigurumi familiarity with single crochet (
sc), increases (inc), and decreases (dec) will make this pattern a breeze. - Maintain tight, even tension throughout to keep the oval head plump without showing white stuffing between stitches.
Abbreviations and Notes
Abbreviations:
- MR: Magic Ring
- ch: Chain stitch
- sc: Single Crochet
- inc: Single Crochet Increase (2 sc in the same stitch)
- dec: Single Crochet Decrease / sc2tog (2 sc crocheted together)
- hdc: Half Double Crochet
- dc: Double Crochet
- dc inc: Double Crochet Increase (2 dc in the same stitch)
- sl st: Slip Stitch
- BLO: Back Loop Only
Pattern Notes:
- Most parts (Head, Eyes, Antennae tips) are crocheted in continuous spiral rounds without joining sl st or ch at the end of rounds unless specified.
- The main head starts from an oval base crocheted around a foundation chain.
- When working with thin antennae wire, wrap thread securely around the exposed wire structure for durability.
Gauge, Approximate Size, and Pattern Notes
Gauge:
Gauge is not critical for this keychain. Ensure stitches are tight enough so stuffing does not peek through.
Finished Size:
Approximately 2.5–3.0 in (6.3–7.6 cm) in height including antennae, with a head width of about 2.2 in (5.5 cm).
Special Techniques:
- Back Ridge/Bump Crochet: Working into the back ridge (convex stripe) of the foundation chain for a clean, sturdy oval start.
- Asymmetrical Amigurumi Assembly: Creating two differently structured eyes (Big Eye vs. Small Eye) to achieve a comedic expressions.
Step-by-Step Pattern
Part 1: Oversized Bee Head
Crochet using yellow yarn, starting from the base chain:
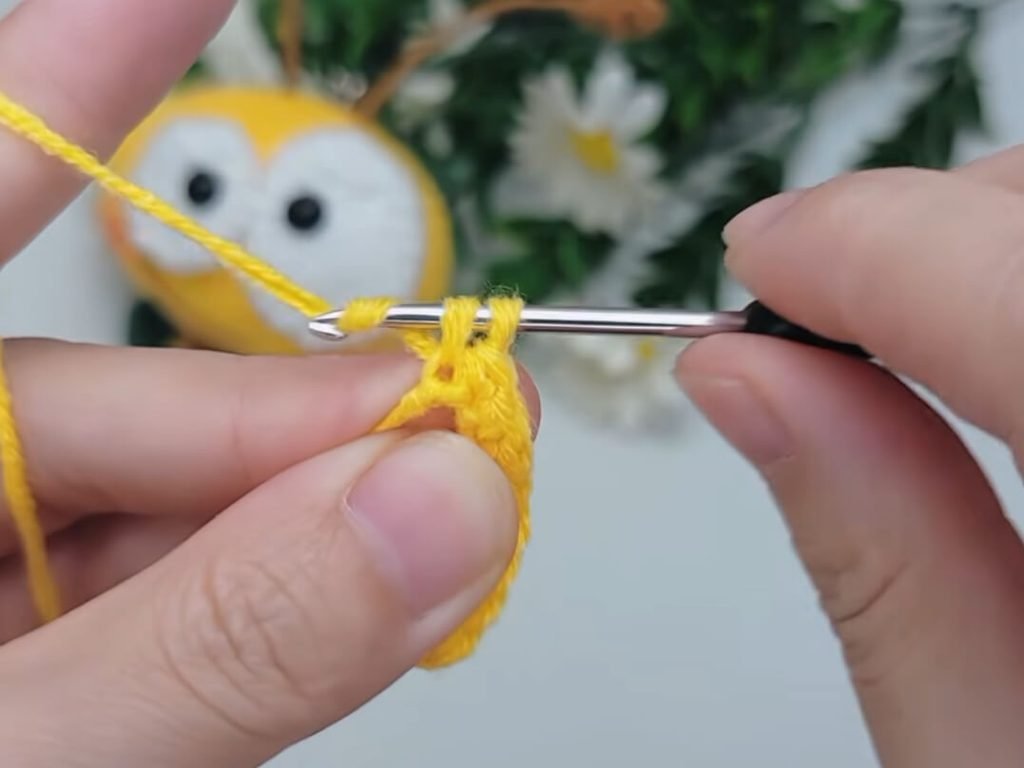
- Foundation: Ch 10.
- R1: Starting in 2nd ch from hook, work into back bumps: 1 inc, 7 sc, 4 sc in the last chain stitch; turn to work along opposite side of chain: 7 sc, 1 inc (22)
- R2: (1 inc, 10 sc) x 2 (24)
- R3: (2 sc, 1 inc, 10 sc) x 2 (28)
- R4: (4 sc, 1 inc, 10 sc) x 2 (36)
- R5: (8 sc, 1 inc, 10 sc) x 2 (52)
- R6: 7 sc, 1 inc, 25 sc, 1 inc, 18 sc (54)
- R7–R13: 54 sc (54) (7 rounds total)
- R14: (7 sc, 1 dec) x 6 (48)
- R15: (6 sc, 1 dec) x 6 (42)
- R16: (5 sc, 1 dec) x 6 (36)
- R17: (4 sc, 1 dec) x 6 (30)
- R18: (3 sc, 1 dec) x 6 (24) (Stuff head firmly with polyfill)
- R19: (2 sc, 1 dec) x 6 (18)
- R20: (1 sc, 1 dec) x 6 (12)
- Fasten off, weave needle through front loops of remaining 12 stitches, pull tight to close, and hide thread end.
Part 2: Expressive Eyes (Big & Small)
Big Eye (White Yarn)
- R1: MR 6 sc (6)
- R2: 6 inc (12)
- R3: (1 sc, 1 inc) x 6 (18)
- R4–R9: 18 sc (18) (6 rounds total)
- R10: (1 sc, 1 dec) x 6 (12)
- Fasten off, break yarn and weave tail to close end neatly.
Small Eye (White Yarn)
- R1: MR 6 sc (6)
- R2: 6 inc (12)
- R3: 6 inc (12)
- R4: (1 sc, 1 inc) x 6 (18)
- R5: (3 sc, 1 dec, 3 sc) x 2 (14)
- R6: 3 sc, 1 dec, 5 sc, 1 dec, 2 sc (12)
- R7: 12 sc (12)
- Fasten off leaving a long tail for sewing.
Part 3: Body, Wings & Antennae
Part 3.1: Tiny Striped Body
Crochet small cone shapes using alternating yellow and brown yarn:
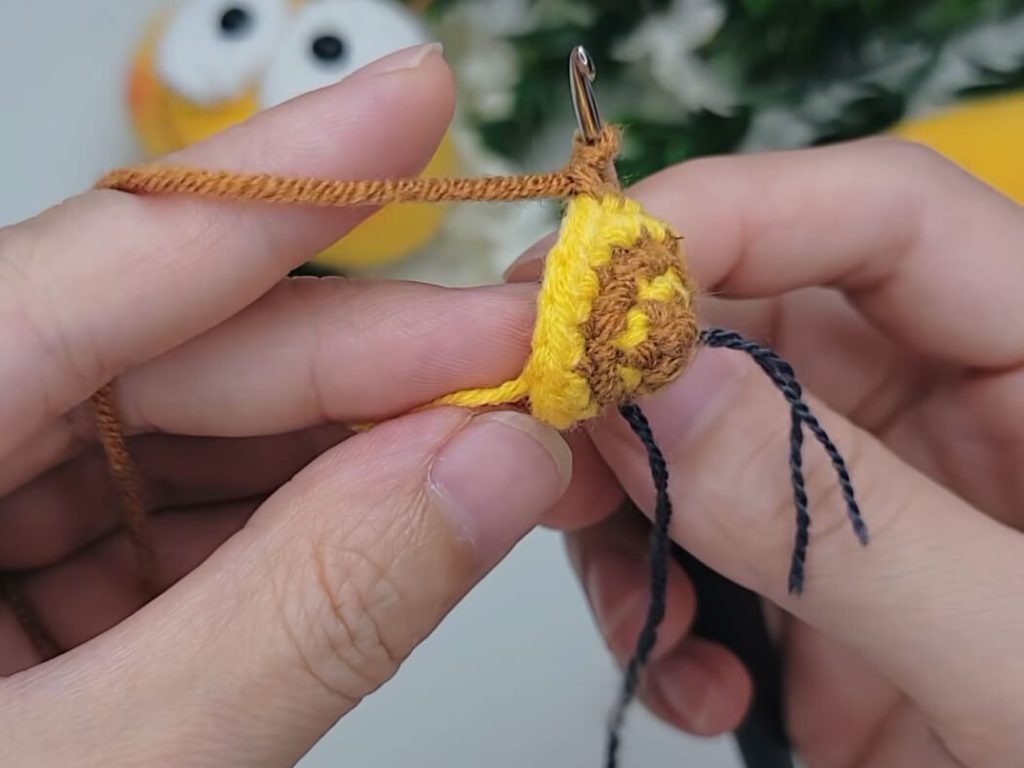
- R1: With Yellow yarn, MR 6 sc (6)
- R2: (1 sc, 1 inc) x 3 (9)
- R3: Switch to Brown yarn, 9 sc (9)
- R4: Switch to Yellow yarn, (2 sc, 1 inc) x 3 (12)
- R5: Switch to Brown yarn, 12 sc (12)
- R6: Switch to Yellow yarn, 12 sc (12)
- Fasten off leaving yarn tail for attachment. Stuff lightly.
Part 3.2: Wings (Make 2)
Crochet using pink or green yarn:
- Foundation: Ch 7.
- R1: Starting in 2nd ch from hook, 5 sl st, 2 sl st in last ch; turn to work along opposite side: 5 sl st (12 sl st total)
- R2: 1 sc, 3 hdc, 1 dc inc, 1 dc, 3 hdc, 1 sc (14)
- Fasten off leaving a long tail for sewing.
Part 3.3: Antennae (Make 2)
Crocheted with brown yarn and 9.5 cm wire:
- R1: MR 4 sc (4)
- R2: (1 sc, 1 inc) x 2 (6)
- R3: 3 dec (3)
- Fasten off leaving long yarn. Insert 9.5 cm wire into the small bobble tip, wrap remaining yarn firmly down the length of the wire stem, and secure at base.
Part 4: Assembly & Finishing
- Eye Installation: Insert 8 mm black safety eyes/beads near the bottom-center of both white eye pieces. Sew the Big Eye and Small Eye side by side onto the upper-front section of the yellow head.
- Facial Features: With brown yarn, embroider a cheerful curved smile line right underneath the eyes. Apply a light dab of blush/pink yarn below the eyes for rosy cheeks.
- Antennae Attachment: Insert the base wire ends of both antennae into the top center of the head, securing thread neatly.
- Body & Wings: Sew the tiny striped body to the bottom center of the head. Attach the two wings symmetrically to the back of the body/head junction.
- Keychain Hardware: Attach the lobster clasp securely to the top middle of the head between the antennae.
Detailed Pattern Breakdown
1. Head Oval Construction Breakdown
- Foundation Strategy: Unlike standard spherical amigurumi that start with a basic Magic Ring, this head uses a foundation chain of 10 stitches crocheted on both sides. This creates an oval base rather than a circle.
- Side Expansion (R1–R6): Increases (
inc) are placed at both rounded ends of the oval while keeping straight 10scruns on the front and back lengths. This expands the width rapidly up to 54 stitches, creating a cute compressed pancake-oval head shape. - Tapering (R14–R20): Symmetric decreases (
dec) evenly distributed around 6 points gradually bring the bottom neck opening down to 12 stitches, creating a smooth dome finish.
2. Mismatched Eye Structure Breakdown
- Comic Asymmetry: The design relies on two different geometric builds for the eyes.
- Big Eye Dynamics: Built as an elongated cylinder (R4–R9 maintaining 18 stitches for 6 rounds), creating a protruding 3D eye unit.
- Small Eye Dynamics: Features quick width variations (R3 reaching 18 stitches, then rapidly decreasing through R5–R6 down to 12 stitches) creating a flatter, compact dome.
3. Body, Wing & Antennae Mechanics
- Conical Body: The tiny body works in quick alternating color rows. Starting from 6
scup to 12sc, it acts as a tiny cone hanging beneath the disproportionately giant head. - Wing Curvature: Wings combine lower stitches (
sc), medium height stitches (hdc), and tall stitches (dc inc) across a single row to instantly form a tear-drop leaf contour. - Poseable Wire Antennae: A tiny 3-round bobble (R1 MR 4
scexpanded to 6 and reduced to 3) caps off a hidden 9.5 cm wire core. Thread wrapped tightly down the wire hides the hardware while making antennae fully poseable.
Pattern Questions & Answers
Q: Why does my bee head look round instead of wide and oval?
A: Ensure you are crocheting along both sides of the initial 10-chain foundation in R1, taking care to work into the back bump for the first side. Additionally, double check that your increases in R2 through R5 are placed specifically at the two curved ends rather than randomly along the 10-stitch straight runs.
Q: How do I ensure the wire antennae stay securely inside the head without poking out?
A: Before inserting the 9.5 cm wire into the head, fold the bottom tip of the wire into a small “U” hook or tiny loop using pliers. This blunt loop prevents the sharp end from piercing through the crochet fabric from inside.
Q: What is the best way to keep the color changes clean on the body stripes?
A: When changing between yellow and brown yarn on the body, execute the color switch on the final yarn-over of the last single crochet stitch before the new round begins. This creates a crisp, seamless color transition across rounds.