

Ever looked at your car’s backseat during a long road trip and wondered how a tiny space can hold so much chaotic clutter?
Loose water bottles rolling on the floor, snacks lost under seats, and notebooks squished in random corners!
Instead of buying a boring plastic holder, why not craft a stylish, custom organizer using thick yarn and your trusty crochet hook?
This Crochet Car Backseat Organizer combines functional storage with a playful chevron textured design.
Built with a sturdy main back panel and customizable front pockets, it keeps your travel essentials organized, secure, and within arm’s reach.
Materials and Preparation
Materials:
- Yarn (Bulky / Chunky T-shirt Yarn or Cotton Cord recommended):
- Main Color (Blue or preference) for the base body panel and main pockets.
- Accent Colors (Yellow, Brown, Rust) for the chevron pattern stripes.
- Tapestry Needle: For sewing pockets and weaving in ends.
Tools:
- Crochet Hook: Size 5.0 mm – 6.0 mm (or sized according to yarn weight to ensure thick, sturdy stitches).
- Stitch Markers: Useful for securing pocket placement prior to seaming.
- Scissors: Standard yarn scissors.
Preparation Notes:
- Measure your vehicle’s headrest poles or seat back to ensure optimal strap width and pocket height.
- Maintain a tight, firm stitch tension throughout so pockets hold heavy items like water bottles without sagging.
Abbreviations and Notes
Abbreviations:
- ch: Chain
- sc: Single Crochet
- hdc: Half Double Crochet
- dc: Double Crochet
- hdc2tog: Half Double Crochet 2 Together (Decrease)
- dc2tog: Double Crochet 2 Together (Decrease)
- sl st: Slip Stitch
- st(s): Stitch(es)
- Crab Stitch: Reverse Single Crochet (worked backward for decorative edging)
Pattern Notes:
- Main panels and pockets are worked in flat rows (turning after each row).
- The headrest attachment loop is created directly on top of the base panel using chained stitches turned into single crochet rows for strength.
- The chevron motif relies on stitch multiples (multiples of 11) to create peaks and valleys.

Gauge, Approximate Size, and Pattern Notes
Gauge:
- 12 sts and 8 rows = 4″ (10 cm) in Double Crochet. High tension is suggested for structure.
Finished Size:
- Main Panel: Approx. 12″ x 18″ (30.5 cm x 45.7 cm).
- Large Back Pocket: Approx. 11″ x 7″ (28 cm x 17.8 cm).
- Dual Front Water Bottle Pockets: Approx. 5.5″ x 6″ (14 cm x 15.2 cm) each.
Special Techniques:
- Chevron / Zig-Zag Stitch: Peak created by chaining/increasing and valley created by decreasing (
hdc2tog/dc2tog). - Crab Stitch (Reverse Single Crochet): Worked from left to right to form a thick corded border along edge seams.
Step-by-Step Pattern
Part 1: Main Back Panel Base
Work in flat rows using main color yarn:
- Foundation Chain: Ch 35 (or desired width of your car seat back).
- R1: Sc in 2nd ch from hook and in each ch across, ch 1, turn (34 sc).
- R2–R45: Sc in each st across, ch 1, turn (34 sc).
- Note: Continue rows until the base panel reaches about 18 inches (45.7 cm) in length. Fasten off and weave in ends.
Part 2: Large Flat Slip Pocket
Work in flat rows to hold notebooks, tablets, or flat items:
- Foundation Chain: Ch 35.
- R1: Sc in 2nd ch from hook and in each ch across, ch 1, turn (34 sc).
- R2–R20: Sc in each st across, ch 1, turn (34 sc).
- Fasten off, leaving a long tail for assembly.
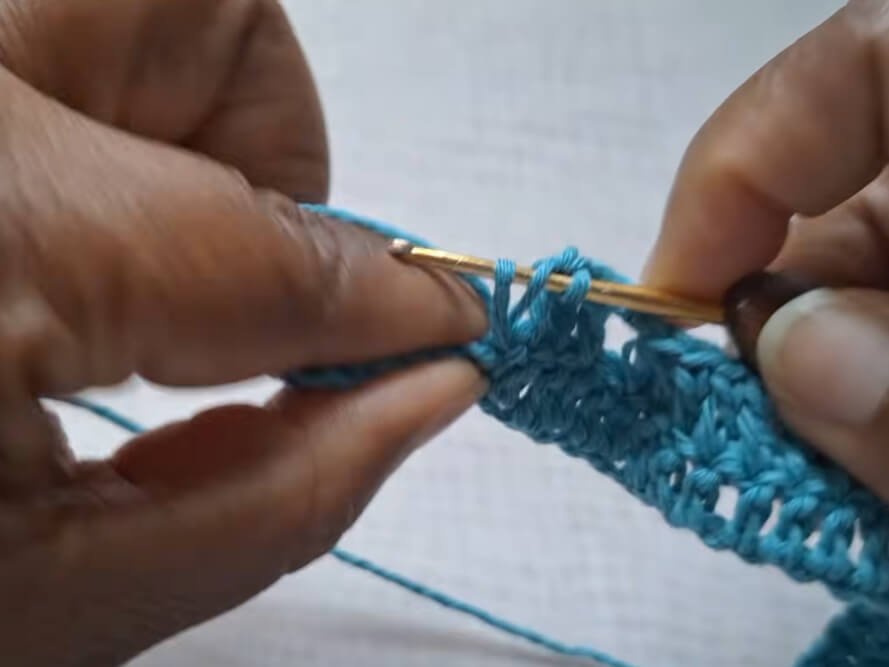
Part 3: Chevron Dual Bottle Pockets
Front Chevron Pockets (Set of 2 or 1 Wide Panel split down middle):
Work using multiple of 11 sts (33 sts total) with color changes for chevron pattern:
- Foundation: Ch 33 in Main Color.
- R1: Dc in 5th ch from hook and in each ch across, ch 3, turn (33 dc).
- R2: Dc in next st, hdc2tog across next 2 sts, dc in next 9 sts, ch 2, dc in next 9 sts, hdc2tog, dc in last st, turn.
- R3–R4 (Color Change to Yellow): Repeat Row 2 structure maintaining peak (ch-2 space) and valley (hdc2tog) alignments.
- R5–R6 (Color Change to Brown): Repeat Row 2 structure.
- R7–R12 (Return to Main Color): Repeat Row 2 structure until pocket reaches desired bottle height (approx 6 inches).
- Fasten off.
Part 4: Assembly, Edging & Headrest Strap
- Pocket Positioning:
- Position the Large Flat Pocket onto the lower half of the Main Panel, leaving 4 to 5 finger-widths (~5 rows) space from the bottom edge.
- Overlay the Chevron Pockets over the front of the Large Flat Pocket.
- Joining with Border (Crab Stitch or Sc):
- Align side edges of base panel and pockets.
- Join yarn at the bottom corner and work Single Crochet or Crab Stitch through all layers along side edges to seam pockets directly to the base.
- Sew down the center line of the Chevron Panel using a tapestry needle to separate it into two distinct bottle compartments.
- Headrest Hanging Loop:
- Attach main color yarn to the top right corner of the Main Base Panel.
- Ch 60 (or desired length to loop around headrest posts).
- Sl st to top left corner of the Main Base Panel without twisting the chain.
- Return Row: Ch 1, sc in each of the 60 chains across to create a thick, durable strap.
- Fasten off and weave in all yarn ends securely.
Detailed Pattern Breakdown
1. Main Base & Slip Pocket Construction:
- The backbone of this organizer relies on tight single crochet rows to ensure zero stretching when heavy items are stored.
- Leaving 4 to 5 fingers of clearance at the bottom keeps pockets raised off car floor mats while allowing structured stacking.
2. Chevron Zig-Zag Geometry:
- The chevron pattern operates on an 11-stitch repeat system.
- Decreases (
hdc2tog/dc2tog) pulled together at the valley create the dip, whilech 2spaces at the center point force the fabric upward into sharp peaks. - Alternating yarn colors every 2 rows highlights the geometric wave visually without requiring complex tapestry crochet skills.
3. All-in-One Seaming Edging:
- Instead of tedious invisible mattress stitching, side seams are locked using functional surface edging.
- Working Crab Stitch (or dense
sc) through both the pocket sides and base panel simultaneously constructs the pocket walls while giving the organizer a crisp rim finish.
Pattern Question:
Question: How do I keep the organizer from swinging around or sagging when holding heavy water bottles?
Answer: To prevent sagging and movement while driving, ensure you use a sturdy, low-stretch yarn like bulky cotton cord or t-shirt yarn worked with a small hook size. Additionally, you can add two optional lower ties (Ch 40 each) at the bottom corners of the main base panel to fasten securely around the base of the vehicle seat!