

Tired of boring, plain tissue boxes rolling around on your car seats during road trips?
Give your auto interior an instant cozy upgrade with this bright, colorful, and surprisingly simple Super Easy Crochet Car Tissue Box Cover!
Crafted using a variation of the classic granny rectangle stitch pattern, this project works up quickly using yarn scraps and features handy buttoned straps to keep it neatly secured right where you need it.
Materials and Preparation
Materials:
- Yarn: 5-ply milk cotton yarn (or any DK / Light Worsted weight yarn) in pastel shades (Pink, Yellow, Mint Green, Cyan Blue, Blue, Purple).
- Buttons: 2 decorative wooden or plastic buttons (approx. 15–20 mm) for the side closing straps.
Tools:
- Crochet Hook: Size 3.0 mm (or size suitable to match your yarn weight).
- Yarn Needle: Tapestry needle for weaving in ends and sewing buttons.
- Stitch Marker: To mark starting points or corner spaces if needed.
- Scissors: Sharp craft scissors.
Preparation Notes:
- Maintain an even, comfortable tension throughout so the rectangular motif lies flat without pucker.
- Since this cover is constructed as a flat rectangular granny piece folded over a standard soft tissue pack, you can easily adjust the row count to fit your specific car tissue box size.
Abbreviations and Notes
Abbreviations:
- ch: Chain stitch
- sl st: Slip stitch
- sc: Single crochet
- dc: Double crochet
- dc cluster / granny cluster: 3 double crochet stitches worked into the same chain space or space between clusters
Pattern Notes:
- The main body is worked in continuous joined rounds from the center outward to create an elongated rectangular granny motif.
- Color changes occur at the start of new rounds or every couple of rounds according to your preferred color sequence.
- The sides feature buttoned edging extensions created with simple chain loops and single crochet rows to wrap around the tissue pack securely.

Gauge, Approximate Size, and Pattern Notes
Gauge:
4 granny clusters (12 dc) and 4 rounds = approximately 2.5 inches (6.35 cm).
Finished Size:
- Main Rectangle Flat: Approx. 13.5 inches x 10 inches (34.3 cm x 25.4 cm).
- Fits Standard Tissue Pack: Fits soft-pack car tissues measuring around 8 inches x 4 inches x 3.5 inches (20.3 cm x 10.2 cm x 8.9 cm).
Special Techniques:
- Granny Corner Shells: Working
(3 dc, ch 2, 3 dc)into corner chain-spaces to build sharp 90-degree rectangle corners. - Color Striping: Joining new yarn shades seamlessly in corner spaces to produce vibrant rainbow gradient stripes.
Step-by-Step Pattern
Part 1: Central Rectangle Base (Granny Motif)
Start with Cyan Blue yarn:
- Foundation Chain: Ch 24 (or a length matching the opening slot for your tissue pack).
- R1: In the 4th ch from hook, work 2 dc. Ch 1, skip 2 ch, 3 dc in next ch. Repeat * to * until 2 ch remain. Skip 1 ch, in the last ch work
(3 dc, ch 2, 3 dc, ch 2, 3 dc)to form the end turning curve. Working on the opposite side of the foundation chain: Ch 1, skip 2 ch, 3 dc in bottom of next stitch. Repeat * to * across to the end. In the last space, work(3 dc, ch 2, 3 dc, ch 2), sl st to top of starting ch-3 to join. - R2: Sl st to the nearest ch-1 space. Ch 3 (counts as dc), 2 dc in same space. (Ch 1, 3 dc in next ch-1 space) across to corner. In corner ch-2 space, work
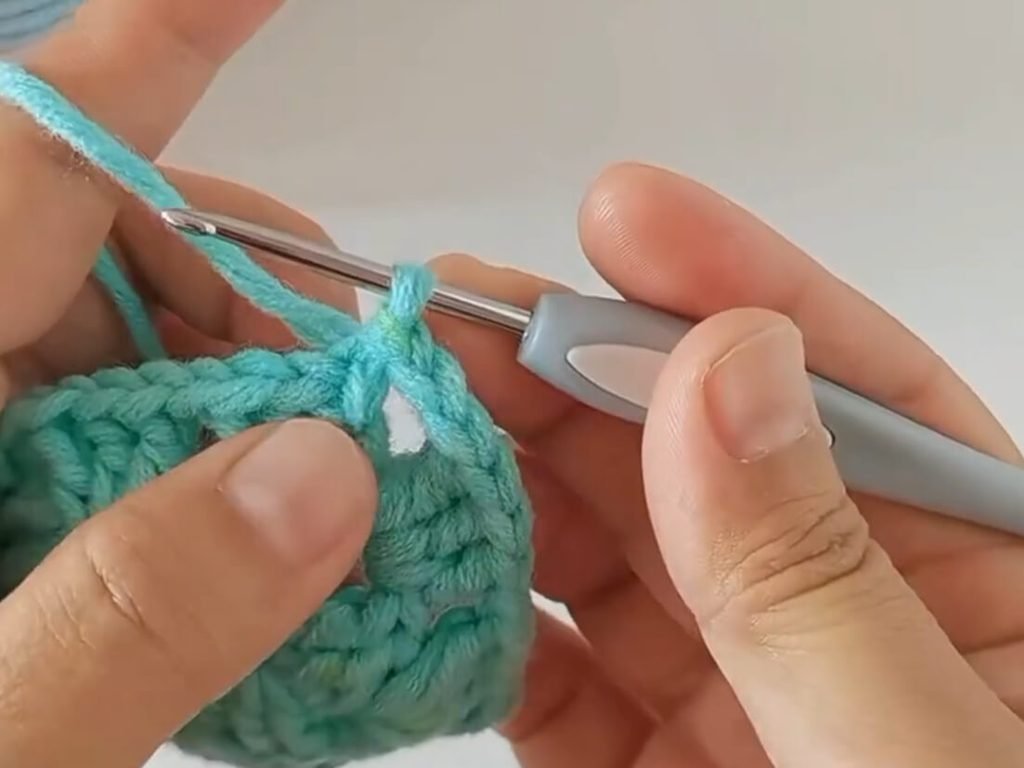
(3 dc, ch 2, 3 dc). Ch 1, 3 dc in short side space, ch 1. In next corner ch-2 space, work(3 dc, ch 2, 3 dc). Continue in pattern around all 4 sides, placing(3 dc, ch 2, 3 dc)in each of the 4 corner spaces. Sl st to join. - R3–R10: Fasten off and change colors at every 1-2 rounds as desired (Mint Green, Yellow, Pink, Purple). Continue expanding the granny rectangle pattern:
- Work
3 dcin every ch-1 side space withch 1in between. - Work
(3 dc, ch 2, 3 dc)in each of the 4 main corner spaces. - Fasten off on R10.
- Work
Part 2: Folding and Side Edging
Fold the long sides of the rectangle towards the center so they meet over the top of the tissue box, leaving an open center slit for dispensing tissues.
- R11 (Outer Border Edge): Join Pink yarn to any corner space. Work 1 sc in each st around the outer border, working
(sc, ch 1, sc)in outer corners to keep edges crisp. Fasten off.
Part 3: Fastening Straps & Buttons
Straps & Button Loops:
- Left Side Strap: Attach Pink yarn to the lower left edge of the folded cover.
- Row 1: Work 12 sc evenly along the short edge. Ch 1, turn.
- Row 2: 12 sc. Ch 1, turn.
- Row 3 (Button Loop): 5 sc, ch 10 (or chain length to fit button size), skip 2 sts, 5 sc. Fasten off and weave in ends.
- Right Side Strap: Repeat the same steps for the opposite side edge to create a matching closing tab.
Assembly & Finishing:
- Sew 1 button onto each corresponding opposite side tab to align with the chain loops.
- Insert your tissue soft-pack into the cover.
- Button up both side tabs tightly to hold the tissue pack snugly inside.
Detailed Pattern Breakdown
1. Central Granny Motif Breakdown:
- The base begins with a straight foundation chain, allowing the granny clusters to wrap around both sides of the chain row.
- By placing two sets of
(3 dc, ch 2, 3 dc)on each narrow end during the first two rounds, the piece transforms from a standard round granny square into an elongated rectangle, perfect for tissue boxes.
2. Side Fold & Envelope Construction:
- Unlike traditional box covers worked in 3D downward walls, this clever design uses a flat motif that simply folds inward from two sides.
- Leaving the long middle seam unsewn automatically forms a clean, flexible top opening for pulling tissues without requiring complex shaping.
3. Closure Tab Strategy:
- The side tabs added in Part 3 turn a simple flat piece into a functional 3D case.
- Adding simple single crochet rows and a center chain loop creates custom button closures that prevent the tissue box from sliding out while driving.
Pattern Questions
Q: Can I adjust this cover to fit a hard cardboard tissue box instead of a soft pack?
A: Absolutely! Simply add 2 to 3 more rounds of the granny rectangle pattern to increase both the length and width before creating your outer border. Test fit the piece by wrapping it around your hard tissue box before starting Part 3.
Q: My rectangle is curling up at the corners. How do I fix this?
A: Corner curling usually happens when the corner chain spaces are too tight. Make sure you work a full ch 2 between the 3 dc clusters in all four corner spaces. Blocking the finished rectangle flat with a light steam iron prior to assembly also works wonders.
Q: How do I change yarn colors without messy loose ends?
A: Fasten off your old color at the end of a round with a slip stitch, cut the tail, and join the new yarn color directly into any corner ch 2 space with a standing double crochet or slip stitch. Crochet over your tail ends as you work the first few clusters of the new round to minimize weaving!