
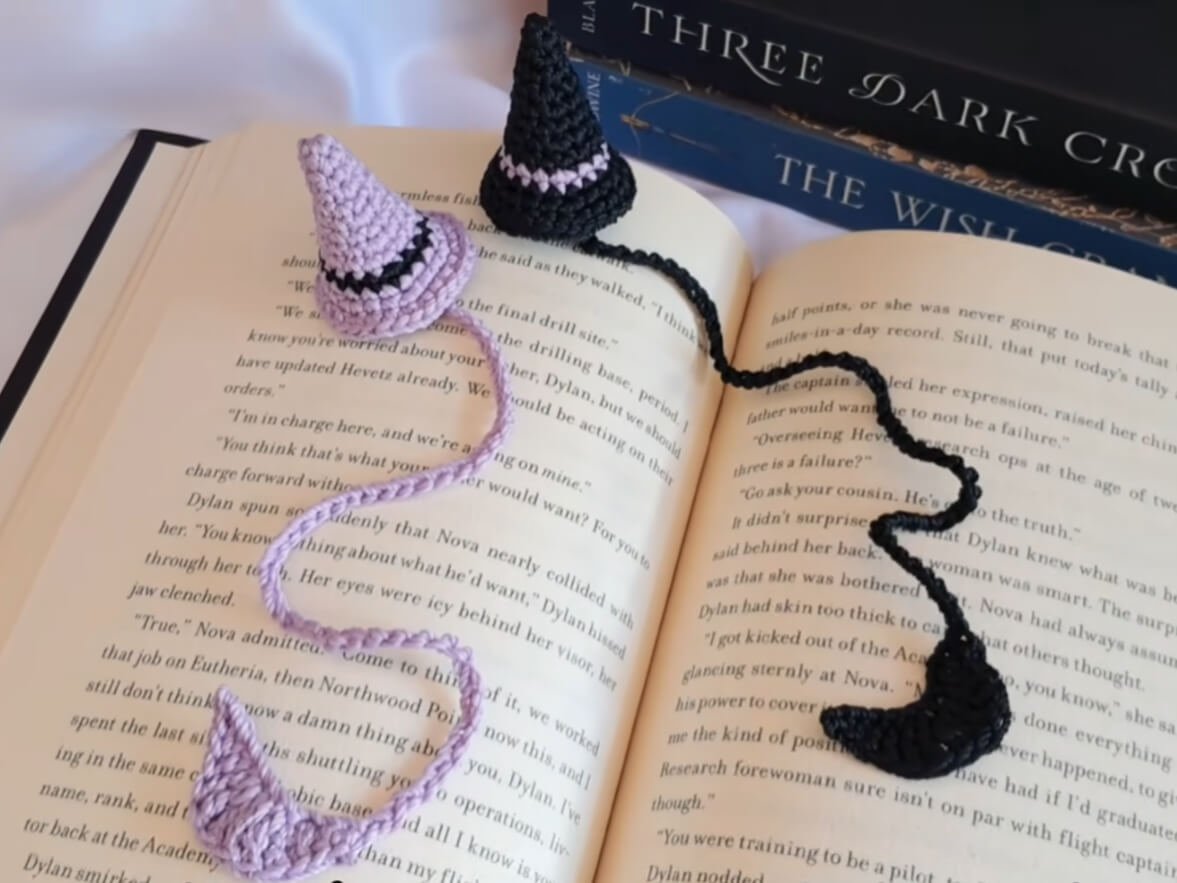
Ever caught yourself losing track of your page in the middle of a spooky mystery novel, wishing a tiny piece of magic could hold your place?
Say goodbye to folded page corners and ordinary paper slips, because this pointed miniature witch hat complete with a color-band accent and a dangling crescent moon tail is here to cast a spell on your reading routine!
Perfect for book lovers and cozy autumn crafting sessions, this project turns a bit of lightweight yarn into the ultimate Halloween accessory.
Materials and Preparation
Materials:
- Yarn: Thin polyester yarn or fine crochet thread in two contrasting shades (Main color, such as Purple, for the hat body and moon tail; Accent color, such as Black, for the hat stripe).
- Stuffing: Polyfill stuffing (a small pinch to give the 3D hat its cone structure).
Tools:
- Crochet Hook: 2.5 mm crochet hook (or sized appropriately for fine yarn to ensure tight stitches).
- Yarn Needle: Tapestry needle for weaving in loose ends and shaping.
- Stitch Marker: Essential for tracking the start of continuous spiral rounds.
- Scissors: Craft scissors for trimming yarn end tails.
Preparation Notes:
- Master basic single crochet stitches, increases, invisible decreases, and working into specific loops like FLO (Front Loop Only) and BLO (Back Loop Only).
- Keep your tension moderately firm throughout the main cone so the polyfill remains completely hidden inside the hat structure.
Abbreviations and Notes
Abbreviations:
- MR: Magic Ring
- ch: Chain
- sc: Single Crochet
- inc: Single Crochet Increase (2 sc in the same stitch)
- dec: Single Crochet Decrease / sc2tog (2 sc crocheted together)
- hdc: Half Double Crochet
- dc: Double Crochet
- tr: Treble Crochet
- tr inc: Treble Crochet Increase (2 tr in the same stitch)
- sl st: Slip Stitch
- FLO: Front Loop Only
- BLO: Back Loop Only
Pattern Notes:
- The witch hat main body is worked in continuous spiral rounds without joining at the end of each round unless specified.
- Color switches take place at the final yarn over of the last stitch prior to the round change.
- The bookmark tail features a chain length ending with a shaped crescent moon crocheted directly onto the end of the tail string.
Gauge, Approximate Size, and Pattern Notes
Gauge:
Gauge is not strictly critical for this decorative bookmark item; however, tight stitches ensure the hat holds its shape and keeps stuffing enclosed.
Finished Size:
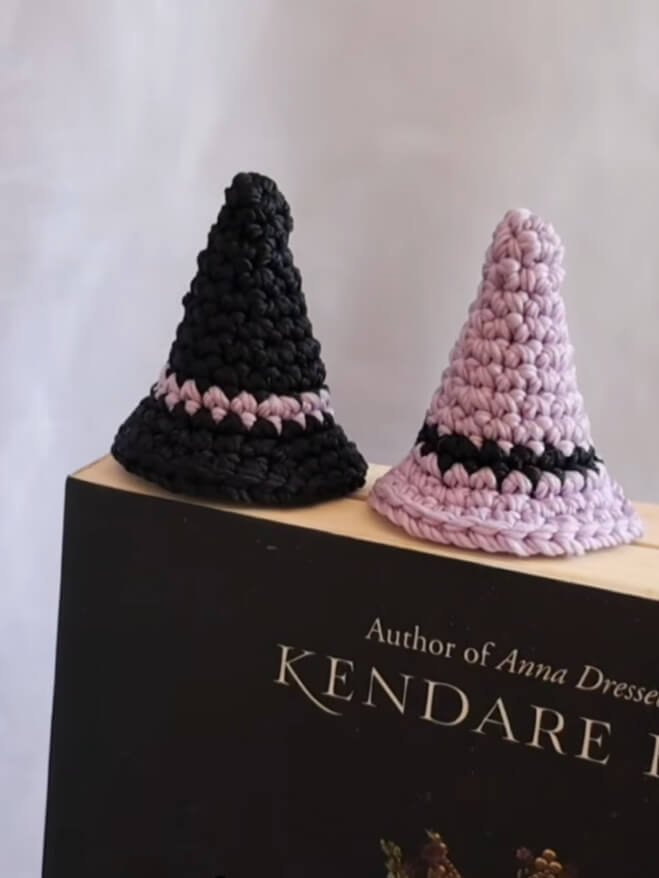
The witch hat measures approximately 1.5 inches (3.8 cm) in height with a brim diameter of 1.75 inches (4.4 cm), while the bookmark chain extension measures approximately 10 to 12 inches (25.4 to 30.5 cm) in overall length.
Special Techniques:
- Front Loop Only (FLO) Brim Extension: Employed on Round 12 to flare out the brim outward from the main hat cone.
- Back Loop Only (BLO) Base Closure: Utilizing the leftover unworked back loops from Round 12 to build the bottom closure of the hat.
- Graduated Stitches Crescent Moon: Combining sc, hdc, dc, and tr inc along a chain base creates a curved crescent moon shape.
Step-by-Step Pattern
Part 1: Main Body (Witch Hat Cone)
Worked in main yarn color (Purple) in continuous spiral rounds:
- R1: MR 4 sc (4)
- R2: (sc, inc)*2 (6)
- R3: 6 sc (6)
- R4: (sc, inc)*3 (9)
- R5: 9 sc (9)
- R6: (2 sc, inc)*3 (12)
- R7: 12 sc (12)
- R8: (3 sc, inc)*3 (15)
- R9: 15 sc (15) (Change to accent color yarn, e.g., Black, in the last stitch)
- R10: (4 sc, inc)*3 (18) (Change back to main yarn color, e.g., Purple, in the last stitch; fasten off accent color)
- R11: 18 sc (18)
Part 2: Hat Brim & Base Closure
Brim:
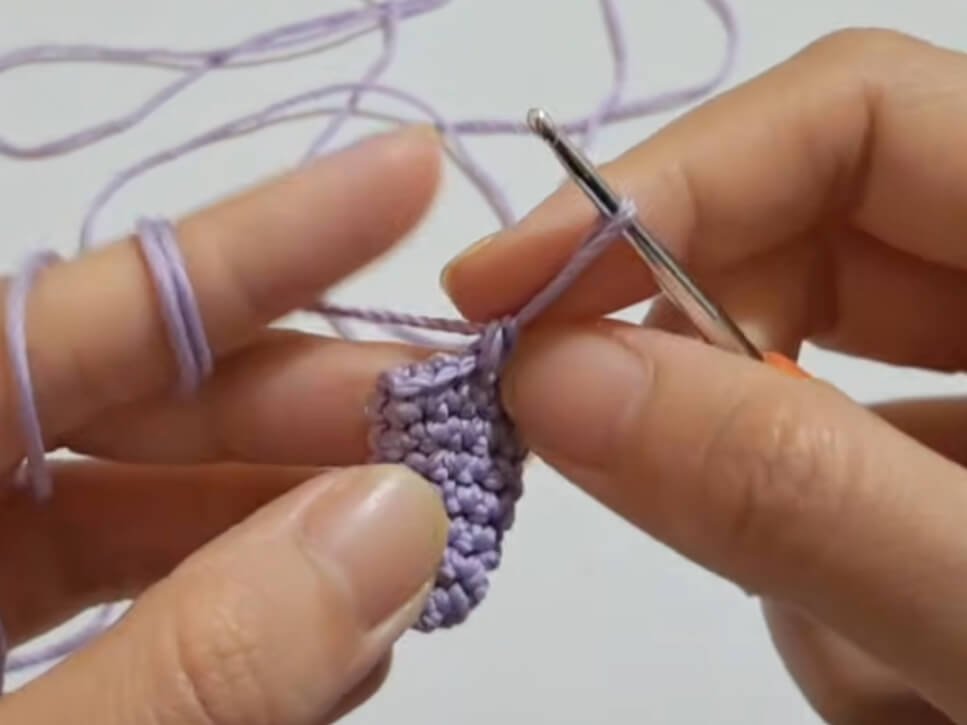
Work in FLO in R12:
- R12: FLO (2 sc, inc)*6 (24)
- R13: (3 sc, inc)*6 (30)
- Fasten off brim: Skip 1st st, sl st into 2nd st, ch 2.
Base Closure:
Turn hat upside down to locate the remaining back loop ridge lines left from Round 12:
- R14: BLO 18 sc across the unworked back loops of Round 12 (18)
- Stuff the hat cone lightly with polyfill.
- R15: (sc, dec)*6 (12)
- R16: 6 dec (6)
- Closing Hole: Sl st across the bottom gap to seal the base completely shut.
Part 3: Bookmark Chain & Crescent Moon Tail
Main Ribbon String:
- Foundation: Working directly from the sealed base of the hat, ch 70 (or desired bookmark length).
Crescent Moon Detail:
- Extension: Ch 12 more chains for the moon base structure.
- Working back down the 12 extra chains (starting from 2nd ch from hook):
- Sl st in 1st ch
- sc in next ch
- hdc in next ch
- dc in next ch
- tr inc in next 3 chs (2 tr in each ch)
- dc in next ch
- hdc in next ch
- sc in next ch
- sl st in last ch
- Finishing: Fasten off and weave in all remaining yarn tails neatly.
Part 4: Assembly & Finishing
- Ensure all color change tails inside the hat are tied securely in double knots before stuffing.
- Weave the final yarn tail through the crescent moon tip to accentuate its sleek curve.
- Flatten the brim gently with your fingers so it sits crisp and flat on top of book pages.
Detailed Pattern Breakdown
1. Witch Hat Cone Breakdown:
- Gradual Cone Shaping: Starting with MR 4 sc establishes a sharp top point. Interleaving rounds of steady increases with plain rounds of single crochet ensures a smooth, non-bulky cone slope.
- Color Band Accent: Switching to the accent yarn at R10 creates a clean band around the hat crown without breaking the geometric flow of the ongoing increases.
2. Brim & Base Closure Breakdown:
- Dual Structural Layering: Working R12 in FLO causes the brim to spread outward horizontally at a right angle. Meanwhile, going back into the unworked back loops on R14 creates an internal circular wall that seals the stuffing inside the cone cleanly.
- Invisible Decrease Base: Round 15 and Round 16 narrow down the bottom of the hat using tight decrease rounds, creating a smooth flat bottom that rests flush on book covers.
3. Tail & Crescent Moon Breakdown:
- Curved Geometry: The tail sequence uses graduated stitch heights starting from sl st up to tr inc at the center, then stepping back down to sl st. This dynamic height variance naturally forces the linear chains to arch into a crescent moon shape.
Pattern Question:
Question: How do I ensure the brim stays flat and doesn’t curl up while reading?
Answer: To keep your brim perfectly flat, make sure you strictly follow the FLO designation on Round 12, as this stitch placement naturally forces the yarn to turn 90 degrees outward. Additionally, avoid pulling your stitches overly tight during the increase round of Round 13. A quick steam iron pass (holding the iron an inch away without touching the fiber directly) will permanently set the brim flat!
Question: Can I adjust the bookmark length for larger textbooks or smaller paperbacks?
Answer: Absolutely! The main bookmark string length is completely customizable. Simply adjust the initial chain count in Part 3 before starting the extra 12 chains designated for the crescent moon. For standard paperbacks, 60 to 70 chains work wonderfully, whereas larger hardcovers may benefit from 80 to 90 chains.
Question: Why does my color change look jagged on the hat band?
Answer: Jogged seams occur when color transitions happen mid-stitch. To achieve a seamless transition between the main hat color and the band accent, always pull the new yarn color through the final two loops of the very last single crochet stitch of the preceding round!