
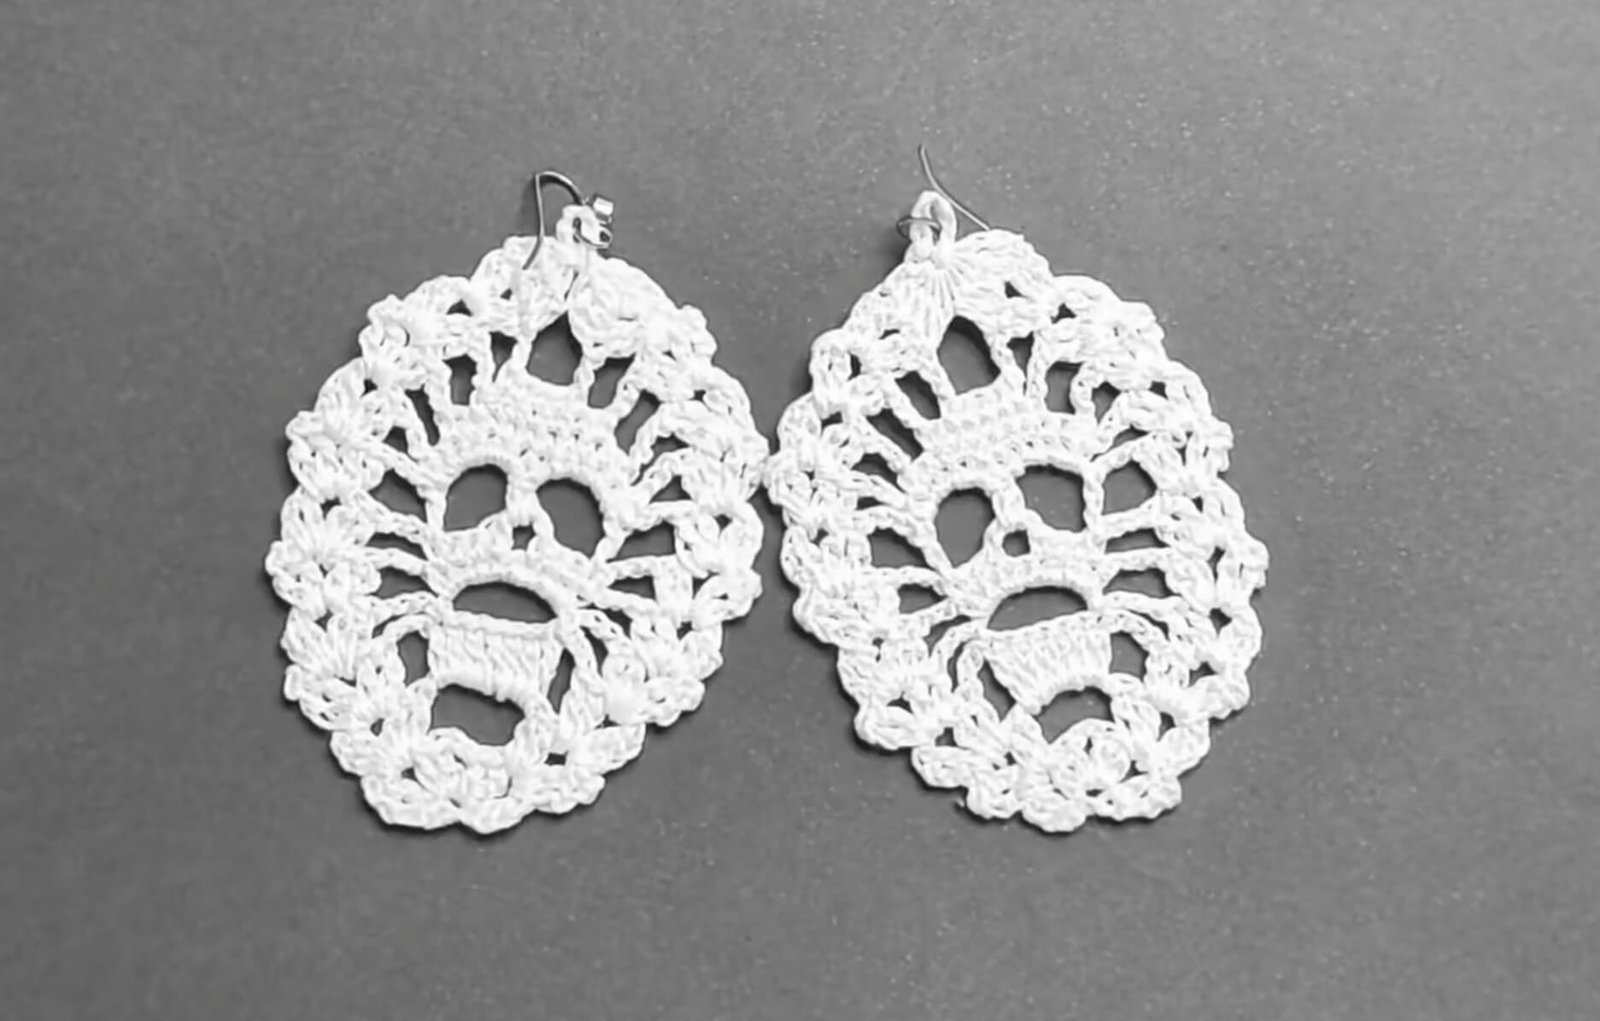
Ever looked at a ball of fine cotton thread and thought, “You know what this needs? A touch of spooky-chic elegance!”
Whether you are gearing up for Halloween, making a statement accessory for your next concert, or simply obsessed with all things Gothic and lacy, these Skull Crochet Earrings are the ultimate weekend project.
Featuring an intricate lace frame that outlines a surprisingly detailed little skull, this project blends spooky motifs with delicate lacework in the best way possible.
Grab your tiny hook and let’s turn some yarn into hauntingly beautiful jewelry!
Materials and Preparation
Materials:
- Yarn: 100% Cotton Thread/Yarn (such as Moxy, 100g weight) in classic white or off-white.
- Earring Hardware: 2 Fishhook earring wires and jump rings.
Tools:
- Crochet Hook: 1.0 mm steel crochet hook (helps achieve a tight, crisp lace structure so the earrings stay neat and petite).
- Yarn Needle: Tapestry/yarn needle for weaving in thread ends.
- Scissors: Sharp craft scissors.
- Blocking Tools (Optional): Iron or blocking board with pins and stiffening spray/fabric starch to shape the finished lace.
Preparation Notes:
- Work with firm, even tension throughout the project so the lace frame maintains its symmetrical shape and the facial features remain clear.
- Blocking and light steam ironing are strongly recommended after finishing to make the skull motif lie completely flat and pop with crisp definition.
Abbreviations and Notes
Abbreviations:
- ch: Chain
- sc: Single Crochet
- hdc: Half Double Crochet
- dc: Double Crochet
- sl st: Slip Stitch
- sk: Skip
- st(s): Stitch(es)
- ch-sp: Chain Space
- yo: Yarn Over
Pattern Notes:
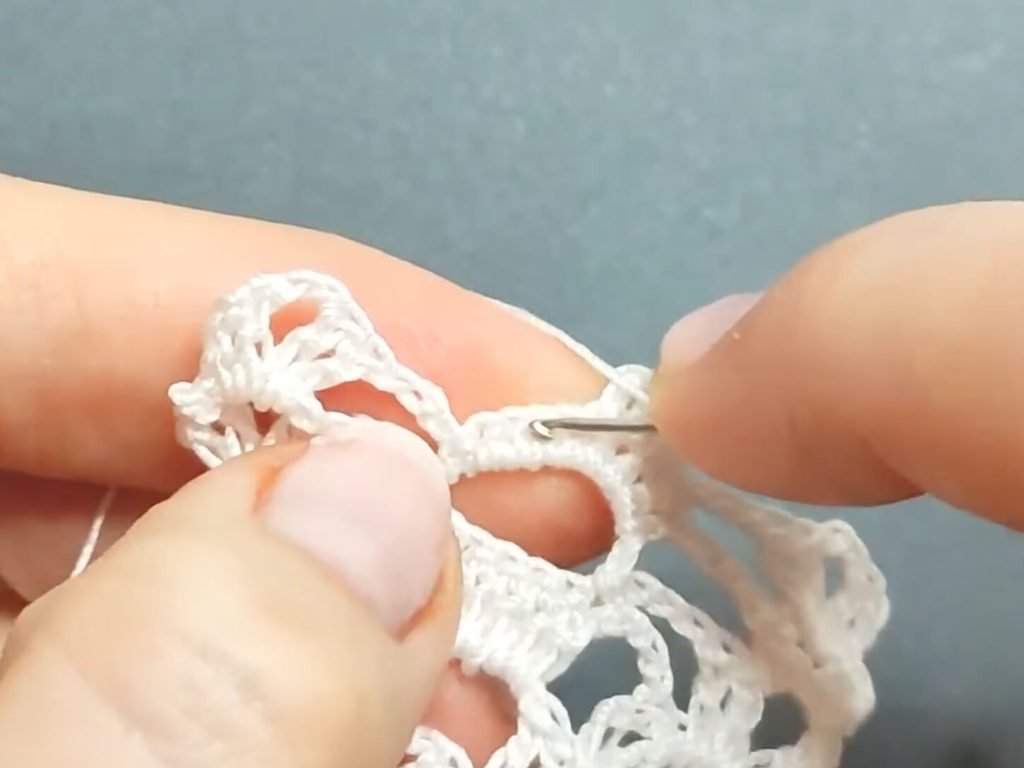
- Side Shell Frame: The border of the earring consists of a repeated shell frame: (2 dc, ch 2, 2 dc ) worked into the side chain-2 spaces on every row.
- Starting Double Crochet: At the beginning of rows, the first double crochet is created by making a single crochet followed by chain 2 (sc + ch 2 ) , which functions as a clean, sturdy turning
dc. - Symmetry: The skull motif is built right in the middle of the lace frame row by row, working from bottom to top.
Gauge, Approximate Size, and Pattern Notes
Gauge:
Gauge is not critical for this piece, but working with a smaller hook (1.0 mm) ensures the earrings remain delicate, rigid, and compact.
Finished Size:
Approximately 2.0 inches x 1.4 inches (5.0 cm x 3.5 cm) per earring without hardware.
Special Techniques:
- Frame Shell: ( 2 dc, ch 2, 2 dc ) worked into the target chain space to form the decorative side borders.
- Nose Cluster (sc + hdc cluster) : To form the skull’s central nasal cavity in Row 7, insert hook into the middle chain space, draw up a loop for a single crochet, yarn over, insert hook again, draw up a loop, and pull through all 3 loops on hook.
- Final Gathering Decrease: In Row 12, partial stitches are worked across all remaining stitches on the top edge and pulled together in one continuous decrease to gather the top peak nicely.
Step-by-Step Pattern
Part 1: Chin Base and Foundation Frame
- Foundation: Ch 6.
- Row 1: 1 dc into the 3rd ch from hook. Ch 2, skip 1 ch, [2 dc, ch 2, 2 dc] into the next ch. Ch 2, 2 dc into the last ch. Turn.
- Row 2: Sl st into the 2nd st, sl st into the ch-2 sp. Ch 2 (counts as first dc part), 1 dc into same ch-sp, ch 2, 2 dc into same ch-sp (First side Frame Shell made). Ch 5, skip middle space, [2 dc, ch 2, 2 dc] into the last ch-2 sp (Second side Frame Shell made). Turn.
Part 2: Skull Jaw and Mouth Structure
- Row 3: Sl st into next st, sl st into ch-2 sp. [1 sc + ch 2 (counts as dc), 1 dc, ch 2, 2 dc] into same ch-2 sp. Ch 3, work 7 dc into the large ch-5 loop. Ch 3, [2 dc, ch 2, 2 dc] into the last ch-2 sp frame. Turn.
- Row 4: Sl st to ch-2 sp of frame, [1 sc + ch 2, 1 dc, ch 2, 2 dc] in ch-2 sp. Ch 3, sl st into the 1st dc of previous row. Ch 7, sl st into the last (7th) dc of previous row. Ch 3, [2 dc, ch 2, 2 dc] into the last ch-2 sp frame. Turn.
- Row 5: Sl st to ch-2 sp of frame, [1 sc + ch 2, 1 dc, ch 2, 2 dc] in ch-2 sp. Ch 3, work 9 sc into the central ch-7 loop. Ch 3, [2 dc, ch 2, 2 dc] into the last ch-2 sp frame. Turn.
- Row 6: Sl st to ch-2 sp of frame, [1 sc + ch 2, 1 dc, ch 2, 2 dc] in ch-2 sp. Ch 3, 4 sc across the first 4 sc of previous row, ch 4, sk 1 sc, 4 sc across the remaining 4 sc. Ch 3, [2 dc, ch 2, 2 dc] into the last ch-2 sp frame. Turn.
Part 3: Skull Eye Sockets and Brow
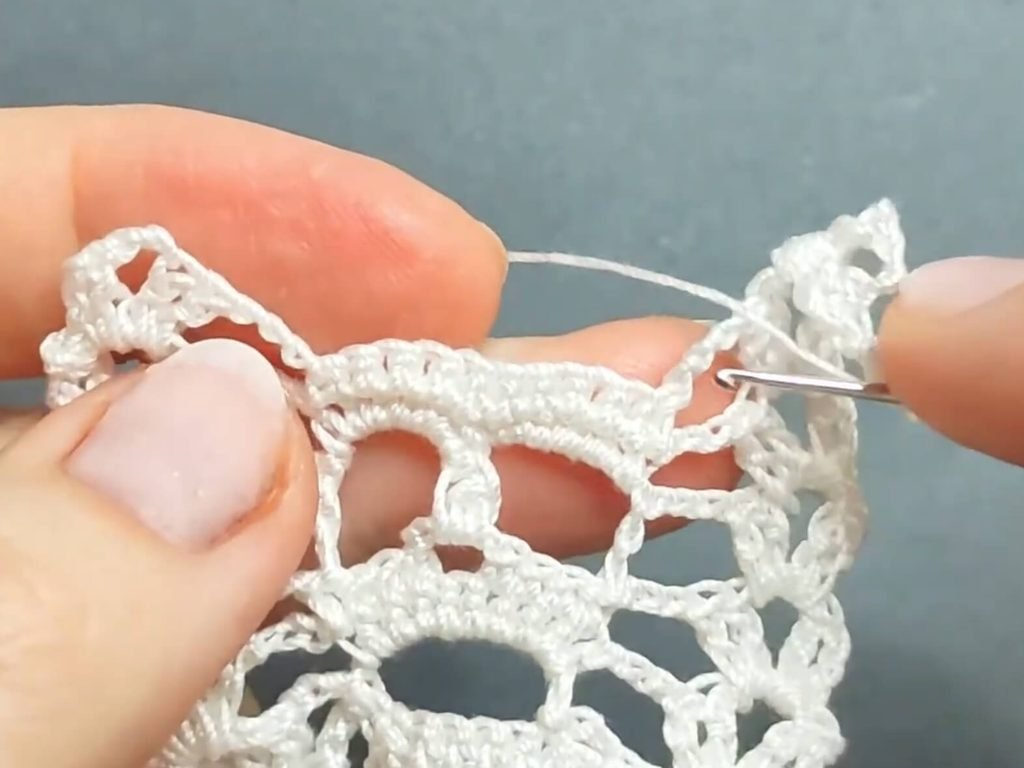
- Row 7: Sl st to ch-2 sp of frame, [1 sc + ch 2, 1 dc, ch 2, 2 dc] in ch-2 sp. Ch 3, 1 dc into the 1st sc of previous row. Ch 5 (Left eye socket), work a nose cluster (1 unfinished sc + 1 unfinished hdc, then pull through all 3 loops) into the center ch-4 sp. Ch 5 (Right eye socket), 1 dc into the last sc of previous row. Ch 3, [2 dc, ch 2, 2 dc] into the last ch-2 sp frame. Turn.
- Row 8: Sl st to ch-2 sp of frame, [1 sc + ch 2, 1 dc, ch 2, 2 dc] in ch-2 sp. Ch 3, work 5 sc into the first ch-5 eye space, work a 2-sc decrease across the nose area, work 5 sc into the second ch-5 eye space. Ch 3, [2 dc, ch 2, 2 dc] into the last ch-2 sp frame. Turn.
- Row 9: Sl st to ch-2 sp of frame, [1 sc + ch 2, 1 dc, ch 2, 2 dc] in ch-2 sp. Ch 3, 11 sc across all 11 sc of previous row. Ch 3, [2 dc, ch 2, 2 dc] into the last ch-2 sp frame. Turn.
- Row 10: Sl st to ch-2 sp of frame, [1 sc + ch 2, 1 dc, ch 2, 2 dc] in ch-2 sp. Ch 3, sk 2 sc, 7 sc across the center stitches, sk 2 sc. Ch 3, [2 dc, ch 2, 2 dc] into the last ch-2 sp frame. Turn.
Part 4: Crown Peak, Hanging Loop, and Assembly
- Row 11: Sl st to ch-2 sp of frame, [1 sc + ch 2, 1 dc, ch 2, 2 dc] in ch-2 sp. Ch 2 (Notice: ch 2 here instead of ch 3 for a tighter top finish), sk 1 sc, 5 sc across the center, sk 1 sc. Ch 2, [2 dc, ch 2, 2 dc] into the last ch-2 sp frame. Turn.
- Row 12 (Gathering Top Edge): Ch 1, turn. Work partial stitches across the entire top row (frame stitches, chain space, center 5 sc, chain space, and last frame stitches), holding all loops on hook, yarn over and pull through all loops together to close the top gracefully.
- Hanging Loop: Ch 5 (or desired length for attaching earring wire), sl st back into the same gathering point to form a secure loop. Fasten off and weave in thread ends securely.
- Assembly & Finishing:
- Dampen or lightly steam the finished piece, pinning it straight on a blocking mat to bring out the skull shape and lace edges.
- Open an earring jump ring, attach it through the top ch-5 crochet hanging loop, slide on the fishhook earring wire, and close the ring securely. Repeat for the second earring!
Detailed Pattern Breakdown
1. The Lace Frame Foundation & Jawline (Rows 1 to 4)
The earring starts at the bottom tip (the chin) and works upward. The elegant edge arches are built using a repeating (2 dc, ch 2, 2 dc ), shell on both left and right sides. In Rows 3 and 4, 7 double crochets are placed inside a central chain-5 loop, forming the solid base of the jaw and teeth area.
2. Mouth, Nose, and Facial Carvings (Rows 5 to 7)
Row 5 covers the jaw with 9 single crochets. Row 6 splits these single crochets into two groups of 4 with a chain-4 gap right in the middle, creating the open mouth feature.
In Row 7, the eye sockets are sculpted with twin chain-5 spans on either side of a tiny sc + hdc nose cluster anchored in the center mouth gap.
3. Eyebrows and Crown Tapering (Rows 8 to 12)
Rows 8 through 10 fill in the brow area above the eyes with single crochets, then gradually taper the stitch count down from 11 sc to 7 sc, and finally to 5 sc in Row 11.
The top edge switches from chain-3 side bridges down to chain-2 bridges for a smoother taper. Row 12 gathers all top stitches together into a single peak topped with a small 5-chain hanging loop.
Pattern Questions & Answers
Q: Why do my skull earrings look curled up and distorted right after finishing?
A: Because fine cotton thread worked with a small 1.0 mm hook creates high stitch tension, delicate lacework naturally twists while being worked. Steam ironing or wet-blocking with pins on a blocking board is an essential step. It completely flattens the thread, opens up the eye and mouth spaces, and gives the lace a professional, crisp store-bought finish.
Q: Can I use a larger hook and thicker yarn for this pattern?
A: Absolutely! If you use a 2.5 mm hook with sports-weight yarn, this exact pattern scales up into a wonderful Halloween pendant, bookmark, or garment motif. For lightweight, wearable earrings, keeping to a 1.0 mm to 1.5 mm steel hook with fine cotton thread is ideal.
Q: How do I ensure the earring wire faces forward when worn?
A: Make sure your top ch-5 loop is centered and lying flat during final gathering. When attaching your fishhook earring wire, use a pair of small jewelry pliers to turn the lower loop of the fishhook 90 degrees if necessary so the front face of the skull stays oriented forward when hanging from your ear.