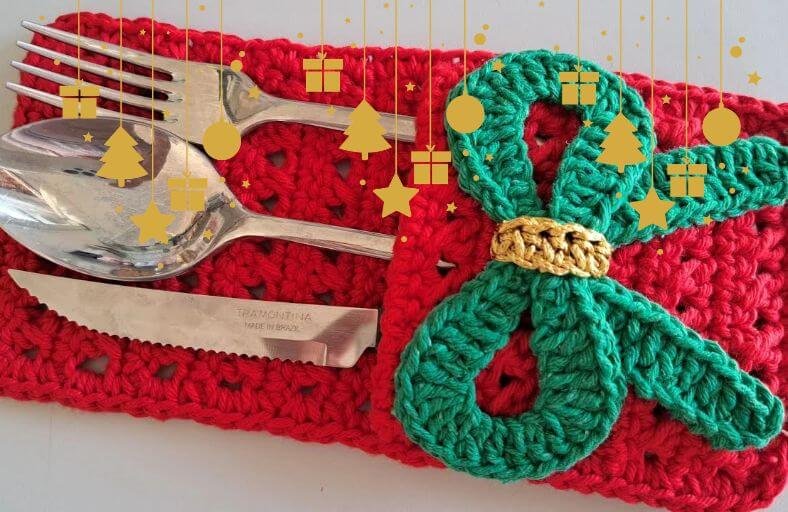
Ready to add a touch of handmade warmth to your holiday table setup?
Ever wondered how a simple skein of yarn can transform into an adorable festive pouch for your Christmas dinner forks and knives?
This Christmas Cutlery Holder is a delightful project that combines beautiful textures with practical utility, featuring a sleek pouch body, a cheerful green bow, and a metallic accent band.
Materials and Preparation
Materials:
- Yarn (Worsted / Medium #4 weight):
- Red yarn for the main holder body.
- Green yarn for the Christmas bow loops and tails.
- Gold / Metallic yarn (e.g., Círculo Encanto or equivalent metallic cord) for the bow center ring.
- Glue (Optional): Liquid silicone glue or craft glue for securing the bow in place.
Tools:
- Crochet Hook: Size E-4 / US 9 (3.5 mm).
- Yarn Needle: Tapestry needle with a large eye.
- Stitch Markers / Locking Clips: 2 pieces for holding edges during assembly.
- Scissors: Craft scissors for trimming ends.
Preparation Notes:
- Maintain a smooth, consistent tension throughout so the cross stitches lay flat and neat.
- When joining the pocket edges with single crochet border stitches, ensure you insert your hook through both layers evenly to create a sturdy seam.
Abbreviations and Notes
Abbreviations:
- ch: Chain
- sc: Single Crochet
- hdc: Half Double Crochet
- dc: Double Crochet
- sl st: Slip Stitch
- crossed dc: Crossed Double Crochet (Skip 1 st, dc in next st, dc in skipped st working back)
- st(s): Stitch(es)
- sk: Skip
Pattern Notes:
- The main holder body is worked flat in rows, alternating between single crochet rows and crossed double crochet texture rows.
- No yarn cutting is needed for the pouch body! The entire piece folds into a pocket, and the outer edging joins the sides continuously.
- All stitches and terms follow standard US Crochet Terms.
Gauge, Approximate Size, and Pattern Notes
Gauge:
Not critical for this project, though working with a 3.5 mm hook creates a firm, tight fabric that keeps cutlery handles securely supported.
Finished Size:
- Width: ~4.0 inches (10.0 cm)
- Length: ~8.5 inches (21.5 cm) (Sized to hold standard fork, spoon, and knife sets comfortably).
Special Techniques:
- Crossed Double Crochet (Cross Stitch): Skip the first stitch, work 1 double crochet into the next stitch, then work 1 double crochet into the skipped stitch behind/over the previous one.
- Seamless Edge Seaming: Fold the lower 5 rows up and work sc stitches along the sides through both layers to form the front pocket.
Step-by-Step Pattern
Part 1: Main Holder Body
Crochet with red yarn.(Red yarn):
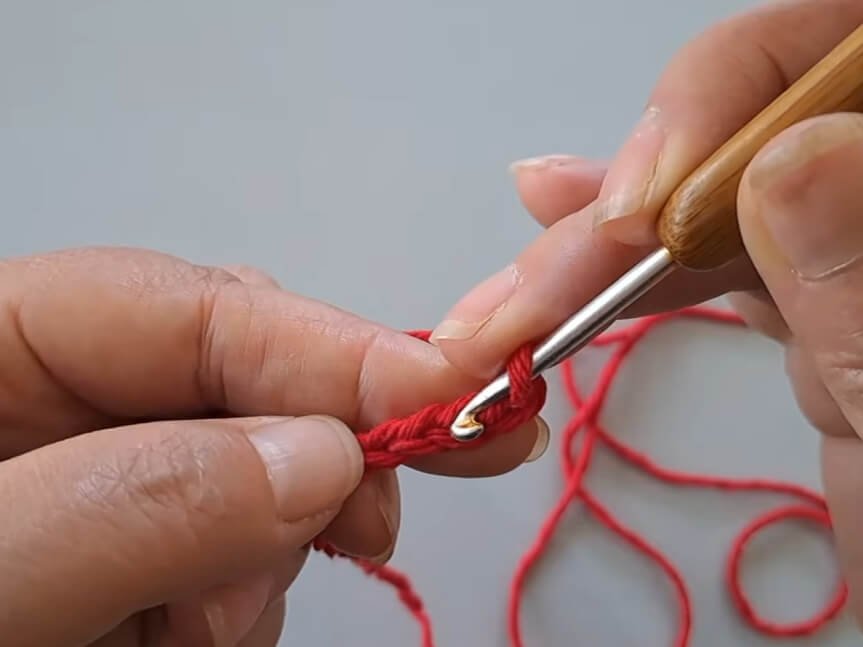
- Foundation: Ch 16 (do not chain too tightly).
- Row 1: Ch 1, turn, starting in 2nd ch from hook, sc in each ch across (16 sc).
- Row 2: Ch 3 (counts as dc), turn, sk first st, [sk next st, dc in next st, dc in skipped st working back] 7 times, dc in last st (7 crossed dc pairs + 2 end dc) (16 sts total).
- Row 3: Ch 1, turn, sc in each st across (16 sc).
- Row 4: Ch 2 (or ch 3), turn, sk first st, [sk next st, dc in next st, dc in skipped st working back] 7 times, dc in last st (16 sts total).
- Rows 5–16: Repeat Rows 3 and 4 alternating sc rows and crossed dc rows until you reach 16 total row blocks (32 individual rows). Do not cut yarn at the end of Row 16.
Part 2: Decorative Christmas Bow
Crocheted with green yarn.(Green yarn):
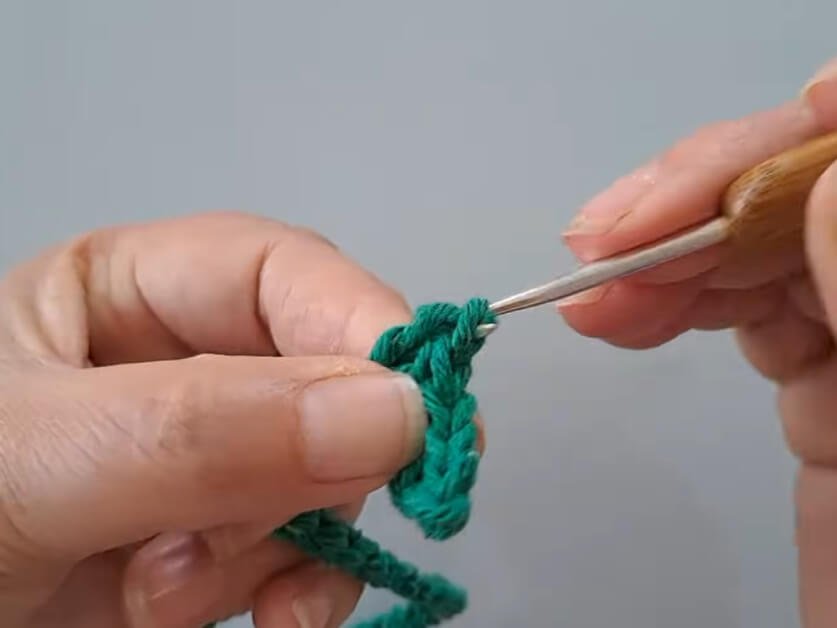
Bow Loops :
- Foundation: Ch 39.
- Row 1: Turn, starting in 2nd ch from hook:
- sc 1, hdc 2, dc 3
- 4 dc in next ch
- dc 5
- 4 dc in next ch
- dc 3, hdc 2, sc 2
- hdc 2, dc 3
- 4 dc in next ch
- dc 5
- 4 dc in next ch
- dc 3, hdc 2, ch 1, sl st in last ch. Fasten off leaving a long tail for shaping.
Bow Tails :
- Foundation: Ch 28.
- Row 1: Turn, starting in 4th ch from hook:
- dc in next 11 chs
- hdc in next ch
- sl st in next ch
- hdc in next ch
- dc in next 11 chs
- ch 1, sl st in last ch. Fasten off and weave in raw ends.
Part 3: Gold Center Ring & Bow Assembly
Gold Center Ring:
Crochet using yellow/glitter yarn.Gold yarn):
- Foundation: Ch 10.
- Row 1: Turn, starting in 2nd ch from hook, hdc in each ch across (10 hdc). Fasten off leaving a tail to sew ends behind the bow.
Part 4: Edging, Assembly & Finishing
- Fold Pocket: Fold the bottom end of the main red strip up over 5 pattern rows to create the cutlery pouch pocket. Secure both sides with stitch markers.
- Side Edging & Seaming: Starting from the top edge, work sc evenly down the side. When reaching the folded pocket section, work sc through both front and back layers to join them together (2 sc in corner spaces, 1 sc in row ends). Continue sc around the bottom edge and up the opposite side. Sl st to initial st to finish. Fasten off and weave in ends.
- Assemble Bow:
- Fold the green loop strip into an figure-8 bow shape and secure the middle with the long green yarn tail.
- Attach the green bow tails behind the loops.
- Wrap the gold ring band around the center, joining its ends at the back with a tapestry needle.
- Attach Bow to Holder: Position the completed bow on the center fold of the front pocket. Secure firmly using liquid silicone glue or sew directly onto the pocket with green yarn.
Detailed Pattern Breakdown
1. Main Holder Structure (Red Base Panel):
The pouch is created as a long rectangular strip using alternating textured stitches:
- Crossed Double Crochet (Row 2, 4, …): By skipping one stitch and crossing back, the yarn forms an “X” motif that gives the holder a rich, rustic fabric look.
- Single Crochet Stabilization (Row 1, 3, …): The sc rows act as structural anchor rows between crossed dc rows, preventing the pouch from stretching out when cutlery is inserted.
- Folding Geometry: The strip length allows 5 rows to be folded forward, turning a 1D flat rectangle into a functional 3D pocket without requiring complex shaping.
2. Bow Geometry and Contour Construction:
The bow elements use selective stitch height variations (sc rightarrow hdc rightarrow dc) to form natural curves:
- Dynamic Width Transitions: Low stitches (sc/hdc) near the center taper the bow inward, while higher stitches (dc) expanding outward with 4-dc increases form rounded outer loop flares.
- Tail Tapering: The bow tails taper down to a central slip stitch indent, creating a soft, draped ribbon effect.
3. Border Seaming and Metallic Accent:
- Integrated Joining: Single crochet edging works dual-duty: it cleans up raw row edges along the top half while permanently locking the folded pouch sides in one smooth pass.
- Metallic Center Band: The gold half double crochet band pulls the center tight, accentuating the 3D curves of the green bow and introducing a shiny Christmas contrast.
Pattern Questions & Answers
Q: Can I adjust the width of the holder if my cutlery set is wider?
A: Yes! You can easily adjust the width by adding chains to your starting chain in multiples of 2. For instance, chain 18 or 20 instead of 16 to create a roomier pouch for larger utensil sets.
Q: What is the best way to attach the bow so it survives repeated washings?
A: While liquid silicone craft glue works great for quick assembly, hand-sewing the bow onto the pocket using matching green thread or yarn provides maximum durability if you plan to machine-wash your holiday table linens.
Q: My crossed double crochets look a bit uneven. How can I fix this?
A: When crossing back to insert your hook into the skipped stitch, pull the yarn loop up slightly higher before completing the stitch. This keeps the crossed leg from pulling too tight across the front!