
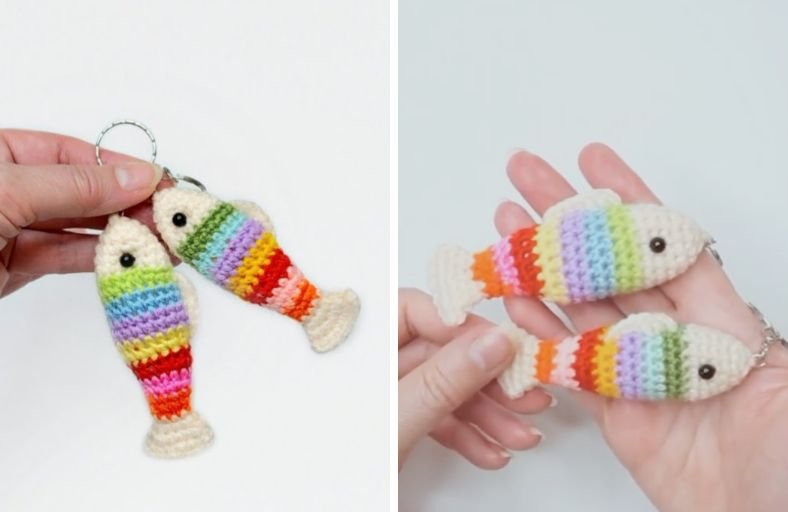
Looking for a fun, fast, and satisfying project to clear out your leftover yarn stash?
This adorable crochet fish keychain takes only about 20 minutes to whip up and serves as a delightful accessory, bag charm, or even a playful cat toy.
Featuring colorful striped scales and a charming little top fin, this beginner-friendly project is the ultimate stash buster!
Materials and Preparation
Materials:
- Yarn:
- Flesh-colored / Beige yarn for the head and tail.
- Assorted colorful yarn scraps for the rainbow fish scales (switch colors every 2 rounds).
- Thin black thread for sewing the eyes and details.
- Stuffing: Premium Polyfill fiberfill (optional: add a tiny rattle insert inside for extra fun).
- Eyes: Two 4-5 mm black safety beads or beads.
- Keychain Hardware: Metal keychain ring with chain.
Tools:
- Crochet Hook: Size 1.75 mm hook (or sized appropriately for your chosen yarn to keep stitches tight).
- Yarn Needle & Sewing Needle: For assembling, tightening eyes, and weaving in ends.
- Stitch Marker: To mark the beginning of continuous spiral rounds.
- Scissors: To trim yarn tails.
Preparation Notes:
- Ensure your stitch tension remains snug, especially around the body, to prevent the fiberfill stuffing from peeking through.
- Organize your small scrap yarn balls in advance so you can effortlessly swap colors every two rounds.
Abbreviations and Notes
Abbreviations:
- MR: Magic Ring
- ch: Chain
- sc: Single Crochet
- inc: Single Crochet Increase (2 sc in the same stitch)
- dec: Single Crochet Decrease (sc2tog / invisible decrease)
- hdc: Half Double Crochet
- dc: Double Crochet
- sl st: Slip Stitch
Pattern Notes:
- The head and main body are worked in continuous spiral rounds without joining at the end of each round.
- The tail transition turns into a flat piece folded in half and closed across both layers.
- Color changes should be executed on the last pull-through of the preceding stitch for clean color transitions.
- Original design and pattern credit belongs to Olga Garkusha.
Gauge, Approximate Size, and Pattern Notes
Gauge:
Gauge is not critical for this project, but aim for tight, even stitches so the stuffing remains completely hidden.
Finished Size:
Approximately 4 inches to 4.3 inches (10 cm to 11 cm) in length when using a 1.75 mm hook and light yarn.
Special Techniques:
- Yarn Color Swap: Transition to a new color on the final loop of the last sc stitch of a round.
- Flat Seam Closure: Folding the tail flattened and crocheting through both loops of both sides simultaneously.
- Top Fin Direct Surface Stitching: Working directly into the surface body rows along the spine to create the top fin seamlessly.
Step-by-Step Pattern
Part 1: Head & Main Body
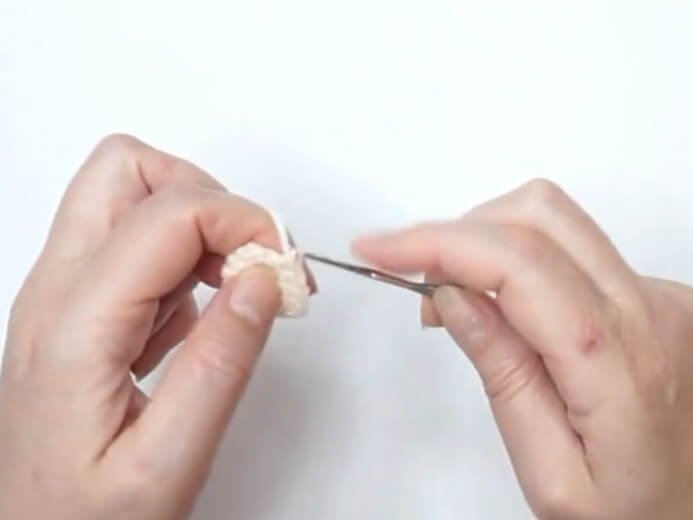
Start with flesh-colored/beige yarn:
- R1: MR 6 sc (6)
- R2: (sc, inc)*3 (9)
- R3: (2 sc, inc)*3 (12)
- R4: (5 sc, inc)*2 (14)
- R5: 6 sc, inc, 6 sc, inc (16)
- R6: 7 sc, inc, 7 sc, inc (18)
Switch to colorful yarn scraps for the body scales (change yarn color every 2 rounds):
- R7–R13: 18 sc (18) (7 rounds total in striped scrap colors)
- R14: (7 sc, dec)*2 (16)
- R15: 16 sc (16)
- Stuff the head lightly with fiberfill.
- R16: (6 sc, dec)*2 (14)
- R17: 14 sc (14)
- R18: (5 sc, dec)*2 (12)
- R19: 12 sc (12)
- R20: (2 sc, dec)*3 (9)
- Add a bit more fiberfill to fill out the body, leaving the tail section unpressed.
Part 2: Tail
Switch back to flesh-colored/beige yarn:
- R21: 9 sc (9)
- R22: (2 sc, inc)*3 (12)
- R23: (3 sc, inc)*3 (15)
Alignment & Tail Closure:
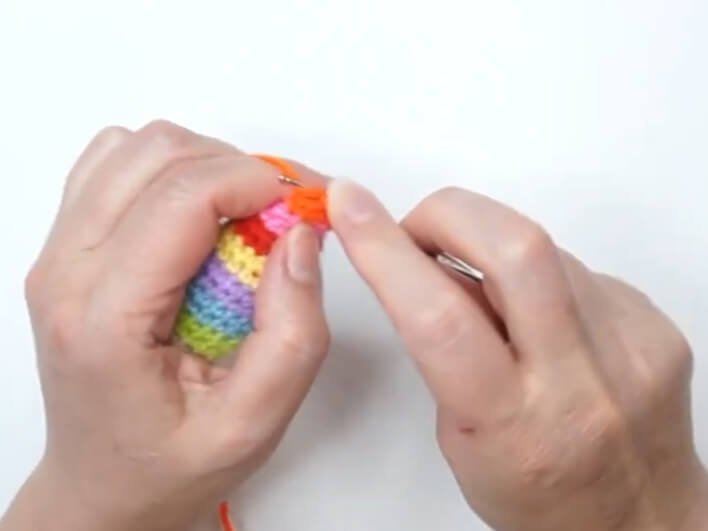
- Check where your color jog/offset sits on the spiral. Fold the fish flattened so the color offset lies along the belly center.
- Work 3 shift stitches (or as needed for your tension) to reach the side edge.
- ch 1, fold the tail opening flat, and sc through both layers across to seal the tail: 7 sc through both sides.
- Fasten off, leaving a long tail, insert your needle into the corner of the tail, and pull through neatly.
Part 3: Top Fin & Keychain Attachment
Top Fin:
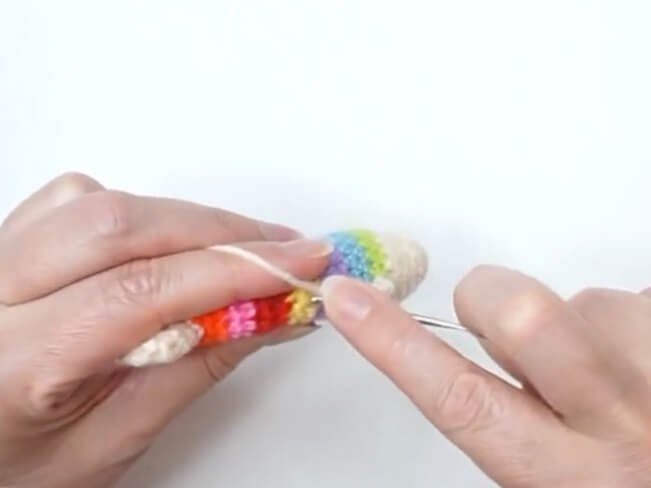
- Locate the top spine of the fish, stepping back 1 row from the scale section onto the head.*
- Join flesh-colored thread directly to the surface of the body along the row lines.
- Step 1: ch 3 into the first position.
- Step 2: Work 2 dc into the next row position along the spine.
- Step 3: Work 2 hdc into the following row position.
- Step 4: sl st into the surface to secure. Fasten off and weave in ends.
Attachment & Eyes:
- Position 4-5 mm beads on both sides of the head, placed 1 row forward from where the colorful scales begin.
- Sew through both eye positions back and forth with thin black thread, pulling with gentle tension to sink the eyes slightly into the head for a cute expression.
- Securely sew the metal keychain ring into the top snout of the fish.
Part 4: Assembly & Finishing
- Ensure the Polyfill is distributed evenly throughout the main fish body using a needle or hook handle.
- Tie off all working yarn tails securely with inner knots and pull them inside the body cavity to conceal them completely.
Detailed Pattern Breakdown
1. Head and Body Shaping Breakdown:
- The head begins with a compact magic ring of 6 sc, expanding gradually through systematic increases up to 18 stitches by R6. This gradual expansion produces a smooth, tapered fish snout.
- Transitioning to colorful yarn scraps at R7 establishes the main body scales. Maintaining a uniform 18 sc through R13 creates a smooth cylindrical torso perfect for vibrant stripes.
- From R14 to R20, strategic paired decreases (sc2tog) gently taper the body back down from 16 to 9 stitches, creating an organic teardrop shape that leads smoothly into the caudal peduncle.
2. Tail and Fin Construction Breakdown:
- After shifting back to the main beige yarn at R21, the pattern executes rapid increases from 9 to 15 stitches across R22-R23 to fan out the tail fin.
- Flattening the tail opening and working 7 sc directly through both opposing loops seals the body without requiring extra sewing.
- The top fin utilizes surface crocheting along the back ridge. By combining ch 3, 2 dc, 2 hdc, and a sl st, the fin creates a natural sloped gradient without needing separate assembly.
3. Detailing & Sculpting Breakdown:
- Eye placement is positioned 1 row away from the color change threshold to maintain clean visual contrast.
- Thread sculpting (sewing back and forth between both eyes under slight tension) creates subtle eye sockets that add character and depth to the fish’s face.
Pattern Question:
Question: How can I make sure the color changes look neat and the body doesn’t warp when folding the tail flat?
Answer: To keep your color changes crisp, always complete the final pull-through of the last single crochet in a round using your new yarn color. Because continuous spiral rounds shift slightly over time, the color jog will drift. Before sealing the tail, fold your fish flat and inspect where the jog sits. Simply crochet 2 to 3 extra “shift stitches” past the round end until your hook rests precisely on the outer side fold. This ensures the color seam stays hidden on the belly while your tail fin stays perfectly horizontal.