
Ever looked at your dinner table and felt like it was missing that cozy, handmade charm?
Or maybe you are hosting a dinner party and want to impress your guests with something far more sophisticated than store-bought placemats!
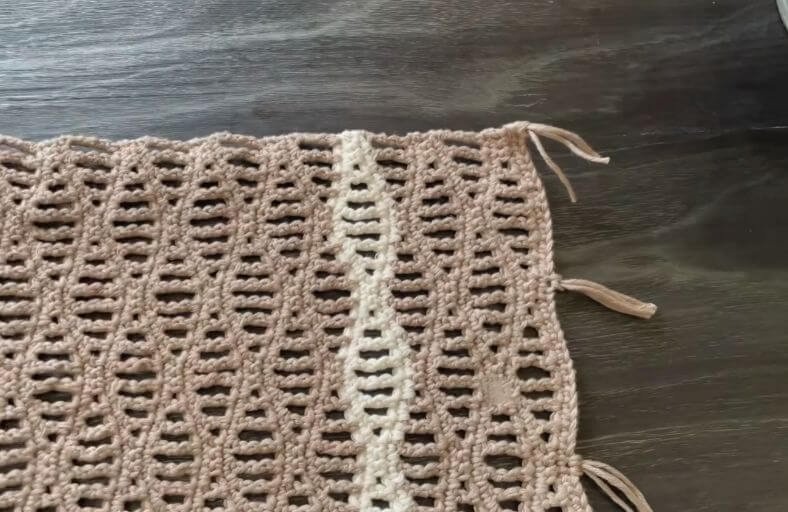
This Easy Crochet Rectangle Placemat features an enchanting wave stitch design with graceful undulating openwork, textured ripples, and playful edge fringe tassels.
Whether you keep it monochrome or play with contrast stripes, this pattern is surprisingly simple and relies on a soothing two-row repeat that will put you right into a relaxing crochet flow.
Materials and Preparation
Materials:
- Yarn: YarnArt Creative (100% Cotton Yarn, Sport/DK weight).
- Main Color (Natural Beige/Taupe)
- Contrast Color (Cream/Off-White for decorative accent rows)
- Fringe/Tassels: Extra yarn scraps for adding side tassel accents.
Tools:
- Crochet Hook: 3.5 mm crochet hook.
- Yarn Needle: Tapestry needle for weaving in loose ends.
- Scissors: Sharp craft scissors.
- Stitch Markers: Optional, but helpful for marking row ends.
Preparation Notes:
- Chain Multiple: The stitch pattern works in multiples of 16 + 4 chains.
- Tension & Gauge: Cotton yarn is ideal for placemats because it provides crisp stitch definition, heat resistance, and easy washing. Keep a steady, relaxed tension so the wave height transitions remain smooth and uniform.
Abbreviations and Notes
Abbreviations:
- ch: Chain
- sc: Single Crochet
- dc: Double Crochet
- tr: Treble Crochet (Yarn over twice)
- dtr: Double Treble Crochet (Yarn over three times)
- sl st: Slip Stitch
- st(s): Stitch(es)
- sk: Skip
- ch-sp: Chain Space
Pattern Notes:
- The wave pattern is created by gradually increasing and decreasing stitch heights across each row (from
scup todtrand back down tosc). - Row 1 sets up the initial wave crests, while Row 3 offsets the wave height to create a staggered, mesmerizing wave ripple.
- Every wave pattern row is followed by a solid single crochet row to lock in the shape and structure.
- Original design and pattern credit belongs to Beyond Diary.
Gauge, Approximate Size, and Pattern Notes
Gauge:
- Gauge is not strictly critical for a placemat, but aim for a firm, flat fabric.
- 1 wave pattern repeat (16 stitches) = approximately 3.5 inches (8.9 cm) wide.
Finished Size:
- Width: Approx. 12 inches (30.5 cm)
- Length: Approx. 18 inches (45.7 cm) (excluding fringe)
- Note: You can easily customize the size by adjusting your initial foundation chain in multiples of 16 + 4.
Special Techniques:
- Double Treble Crochet (dtr): Yarn over 3 times, insert hook into designated chain/stitch, yarn over and pull up a loop (5 loops on hook). [Yarn over, pull through 2 loops] 3 times until 2 loops remain, yarn over and pull through both remaining loops.
- Wave Offsetting: Alternating the starting stitch height between rows creates the iconic fluid wave structure.
Step-by-Step Pattern
Part 1: Foundation Setup & Base Row
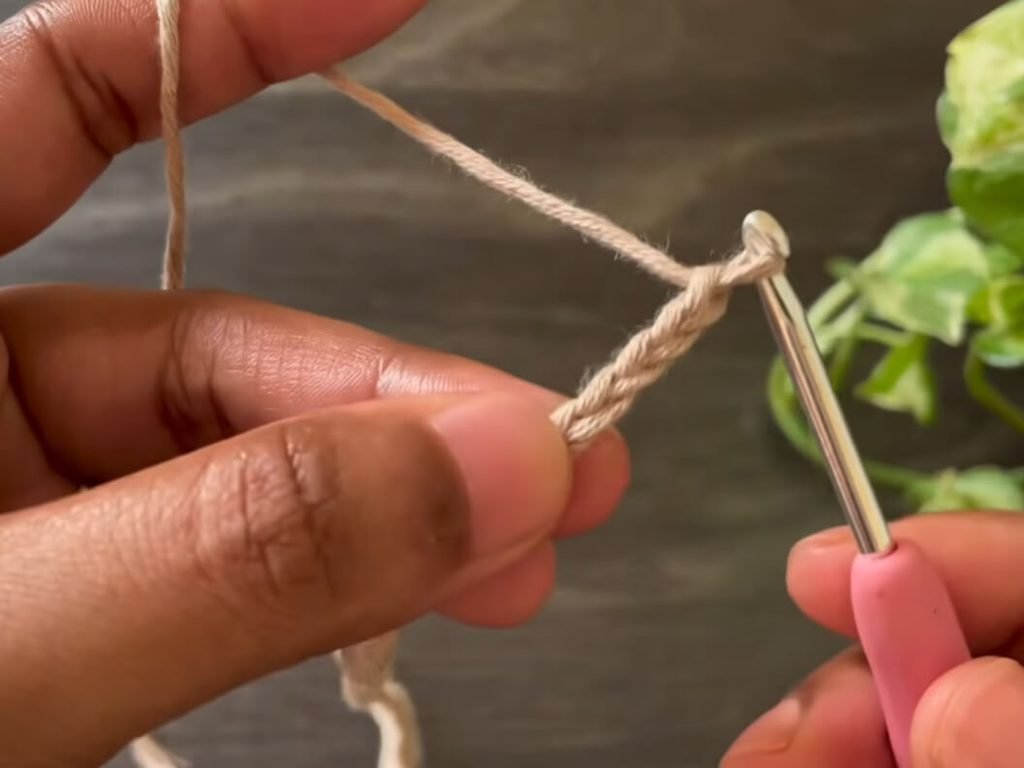
- Foundation Chain: Work a slip knot and chain a multiple of 16 + 4. (For this sample size, work 64 chains + 4 extra chains = 68 chains total).
- Base Setup Row:
- Skip 1 ch space, work 1 sc in the 2nd ch from hook.
- Work 1 sc in each chain space across to the end. Turn your work.
Part 2: Wave Pattern Body
- Row 1 (First Wave Crest Row):
- Ch 1, turn. Work 1 sc in the very first st, and 1 sc in each of the next 2 sts (3 sc total at start).
- [Ch 1, sk 1 st, 1 dc in next st; ch 1, sk 1 st, 1 tr in next st; ch 1, sk 1 st, 1 dtr in next st; ch 1, sk 1 st, 1 dtr in next st; ch 1, sk 1 st, 1 tr in next st; ch 1, sk 1 st, 1 dc in next st; ch 1, sk 1 st, 1 sc in next st, 1 sc in next st, 1 sc in next st].
- Repeat from * to * across the row until you reach the last repeat section.
- End the row with 1 sc in each of the final 3 sts. Turn.
- Row 2 (Solid Single Crochet Row):
- Ch 1, turn.
- Work 1 sc into every stitch and 1 sc into every ch-1 space across to the end of the row. Turn.
- Row 3 (Offset Wave Crest Row):
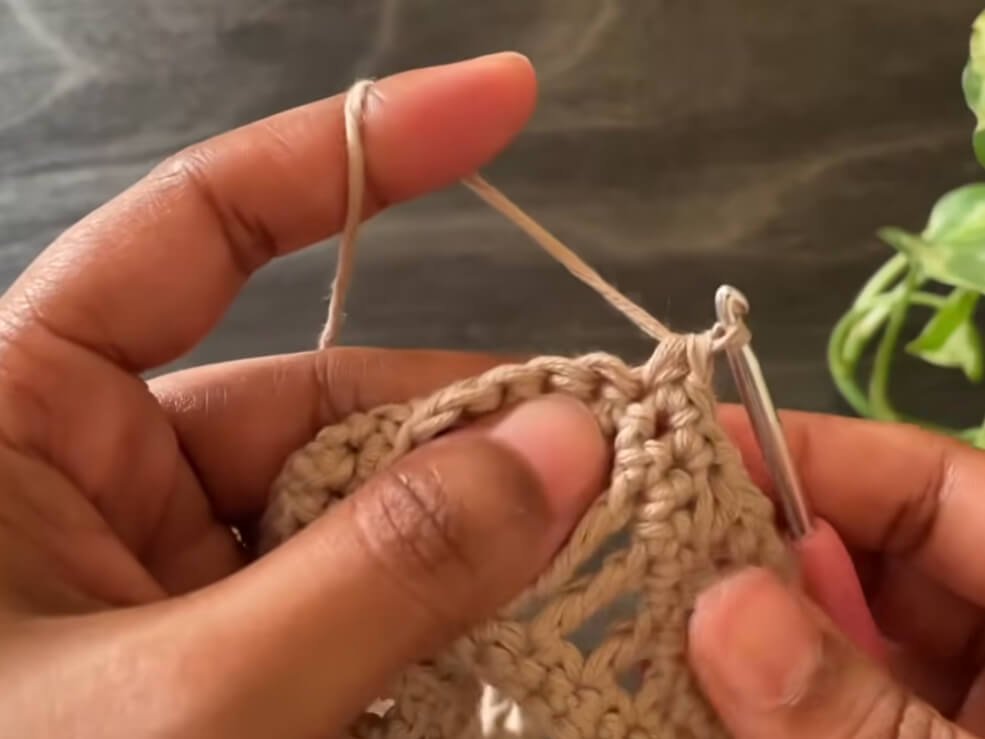
- Ch 6 (counts as first dtr + ch 1 sp), turn.
- Sk 1 st, work 1 dtr in next st.
- [Ch 1, sk 1 st, 1 tr in next st; ch 1, sk 1 st, 1 dc in next st; ch 1, sk 1 st, 1 sc in next st, 1 sc in next st, 1 sc in next st; ch 1, sk 1 st, 1 dc in next st; ch 1, sk 1 st, 1 tr in next st; ch 1, sk 1 st, 1 dtr in next st; ch 1, sk 1 st, 1 dtr in next st].
- Repeat from * to * across the row.
- To complete the end of Row 3: ch 1, sk 1 st, 1 dc in next st; ch 1, sk 1 st, 1 tr in next st; ch 1, sk 1 st, 1 dtr in next st; ch 1, sk 1 st, 1 dtr in the very last st. Turn.
- Row 4 (Solid Single Crochet Row):
- Ch 1, turn.
- Work 1 sc into each stitch and each ch-1 space across, making sure to work the final sc into the 5th chain of the starting ch-6 turning chain. Turn.
Part 3: Main Body Repeat & Color Accents
Main Body Repeat:
- Repeat Rows 1 through 4 sequentially to continue building the wave length until your placemat reaches the desired size.
Color Accent Stripes (Optional):
- To recreate the contrast stripes featured in the photo, swap to your Contrast Color (Cream) for a 2-row repeat sequence (one wave row + one sc row), then switch back to your Main Color.
Part 4: Edging, Assembly & Finishing
- Border / Edge Straightening:
- Once the desired length is reached, finish with a final single crochet row across to ensure a clean, straight top edge.
- Fasten off and weave in all yarn ends neatly with a tapestry needle.
- Tassel Fringe Addition (Optional):
- Cut yarn strands approximately 6 inches (15 cm) long.
- Fold 2 to 3 strands in half, insert your hook into the corner edge spaces of the short ends, pull the loop through, and thread the tails through the loop to form fringe knots.
- Trim fringe ends evenly with scissors.
Detailed Pattern Breakdown
1. Foundation & Geometric Wave Logic Breakdown:
- The wave pattern uses gradient stitch heights to create geometric curves.
- By progressing from low stitches (
sc) to medium (dc), high (tr), and maximum height (dtr), the row forms an ascending curve. - Placing two
dtrstitches side-by-side forms the peak of the wave, after which the stitch heights descend symmetrically back down tosc.
2. Offset Stacking & Flat Edge Geometry:
- In Row 1, the wave peak is placed in the middle of the repeat section while the ends start with low
scstitches. - In Row 3, the pattern is inverted: high
dtrstitches are placed at the beginning and end of the row, while the lowscstitches sit in the center valley. - This alternating placement fills the hollows of the previous row, keeping the top edge straight and creating a balanced mesh texture.
3. Structural Stability & Color Accent Breakdown:
- Inserting a full row of single crochet (
sc) between wave pattern rows stabilizes the tall stitches (tranddtr), preventing the openwork from sagging or stretching out during use. - Switching colors during the wave rows highlights the undulating curves, turning a simple stitch repeat into a modern boho centerpiece.
Pattern Question:
Question: Why are my wave edges curling or pulling inwards at the ends of the rows?
Answer: Curling usually happens when turning chains are worked too tightly or when chain spaces are accidentally skipped.
When working tall stitches like tr and dtr, ensure your turning chain (e.g., ch 6 on Row 3) is relaxed and loose. Always double-check that you work into every ch-1 space across during the single crochet rows to maintain accurate stitch counts and flat side edges.