
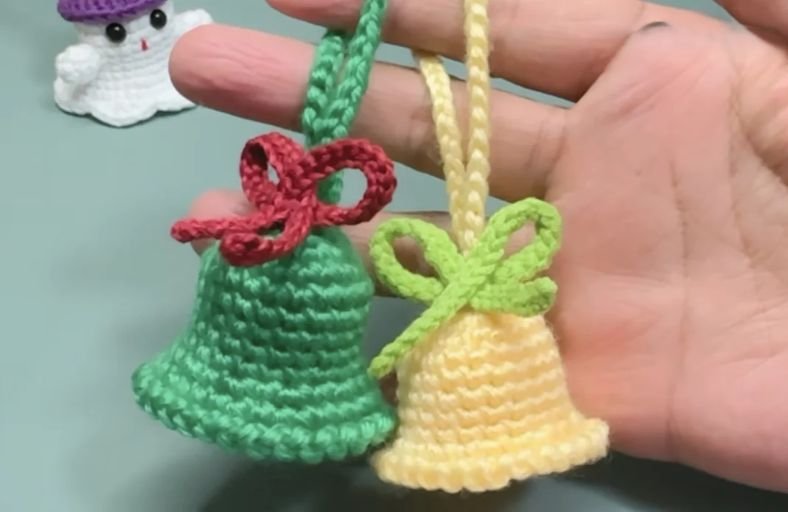
Ready to ring in the holiday cheer with your own handmade decorations? These adorable mini Christmas bells are the ultimate quick-stitch festive project.
Whether you want to deck out your holiday tree, spice up your gift wrapping, or whip up a last-minute stocking stuffer that looks deceptively fancy, this tutorial has got you covered.
Grab your favorite festive yarn, and let’s get crafting!
Materials and Preparation
Materials:
- Yarn: Medium weight yarn in Green or Yellow for the bell body, plus contrasting Red or Light Green yarn for the decorative bow.
- Stuffing: Optional small piece of fiberfill or yarn scraps if you wish to give the top extra structure.
Tools:
- Crochet Hook: 2.5 mm – 3.0 mm crochet hook (a slightly smaller size keeps stitches neat and tight).
- Yarn Needle: Tapestry/yarn needle for weaving in ends and securing the bow and hanging loop.
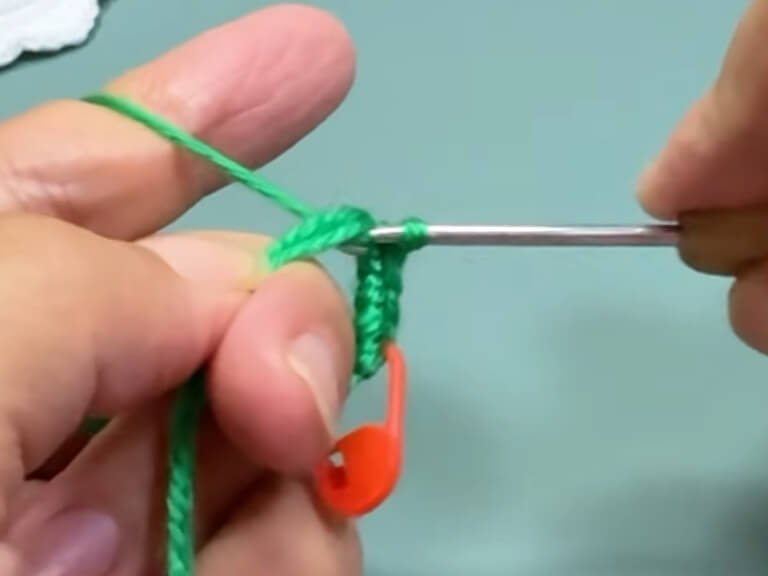
- Stitch Markers: 2 stitch markers (essential for marking the first and last stitches of each round).
- Scissors: Craft scissors.
Preparation Notes:
- You should be comfortable with basic crochet techniques including working in joined rounds, chain stitches, single crochet increases, and slip stitch edging.
- Keeping consistent tension ensures the bell flared edge holds its bell-like shape crisp and clean.
Abbreviations and Notes
Abbreviations:
- MR: Magic Ring
- ch: Chain stitch
- sc: Single crochet
- inc: Single crochet increase (2 sc in the same stitch)
- sl st: Slip stitch
Pattern Notes:
- The bell body is worked in joined rounds. Each round begins with a chain stitch and ends with a slip stitch into the first stitch of the round.
- Use stitch markers at the beginning and end of each round to avoid miscounting your total stitches.
- The bow and hanging loop are created separately and sewn onto the finished bell body.
Gauge, Approximate Size, and Pattern Notes
Gauge:
Gauge is not critical for this holiday ornament. Maintain firm, uniform stitches so the bell wall holds its shape without collapsing.
Finished Size:
Approximately 2 inches (5 cm) in height and 2.2 inches (5.5 cm) in width at the flared bottom edge, excluding the hanging loop.
Special Techniques:
- Joined Rounds with Slip Stitch: Ensures a level, clean boundary for each round before transitioning to the next step.
- Surface/Edge Flaring: Increasing in Round 10 followed by a round of straight single crochet and a decorative slip stitch chain border creates the classic bell curve.
Step-by-Step Pattern
Part 1: Main Bell Body
Worked in joined rounds starting from the top down:
- R1: Start with a MR, ch 1, 5 sc into the ring. Join with sl st to first sc (5)
- R2: ch 1, 5 inc. Join with sl st to first sc (10)
- R3: ch 1, 10 inc. Join with sl st to first sc (20)
- R4–R9: ch 1, 20 sc around. Join with sl st to first sc (20) (6 rounds total)
- R10: ch 1, (1 sc, inc)*10. Join with sl st to first sc (30)
- R11: ch 1, 30 sc around. Join with sl st to first sc (30)
- R12: (1 sl st, ch 1)*30 around to form the decorative rim. Join with sl st (30) Fasten off and weave in ends inside the bell.
Part 2: Hanging Loop
Worked with main body yarn or matching loop color:
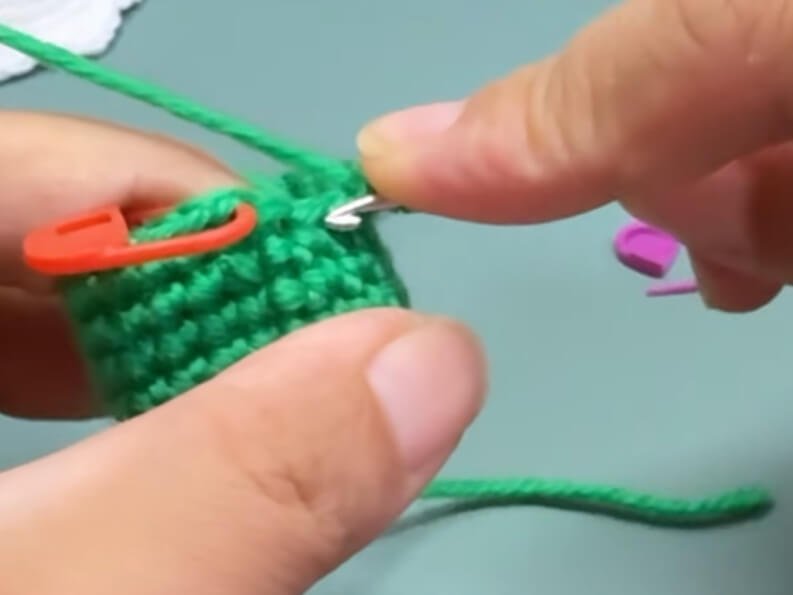
- Attach yarn at the top center of the bell (R1/MR position).
- Foundation: ch 30 (or adjust chain count to reach your desired loop length).
- Fasten off, pull the tail through to the inside of the bell, and tie securely before weaving in the end.
Part 3: Decorative Bow
Ribbon Bow:
Worked in a long cord strip using contrasting yarn:
- Foundation: ch 50
- Row 1: Starting in the 2nd ch from hook, work 49 sl st across (49) Fasten off and weave in yarn ends.
- Tie the cord strip into a neat bow tie shape.
Part 4: Assembly & Finishing
- Attaching the Bow: Position the tied ribbon bow right at the top crown of the bell, adjacent to the base of the hanging loop.
- Securing: Using a yarn needle and matching yarn thread, sew through the center knot of the bow to secure it firmly onto the bell top.
- Finishing: Trim any excess yarn tails neatly and shape the bell skirt with your fingers.
Detailed Pattern Breakdown
1. Crown Expansion (R1 – R3)
The bell begins at the top tip using a magic ring with 5 single crochets. Doubling the stitch count across two consecutive rounds (from 5 to 10 in Round 2, and 10 to 20 in Round 3) rapidly builds a flat, sturdy crown foundation to support the hanging loop and bow anchor.
2. Main Wall Body (R4 – R9)
Maintaining a steady 20 stitches across 6 uninterrupted rounds constructs the slender cylindrical dome of the bell. Working in joined rounds instead of spiral continuous rounds keeps the height balanced and symmetrical.
3. Flared Lip Rim & Border (R10 – R12)
To mimic a real metal bell, Round 10 applies a repeating sequence of 1 single crochet and 1 increase across 10 sets, expanding the stitch count from 20 to 30. Round 11 stabilizes this flared skirt with 30 single crochets, while Round 12 adds a delicate textured border using repeating slip stitches and chain 1 accents around the entire perimeter.
Pattern Question:
Question: How do I ensure the flared bottom of my Christmas bell stays wide and stiff without drooping?
Answer: To give your bell that sharp, flared silhouette, make sure to use a hook size that creates tight stitches. When completing Round 12 (the sl st + ch 1 sequence), avoid pulling your slip stitches too tightly so the edge stays flexible yet defined.
If your yarn is naturally soft, you can lightly mist the finished bell with water mixed with a small amount of fabric stiffener or craft glue and shape it over a small cone or cap while drying!