
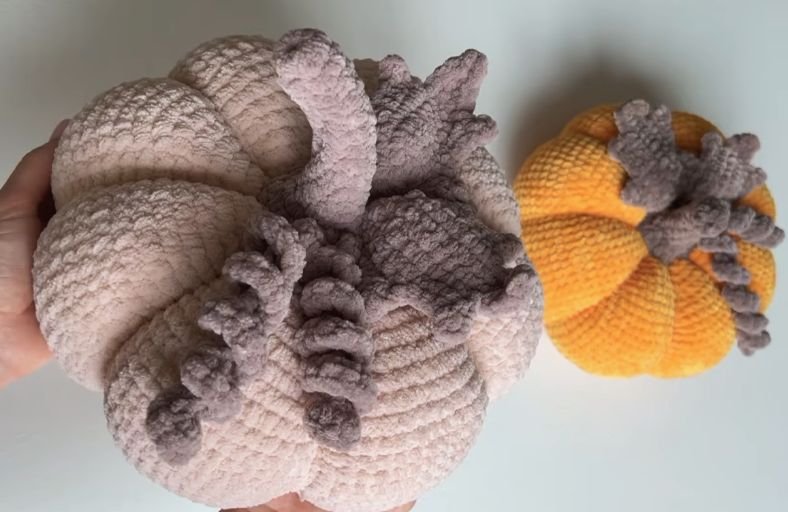
Are your crochet hooks ready for the ultimate cozy autumn flex?
Forget subtle tabletop decorations: we are making a giant, squishy plush pumpkin that is guaranteed to out-size your throw pillows and steal the spotlight on any couch!
Created with super soft chenille yarn, this project brings together classic 3D amigurumi shaping, clever needle sculpting, and whimsical curly tendrils.
Materials and Preparation
Materials:
- Main Pumpkin Body Yarn: Super bulky chenille/velvet yarn (e.g., Alize Velluto or Himalaya Dolphin Baby, 3 skeins / approx. 300g–360g for a giant pumpkin in beige/cream, or approx. 125g for a medium size in orange).
- Stem, Leaves, and Tendrils Yarn: Bulky plush/chenille yarn in brown/taupe and olive/sage green.
- Stuffing: Fiberfill / Polyfill (approx. 140g–190g). Keep it soft and squishy so needle sculpting is effortless!
- Sculpting Thread: Extra strong non-breakable nylon or cotton cord (or doubled plush yarn) for shaping pumpkin sections.
Tools:
- Crochet Hook: 5.0 mm hook (or 4.0 mm hook for medium size / tight tension).
- Yarn Needle: Long doll needle or blunt-ended tapestry needle (at least 6–8 inches long for tufting).
- Stitch Marker: Essential for tracking continuous rounds.
- Scissors: Heavy-duty shears for plush yarn.
Preparation Notes:
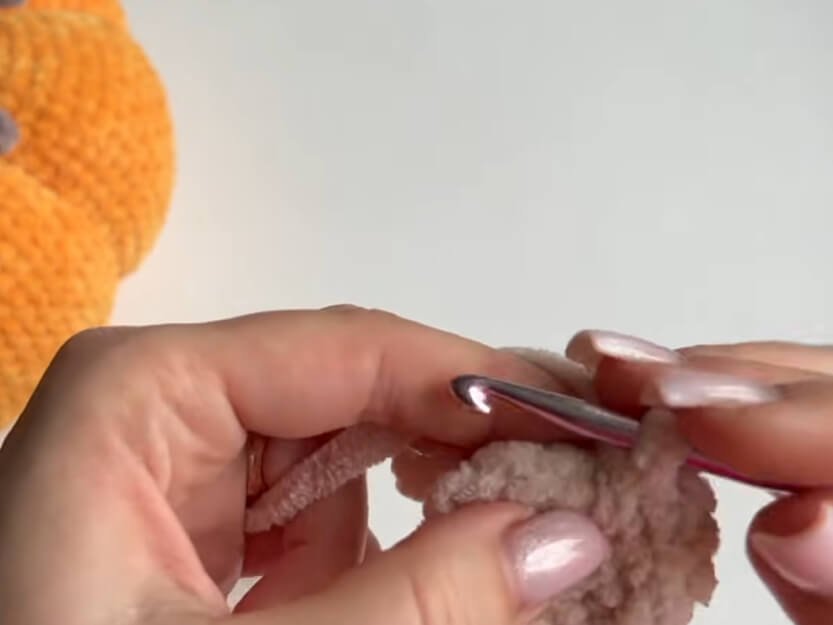
- Work in continuous spiral rounds unless indicated otherwise.
- Do not overstuff! A pumpkin packed too tight will resist sculpting and won’t hold those deep, gorgeous ridges.
- Use a smaller hook than yarn guidelines suggest to keep stitches tight and prevent fiberfill from peeking through.
Abbreviations and Notes
Abbreviations:
- MR: Magic Ring (or Ch 2 method)
- ch: Chain stitch
- sc: Single crochet
- inc: Single crochet increase (2 sc in the same stitch)
- dec: Single crochet decrease (sc2tog / invisible decrease)
- sl st: Slip stitch
- st(s): Stitch(es)
- FO: Fasten off
Pattern Notes:
- Ch 2 Alternative for MR: Since bulky plush yarn can snap when pulling a Magic Ring tight, start with Ch 2 and work the initial 7 sc directly into the first chain stitch.
- Continuous Rounds: Do not join with a slip stitch at the end of each round unless specified.
- Needle Sculpting: Sectioning is done after stuffing and closing by pulling heavy cord vertically through the center.
Gauge, Approximate Size, and Pattern Notes
Gauge:
Gauge is flexible, but stitches must remain dense and tight.
Finished Size:
- Large Version (Alize Velluto & 5.0 mm hook): Approx. 31 inches (79 cm) in circumference.
- Medium Version (Himalaya Dolphin Baby & 4.0 mm hook): Approx. 26 inches (66 cm) in circumference.
Special Techniques:
- Spiral Section Tendrils: Created by working 2 sc into every chain link, forcing the strand into a natural tight coil.
- Leaf Picot Corners: Formed with Ch 3 and Sl St into the first chain to make distinct autumn leaf points.
- Tufting & Rib Sculpting: Threading a long needle through the center axis repeatedly to compress the height and partition the body into 8 plush lobes.
Step-by-Step Pattern
Part 1: Main Pumpkin Body
Crochet using plush yarn in the main color:
- R1: Ch 2, work 7 sc in the 1st ch stitch (7)
- R2: 7 inc (14)
- R3: (1 sc, inc)*7 (21)
- R4: (2 sc, inc)*7 (28)
- R5: (3 sc, inc)*7 (35)
- R6: (4 sc, inc)*7 (42)
- R7: (5 sc, inc)*7 (49)
- R8: (6 sc, inc)*7 (56)
- R9: (7 sc, inc)*7 (63)
- R10: (8 sc, inc)*7 (70)
- R11: (9 sc, inc)*7 (77)
- R12: (10 sc, inc)*7 (84)
- R13: (11 sc, inc)*7 (91)
- R14: (12 sc, inc)*7 (98)
- R15: (13 sc, inc)*7 (105)
- R16: (14 sc, inc)*7 (112)
- R17–R30: 112 sc in each round (112) (14 rounds total)
- R31: (14 sc, dec)*7 (105)
- R32: (13 sc, dec)*7 (98)
- R33: (12 sc, dec)*7 (91)
- R34: (11 sc, dec)*7 (84)
- R35: (10 sc, dec)*7 (77)
- R36: (9 sc, dec)*7 (70)
- R37: (8 sc, dec)*7 (63)
- R38: (7 sc, dec)*7 (56)
- R39: (6 sc, dec)*7 (49)
- R40: (5 sc, dec)*7 (42)
- R41: (4 sc, dec)*7 (35)
- R42: (3 sc, dec)*7 (28)
- R43: (2 sc, dec)*7 (21)
- R44: (1 sc, dec)*7 (14)
- Add fiberfill stuffing (approx. 140g–190g). Keep it light and soft.
- R45: 7 dec (7)
- Closing: Work 2 additional decreases to close the small remaining opening. Cut yarn, leaving a 30-inch tail for center pulling.
Part 2: Pumpkin Stem
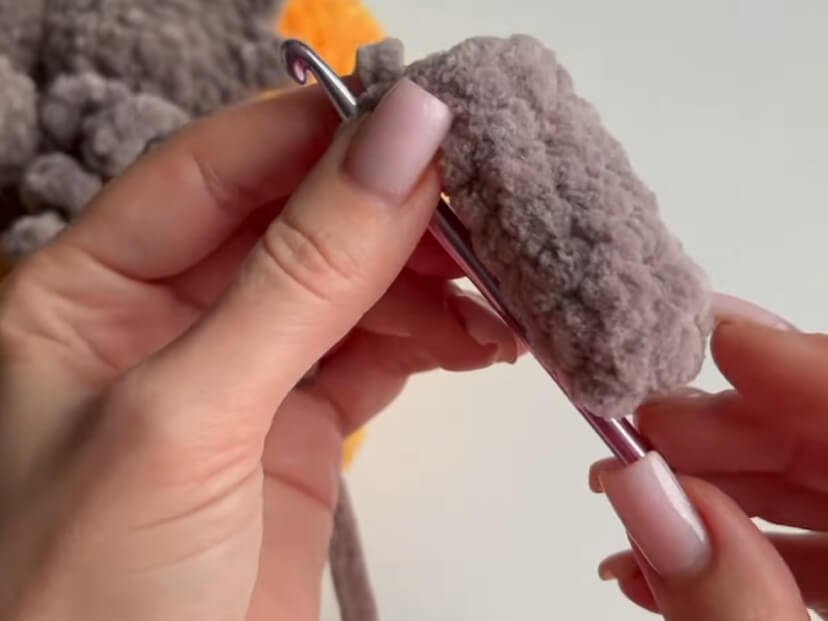
Crochet using brown/grey brown plush yarn:
- R1: Ch 2, 7 sc in the 1st ch stitch (7)
- R2–R7: 7 sc (7) (Turn piece right side out)
- R8: 6 sc, inc (8)
- R9: 8 sc (8)
- R10: 7 sc, inc (9)
- R11: 9 sc (9)
- R12: 8 sc, inc (10)
- R13: 10 sc (10)
- R14: 10 inc (20)
- R15: (1 sc, inc)*10 (30)
- FO: Sl st into next st, cut yarn leaving a long tail for sewing onto the top center. Lightly stuff the stem stem before attaching.
Part 3: Leaves & Tendrils
Details 1: Autumn Leaf (Make 2)
Crochet in a puffy row and create sharp angles:
- Foundation: Ch 10.
- Row 1: Starting in 2nd ch from hook, work 9 sc across (9). Ch 3, sl st in 3rd ch from hook (picot point made). Work 1 sc in the same ch as the 9th sc. Along the opposite side of the foundation chain, work 8 sc (8).
- Row 2: Work 3 sc in the top corner stitch. Down the side, work 6 sc. Ch 3, sl st in 3rd ch from hook (picot corner). Turn.
- Row 3: Starting in 1st st, work 7 sc down the side. In the next st (center), work 1 inc. Work 6 sc down opposite side. Ch 3, sl st in 3rd ch from hook (picot corner). Turn.
- Row 4: Work 7 sc, 1 inc in center, 4 sc. Ch 3, sl st in 3rd ch from hook. Turn.
- Row 5: Work 10 sc across. Ch 3, sl st in 3rd ch from hook. Turn.
- Row 6: Work 5 sc, sl st in next st.
- FO: Cut yarn, leaving a long tail for sewing base to stem.
Details 2: Curly Tendril Spirals (Make 2–3)
- Foundation: Ch 25 (or Ch 30 for a longer tendril).
- Row 1: Starting in 2nd ch from hook, work 2 sc in every ch stitch across to the end.
- FO: The strand will naturally twist into a spring-like spiral. Adjust the coil with your fingers and leave a tail for sewing.
Part 4: Assembly & Sectioning
- Center Compressing: Thread the 30-inch yarn tail through a long needle. Insert through the bottom center of the pumpkin up to the top center, then back down through an adjacent stitch. Pull firmly to flatten the top and bottom poles, then knot securely.
- Side Rib Sculpting: Using heavy non-breakable cord (or doubled plush yarn), anchor at the bottom center. Wrap the cord tightly over the outside wall of the pumpkin up to the top center and re-insert the needle straight down through the middle to the bottom. Pull taut to squeeze a deep indent.
- Divide into 2 halves, then 4 quarters, and finally 8 equal pie-like lobes. Tie off securely at the bottom.
- Stem Sewing: Place the lightly stuffed stem over the top center cord knots and whipstitch the base flange (R15) onto the pumpkin.
- Leaves and Tendrils: Sew the bases of the 2 leaves and curly tendrils directly to the base of the stem.
Detailed Pattern Breakdown
1. Main Body Architecture & Geometric Expansion:
- Concentric Sphere Base (R1–R16): The pattern follows standard amigurumi geometry with 7 radial increase points per round (
7 inc). Starting from 7 sts, each round adds 7 sts until expanding to 112 sts. This creates a flat circular plane that converts smoothly into a massive hemisphere. - Straight Body Wall (R17–R30): Maintaining 112 sc over 14 uninterrupted rounds builds height and side volume without changing stitch density.
- Symmetrical Tapering (R31–R45): The decrease phase mirrors the increase phase exactly, subtracting 7 sts per round (
7 dec) to bring the total back down to 7 sts before pulling closed.
2. Stem Construction & Curved Flare:
- Narrow Cylinder (R1–R7): Starts with 7 sc worked straight to create a firm, upright stem top.
- Gradual Slope Increases (R8–R13): Single increases placed at the end of alternating rounds gently widen the stem from 7 sts to 10 sts, producing a natural organic tilt.
- Flanged Base (R14–R15): A sudden burst of 10 increases in R14 followed by
(1 sc, inc)*10in R15 instantly flares the stem base outwards to 30 sts, creating a flat mounting pad that sits seamlessly on top of the pumpkin.
3. Asymmetrical Leaf & Spiral Tendril Physics:
- Leaf Ribbing & Picots: Built using center increases (
1 inc) for dimensional curvature, combined withCh 3, sl stpicot points along the margins to replicate realistic serrated oak/pumpkin foliage edges. - Elastic Tendril Twisting: By placing 2 sc in every chain link, the top edge of the crochet strip becomes twice as wide as the foundation edge. This differential length forces the fabric to curl continuously around its central axis, creating a springy 3D corkscrew.
Pattern Question:
Question: How do I keep my plush yarn from snapping when pulling the Magic Ring tight, and how do I make sure my needle-sculpted pumpkin sections don’t loosen over time?
Answer: Chenille and plush yarns break easily under direct tension. To avoid this for the center ring, use the Ch 2 method (work 7 sc into the very first chain) instead of a traditional Magic Ring.
For the sectioning cords, use strong, non-stretching nylon cord or doubled upholstery thread rather than plush yarn.
When pulling each lobe taut, hold the tension firmly at the center pole with your finger and tie a double knot directly against the body before moving on to the next rib.