
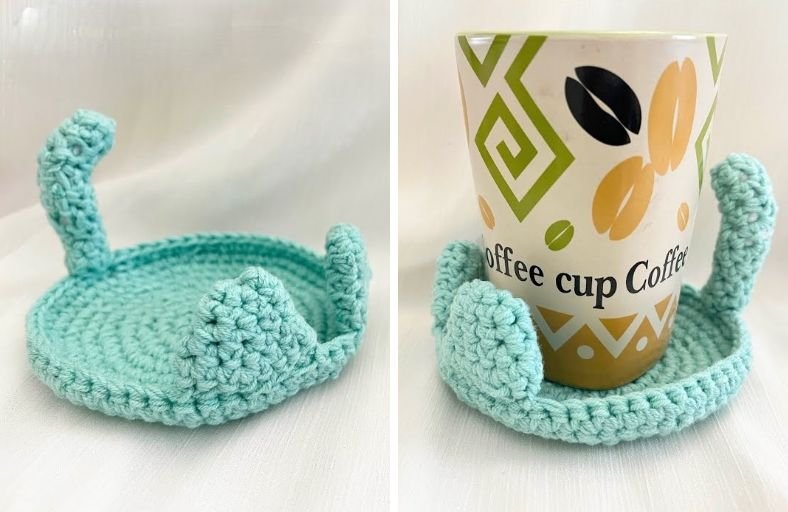
Is your morning coffee feeling a little too serious? Why not let a cheeky crochet feline hold your mug for you!
This delightful Cat Coaster features a sturdy flat base, cute upright 3D ears, and a whimsical curved tail that wraps right around your favorite cup.
Whether you are a devoted cat lover or simply looking for a quick, charming weekend project, this pattern brings both fun personality and practical protection to your table.
Materials and Preparation
Materials:
- Yarn: Worsted weight cotton yarn (2 strands held together for extra body and durability) in light green, mint, or any color of your choice.
- Wire/Pipe Cleaner: A small length of flexible craft wire or pipe cleaner to insert into the tail so it holds its whimsical curved shape.
Tools:
- Crochet Hook: 3.0 mm crochet hook.
- Yarn Needle: Tapestry needle for sewing ears/tail and weaving in ends.
- Stitch Marker: To mark the beginning of each round.
- Scissors: Craft scissors.
Preparation Notes:
- Holding two strands of cotton yarn together creates a sturdy, thick fabric that keeps hot mugs from marking your furniture.
- Keep your tension firm when crocheting the base to prevent warping and ensure a completely flat surface for cups to rest on.
Abbreviations and Notes
Abbreviations:
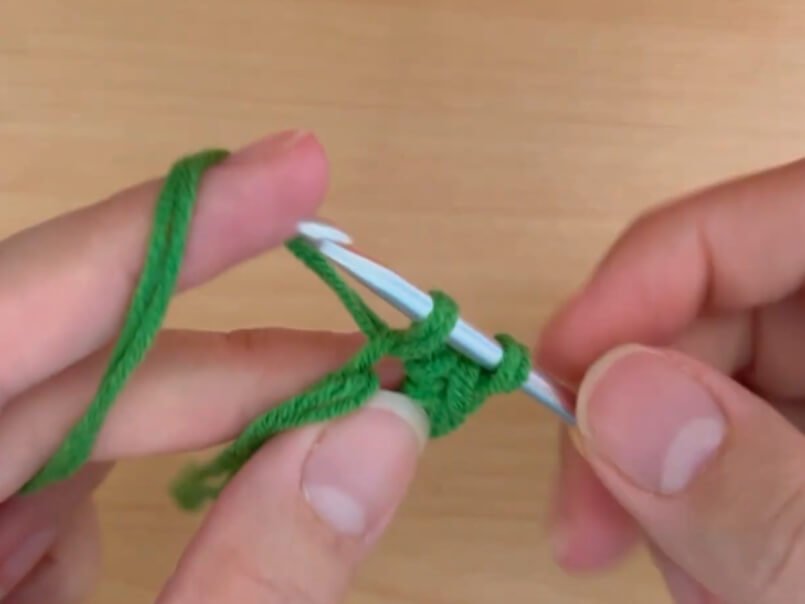
- MR: Magic Ring
- ch: Chain
- sc: Single Crochet
- inc: Single Crochet Increase (2 sc in the same stitch)
- sl st: Slip Stitch
- BLO: Back Loop Only
Pattern Notes:
- The base and ears are worked in joined rounds ending with a slip stitch (
sl st) and starting with a chain (ch 1). - The tail is worked in continuous spiral rounds of 6 single crochet stitches (
6 sc) for 11 rounds. - All measurements and techniques use standard US Crochet Terms.
Gauge, Approximate Size, and Pattern Notes
Gauge:
Gauge is not critical for this functional project, but stitching firmly will create a dense coaster that absorbs moisture and sits flat.
Finished Size:
- Base Diameter: Approx. 4.5 inches (11.4 cm).
- Ear Height: Approx. 1.25 inches (3.2 cm).
- Tail Length: Approx. 3.0 inches (7.6 cm).
Special Techniques:
- Double-Stranded Crochet: Working with two strands of yarn simultaneously adds stability and thickness.
- Wire Insertion for Tail: Inserting a craft wire inside the thin 6-sc tail tube allows you to pose and curve the tail around mugs or upright in the air.
Step-by-Step Pattern
Part 1: Main Coaster Base
Worked with 2 strands of cotton yarn held together using a 3.0 mm hook:
- R1: MR, ch 1, 7 sc into ring, sl st to first sc to join (7)
- R2: ch 1, inc in each stitch around (2 sc in each st), sl st to first sc (14)
- R3: ch 1, (1 sc, inc)*7, sl st to first sc (21)
- R4: ch 1, 1 sc, inc, (2 sc, inc)*6, 1 sc, sl st to first sc (28)
- R5: ch 1, (3 sc, inc)*7, sl st to first sc (35)
- R6: ch 1, 2 sc, inc, (4 sc, inc)*6, 2 sc, sl st to first sc (42)
- R7: ch 1, (5 sc, inc)*7, sl st to first sc (49)
- R8: ch 1, 3 sc, inc, (6 sc, inc)*6, 3 sc, sl st to first sc (56)
- R9: ch 1, 56 sc around (1 sc in each st), sl st to first sc (56)Fasten off and weave in base ends.
Part 2: Cat Ears (Make 2)
Worked in rounded cone shape from tip to base:
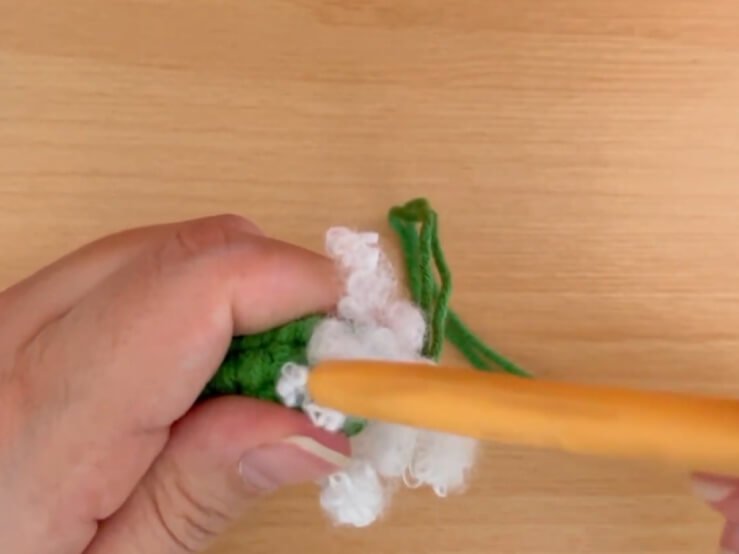
- R1: MR, ch 1, 6 sc into ring, sl st to join (6)
- R2: ch 1, (1 sc, inc)*3, sl st to join (9)
- R3: ch 1, 9 sc around, sl st to join (9)
- R4: ch 1, (2 sc, inc)*3, sl st to join (12)
- R5: ch 1, (3 sc, inc)*3, sl st to join (15)Fasten off, leaving a long tail for sewing.
Part 3: Cat Tail
Tail Tube:
Work a small cylinder:
- R1: MR, ch 1, 6 sc into ring (6)
- R2–R11: 6 sc around in continuous spiral rounds (6) (10 rounds of 6 sc)Fasten off, leaving a long yarn tail for assembly.
Part 4: Assembly and Finishing
- Tail Shaping: Insert a piece of craft wire or pipe cleaner inside the tail tube. Bend the wire ends safely inward so no sharp tips poke through the yarn.
- Attaching Ears: Position the two ears on one side of the circular coaster base, spaced slightly apart along the edge. Using a tapestry needle, sew the bottom opening of each ear flat onto the edge of Round 9.
- Attaching Tail: Position the tail opposite or slightly adjacent to the ears along the outer edge. Sew the base of the tail firmly to the coaster rim.
- Final Pose: Curve the wired tail upward and slightly inward so it cradles your favorite coffee mug or tea cup!
Detailed Pattern Breakdown
1. Main Base Breakdown:
- The base utilizes a classical flat circle mathematical formula starting with 7 single crochet stitches in a Magic Ring (
MR 7 sc). - By increasing by 7 stitches evenly on every round (7 : 14 : 21 : 28 : 35 : 42 : 49 : 56), the circle stays perfectly flat without curling or cupping.
- Round 9 contains no increases (
56 sc), creating a smooth, sturdy finished border around the outer perimeter.
2. Cat Ears Breakdown:
- The ears start small at the tip (
MR 6 sc) and expand gradually through targeted increase rounds ((1 sc, inc)*3reaching 9 sc, then 12 sc, and finally 15 sc). - Round 3 acts as a non-increase stabilizing round to elongate the point of the ear, giving it an authentic 3D triangle shape.
3. Cat Tail Breakdown:
- The tail maintains a slim, uniform tube constructed from 6 single crochet stitches worked across 11 continuous rounds.
- Combining a thin 6-sc tube with double-stranded yarn and internal wire reinforcement gives full structural poseability without adding bulk to the coaster rim.
Pattern Question:
Question: Why does my coaster base buckle or curl up, and how can I keep the tail upright when holding a full mug?
Answer: Buckling usually happens if your tension is too tight or if stitches are miscounted during the increase rounds. Make sure to follow the staggered increase placement in the pattern (e.g., splitting 6 sc into 3 sc at the beginning and end of R8) to maintain a true flat circle.
For the tail, using double-stranded yarn combined with a craft wire inserted before sewing ensures it stands proudly and hugs your mug perfectly without drooping!